I’ve tried many disappointing gluten-free brownie recipes. Usually, they are dense, dry, or lacking any real flavour. So, I had to take matters into my own hands!
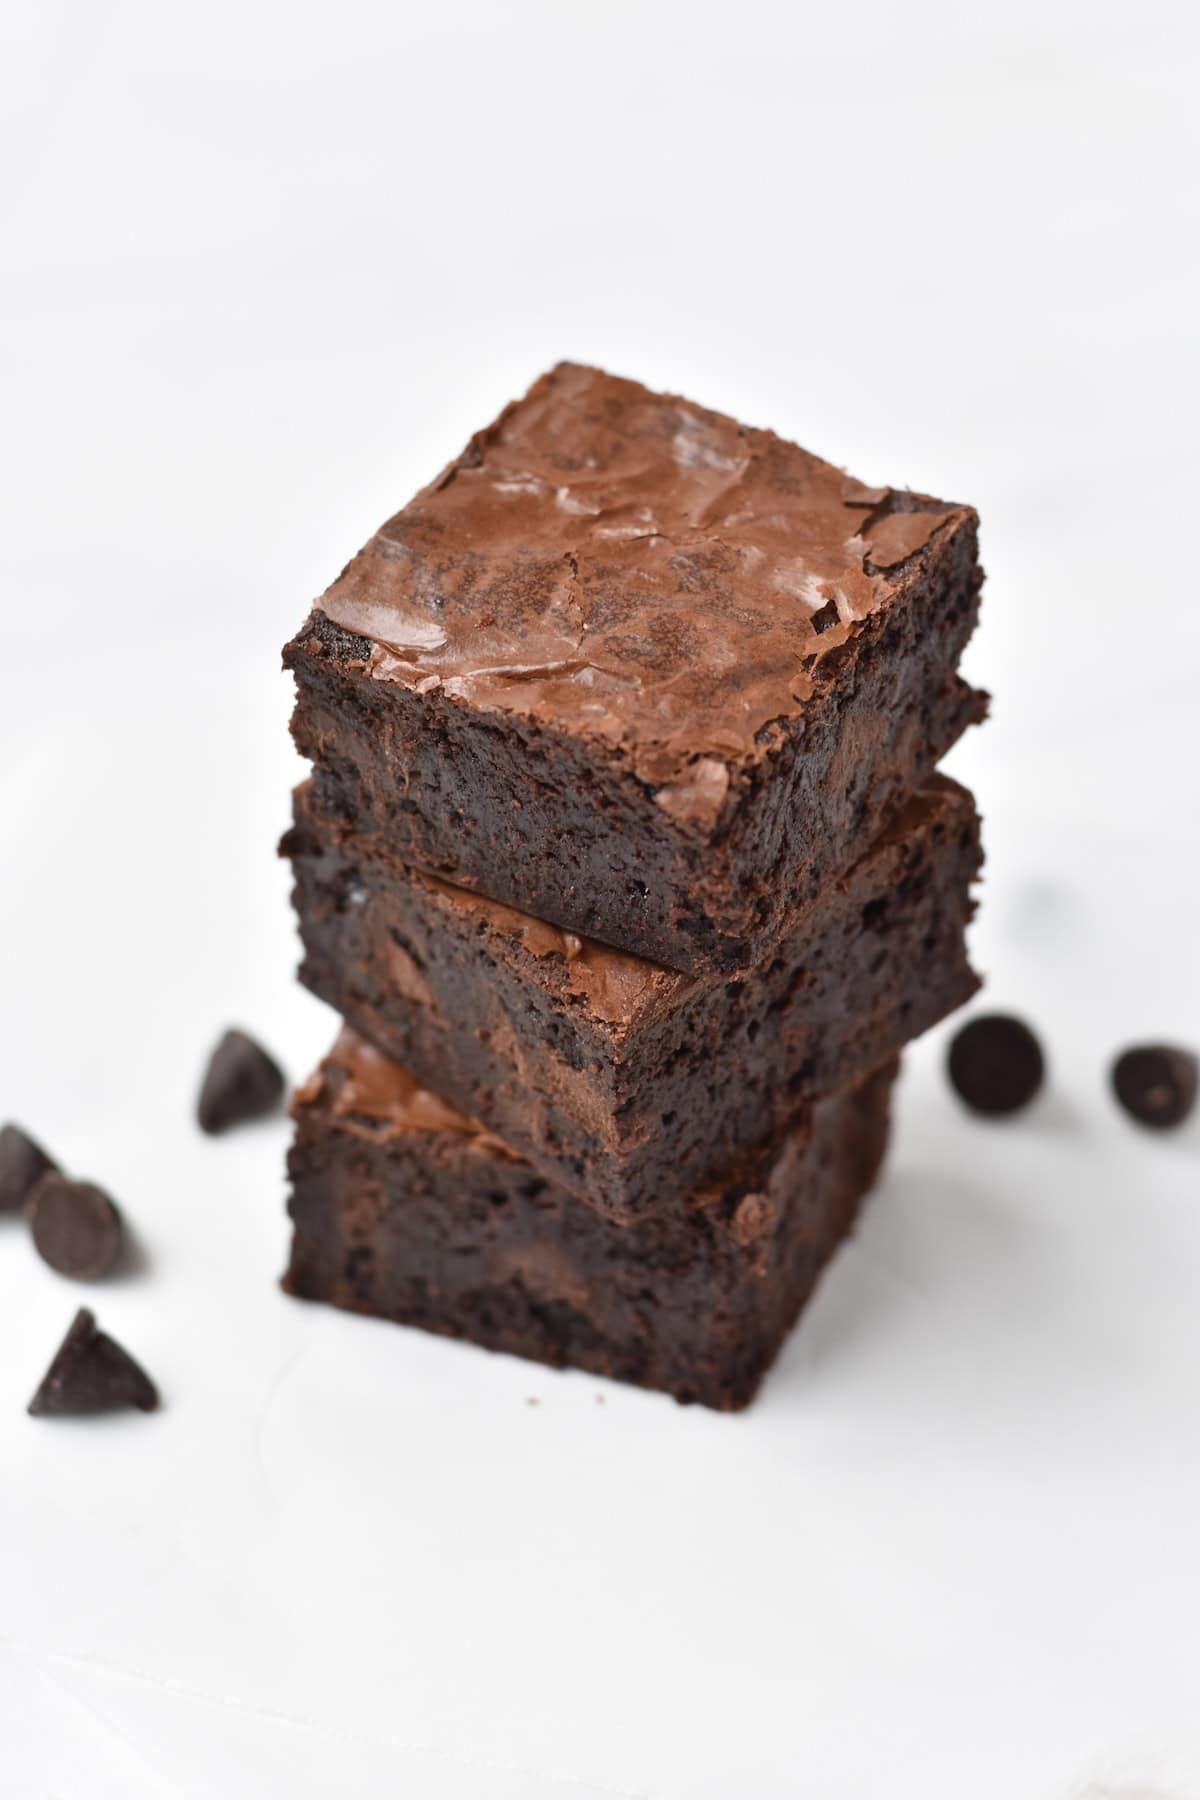
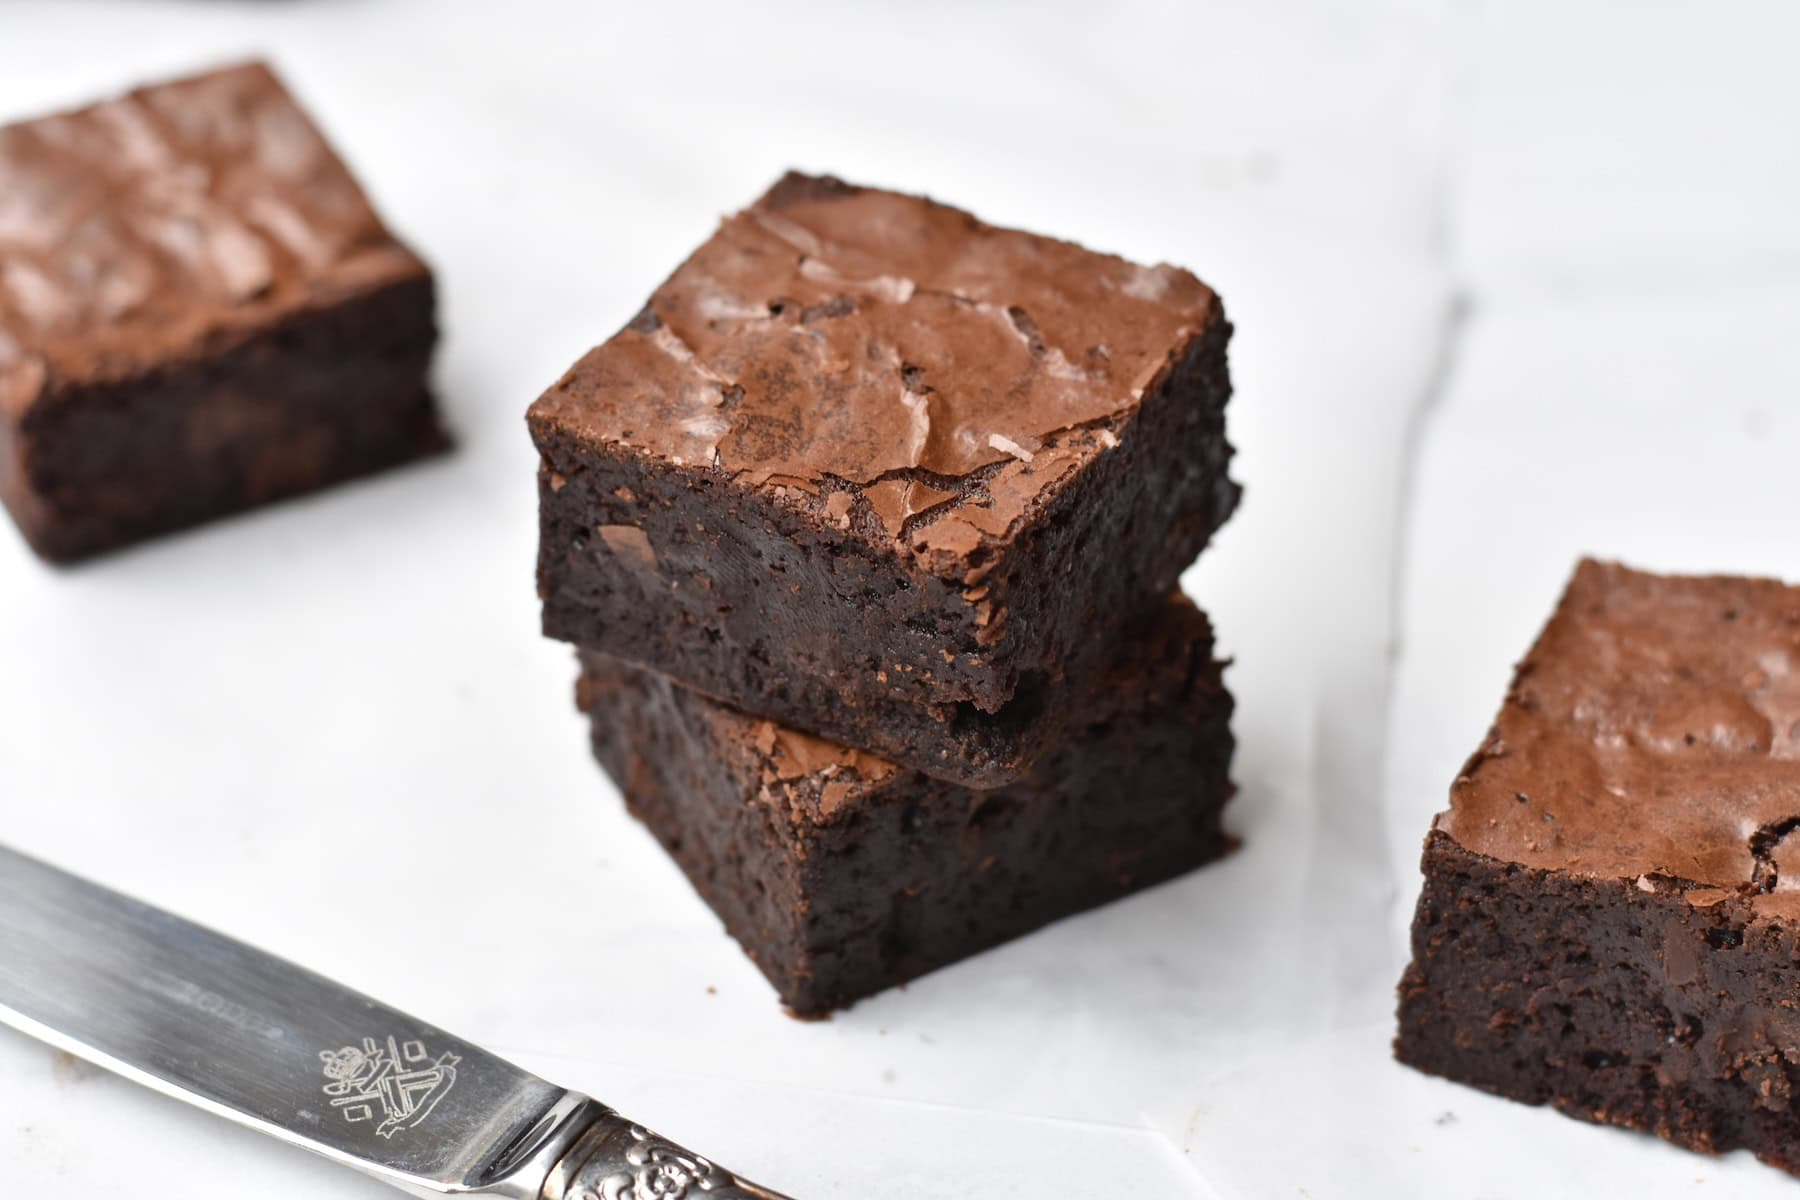
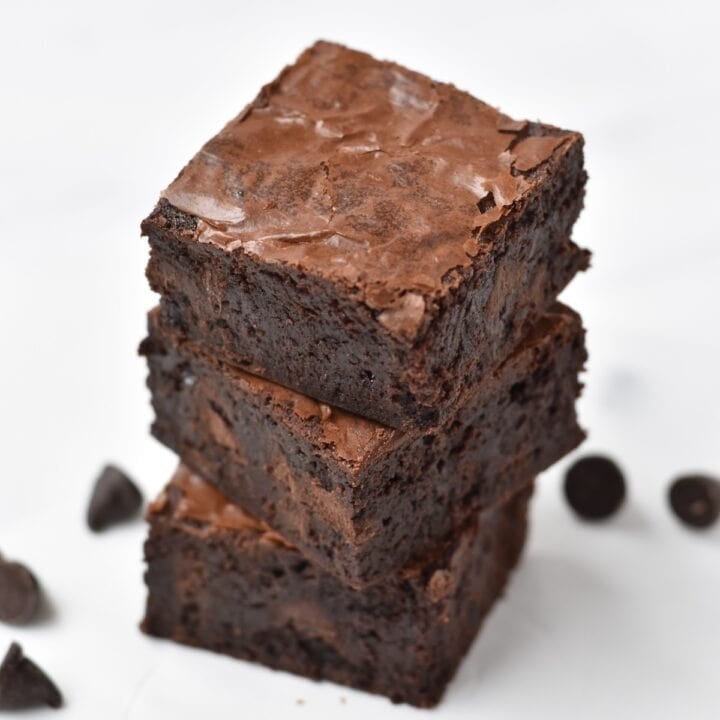
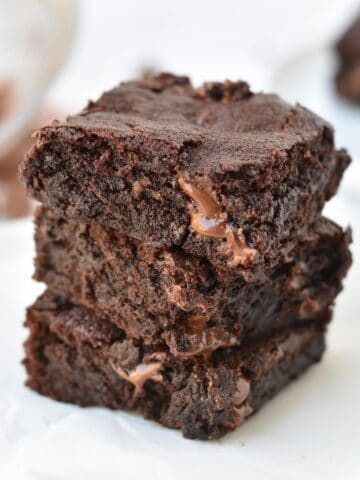
These gluten-free brownies are full of rich chocolate flavour, fudgy, and have a tiny bit of chew without being dense and heavy. Plus, they have the crackly tops that brownie dreams are made of!
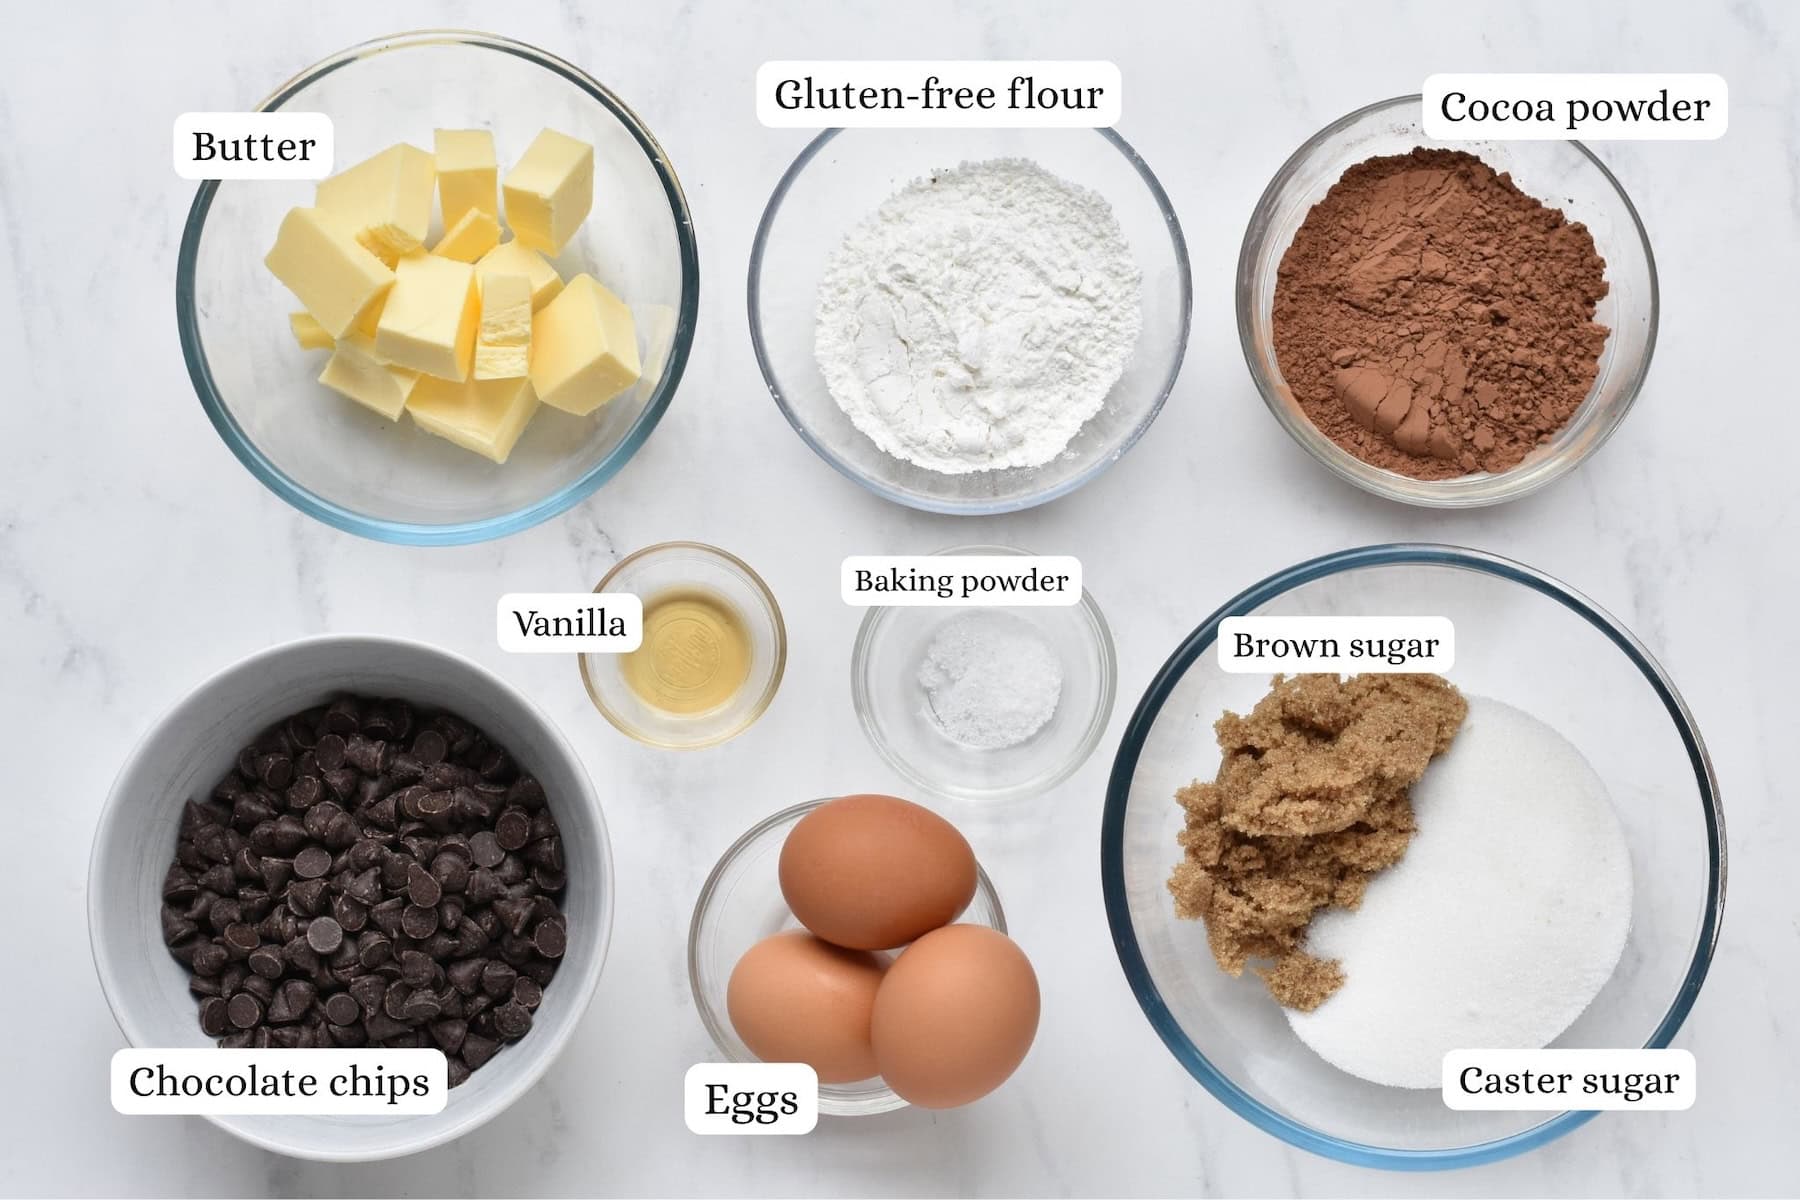
Ingredients in Gluten-Free Brownies
- Dark or semi-sweet chocolate: use melts, chocolate chips or chopped baking chocolate blocks. Don’t use very dark chocolate or it will be bitter – I like around 40-50% cocoa. Make sure it’s gluten-free.
- Unsalted butter: or use salted butter and omit the added salt.
- Brown sugar: keeps the brownies moist and fudgy.
- White sugar: helps give you that crackly top. The combo of both sugars is best, but you can use all white or all brown sugar if needed.
- Egg
- Vanilla: use liquid essence, extract or vanilla paste.
- Gluten-free flour (plain or all-purpose): use your favourite brand.
- Unsweetened cocoa powder: I like Hershey’s (US/CA) or Nestle (AU). Don’t use raw cacao powder (too bitter) or hot cocoa powder. Make sure it’s gluten-free.
- Mix ins! (optional): Extra chocolate chips (any kind), chopped chocolate blocks, or nuts like walnuts or pecans.
How to Make Gluten-Free Chocolate Brownies
To make these easy brownies, you’ll need
- A large, microwave-safe bowl
- A whisk
- A wooden spoon or spatula
- A brownie pan
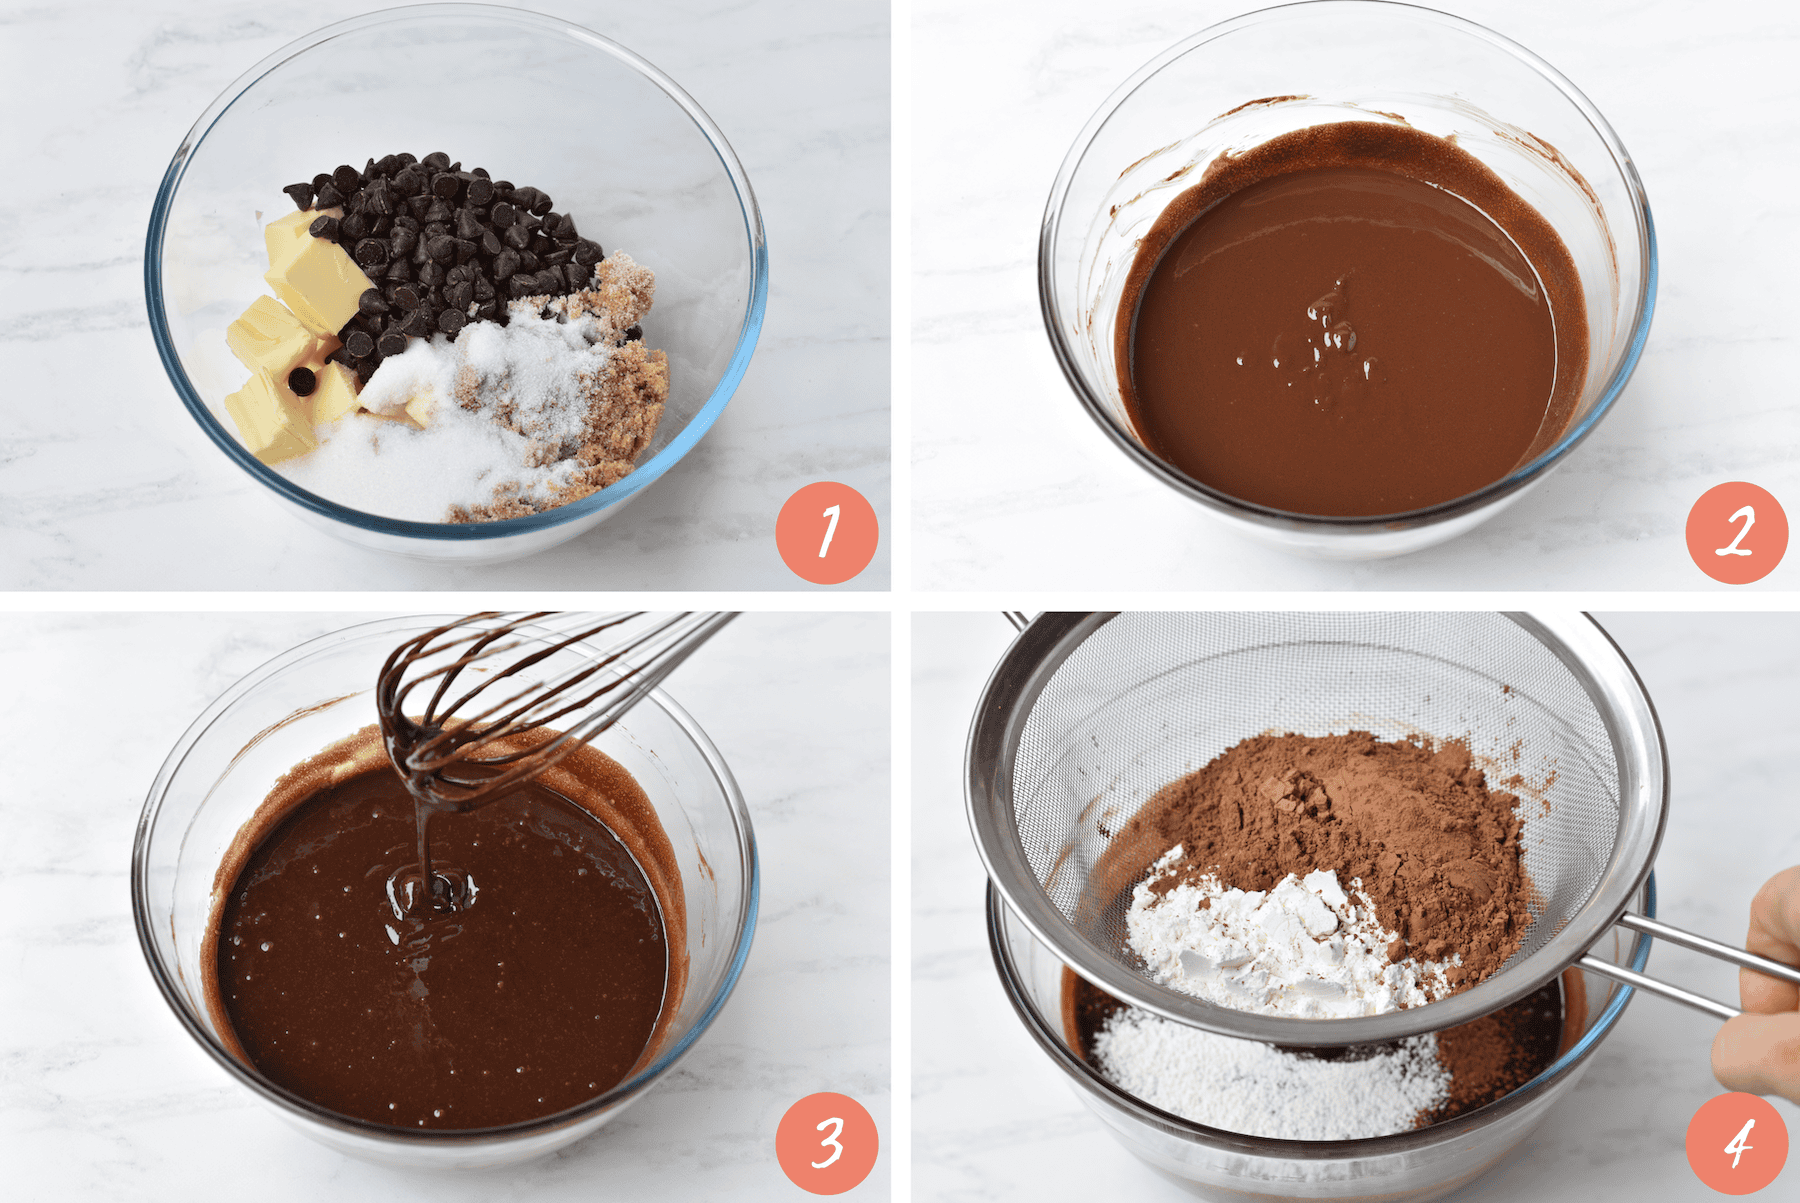
1. Combine your butter, sugars and chocolate into a large heat-proof bowl.
2. Microwave in short bursts, stirring well inbetween, until melted. Top tip! Microwave for an extra 30 seconds. This extra burst of heat helps dissolve the sugar and gives you crackly tops!
3. Whisk in the eggs, one at a time, then the vanilla.
4. Sift over gluten-free flour and cocoa powder, then add salt.
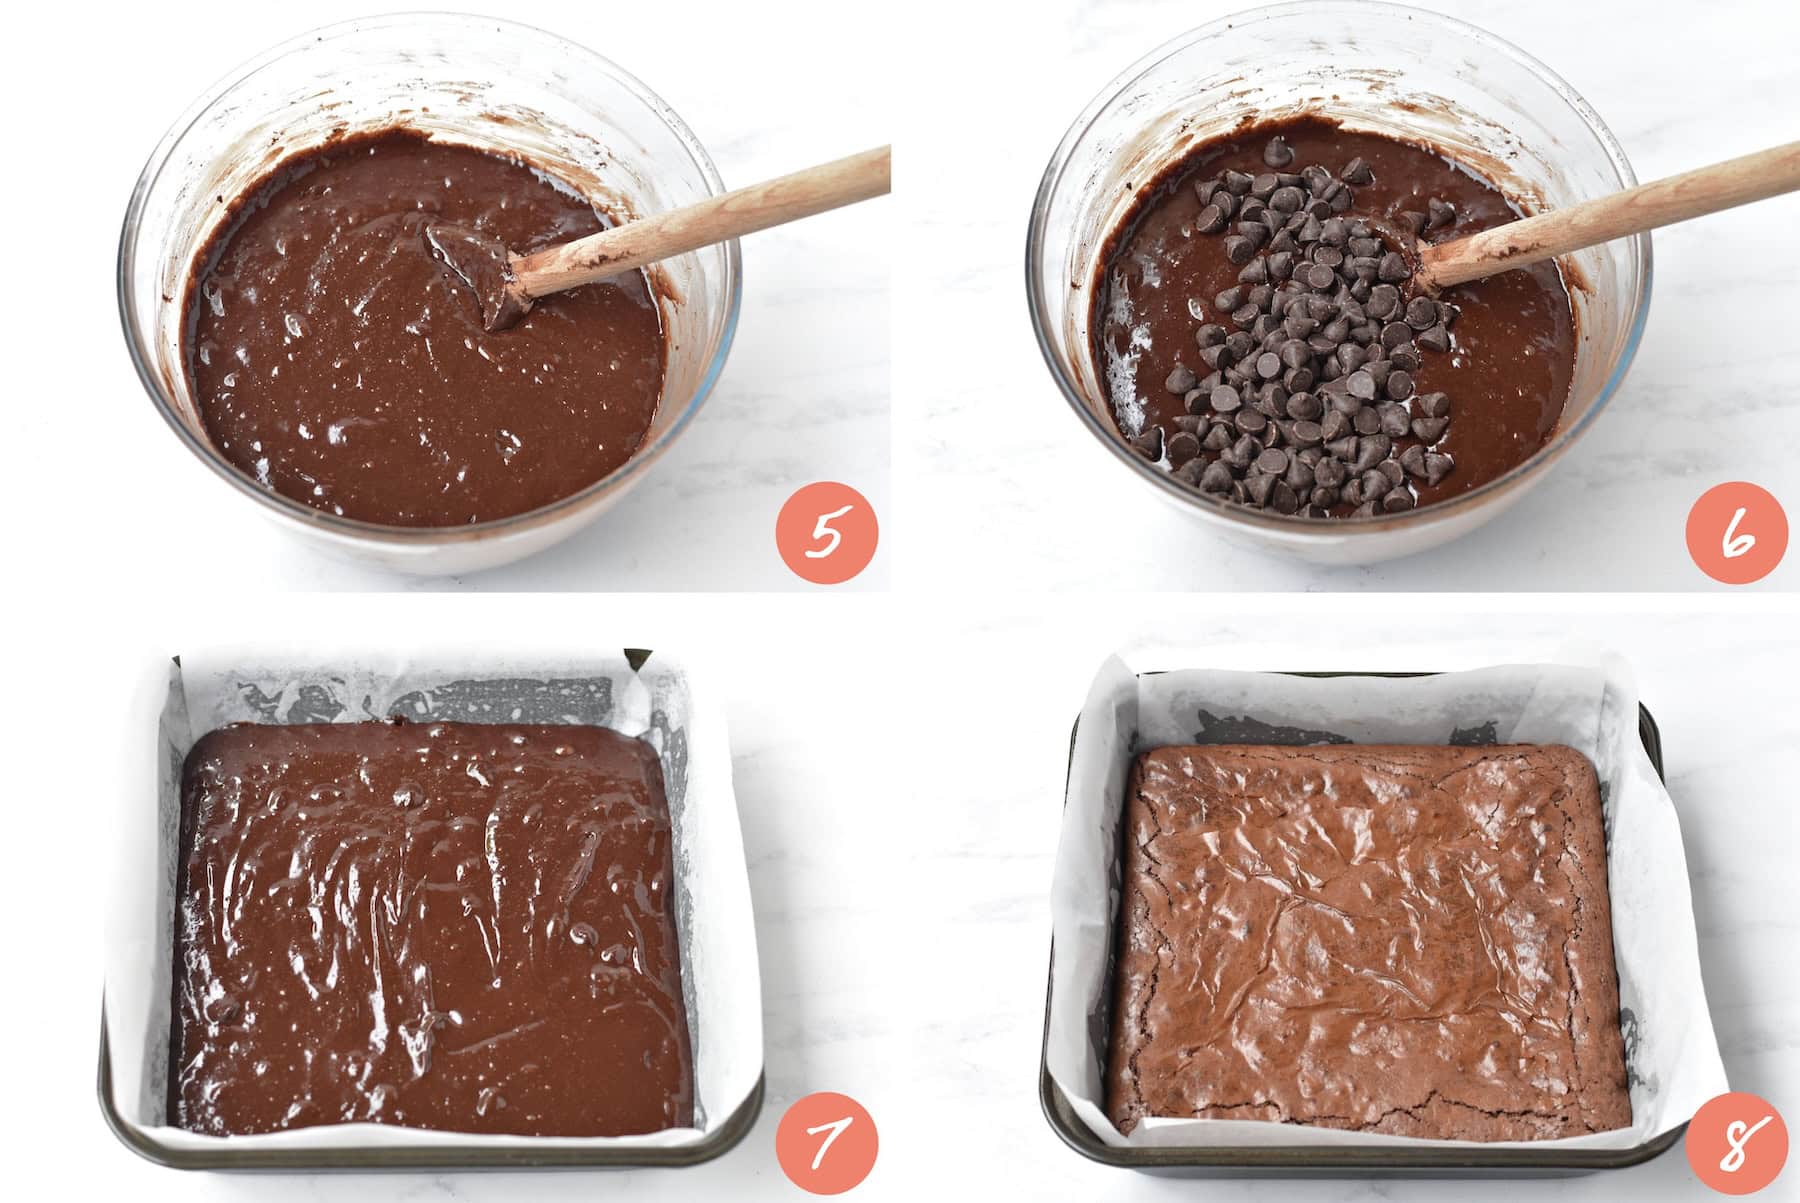
5. Stir until just combined (don't overmix).
6. Stir in chocolate chips or nuts (if using). Take care to fold them in gently.
7. Scrape into your prepared pan.
8. Bake for 30 minutes or until set on top and it doesn't wobble when gently shaken.
Your Brownie Questions, Answered!
Are brownies better with butter or oil?
I find oil separates more easily in the batter, and gives you a cakier result. I like the flavour and texture of butter more.
Is it better to bake brownies in glass or metal?
I use a metal pan, every time! Glass takes longer to absorb heat and holds the heat for longer, which is great for large, slower cooked meals like lasagne or casseroles.
With brownies however, you want them to cook quickly and evenly, which is easier to achieve with a metal tin.
If you do use a glass pan, you may need to increase the cooking time by 5-10 minutes.

Why are my brownies sinking in the middle?
Brownies may sink in the middle if they are undercooked. They can also sink if you open the oven too early in the cooking process, allowing too much heat to escape. Try not to open the oven until at least 20 minutes has elapsed.
Brownies can also sink if the batter is overmixed, which may create too much air in the batter and cause the brownie to collapse when baked. Only mix the brownie batter until just combined.
Why did my brownies go hard or crack?
If your brownies are hard or cracked, they are either overbaked or there’s too much flour in the batter. I regularly check that my oven temperature is accurate with an oven thermometer.
When measuring your flour, don’t scoop the flour out of the tin with the measuring cup, but instead use a spoon to scoop the flour into the cup, then level it off with the flat edge of a butter knife.
How to Know When Brownies are Done
Brownies aren’t like cakes — you can’t just test them with a skewer to see if they are done. The first you can do is the wobble test: when you gently move the brownie tin back and forth, it should no longer wobble.
The top of the brownie should be even and shiny. If you can still still ‘wet’ areas then it needs to cook for longer. You can also look at the edges of the brownie and they should be a slightly darker colour (but not burnt).
For this recipe, I find that
- 25-28 mins: will give you a gooey brownie
- 28-32 mins: will give you a fudgy and chewy brownie
- 32-35 mins: will give you a denser brownie with no gooeyness
Storing Gluten-Free Brownies
Keep these brownies in an airtight container at room temperature for up to 1 week. I think these actually taste better on day 2 or 3.
Can brownies be frozen?
Yes! Cool the brownies completely, slices into squares, then wrap individually in cling film and place in an airtight container. Allow to defrost for 6 hours or overnight then enjoy! Tip: pop one in lunchboxes in the morning and they’ll be ready to eat by lunch!
Gluten Free Brownies
Forget dry, dense and bland gluten-free brownies. These are the most perfect chewy, thick, crackly topped gluten-free brownies you'll ever make!
Ingredients
- 200 g (7 oz) block dark or semi-sweet chocolate, roughly chopped
- 125 g (4.5 oz / ½ cup) unsalted butter, chopped
- ½ cup (120 g) caster sugar / superfine sugar
- ½ cup (110 g) brown sugar, packed
- 3 large eggs
- 1 teaspoon (5 g) vanilla
- ½ cup (50 g) unsweetened cocoa powder
- ½ cup (68 g) gluten-free plain flour
- ½ teaspoon (3 g) salt
- ½ cup (100 g) chocolate chips or chopped nuts, optional
Instructions
- Preheat the oven to 160°C / 320°F (fan/convection) or 180°C / 355°F (standard). Grease and line a 20 cm (8 inch) square tin with baking paper, ensuring there's at least 3 cm (1 inch) overhang for easy removal of the brownie.
- Combine chocolate, butter and sugar in a large heat-proof bowl. Microwave for 1 minute and stir well. Microwave in further 30 second bursts, stirring well in between, until chocolate is melted and smooth. Microwave for an extra 30 seconds to help melt sugar — this is the secret to crackly tops. Stir well.
- Whisk in eggs, one at a time, working fast to prevent the eggs from scrambling. Whisk in vanilla essence.
- Sift over flour and cocoa powder. Add salt. Stir together until just combined. Fold in chocolate chips or nuts, if using.
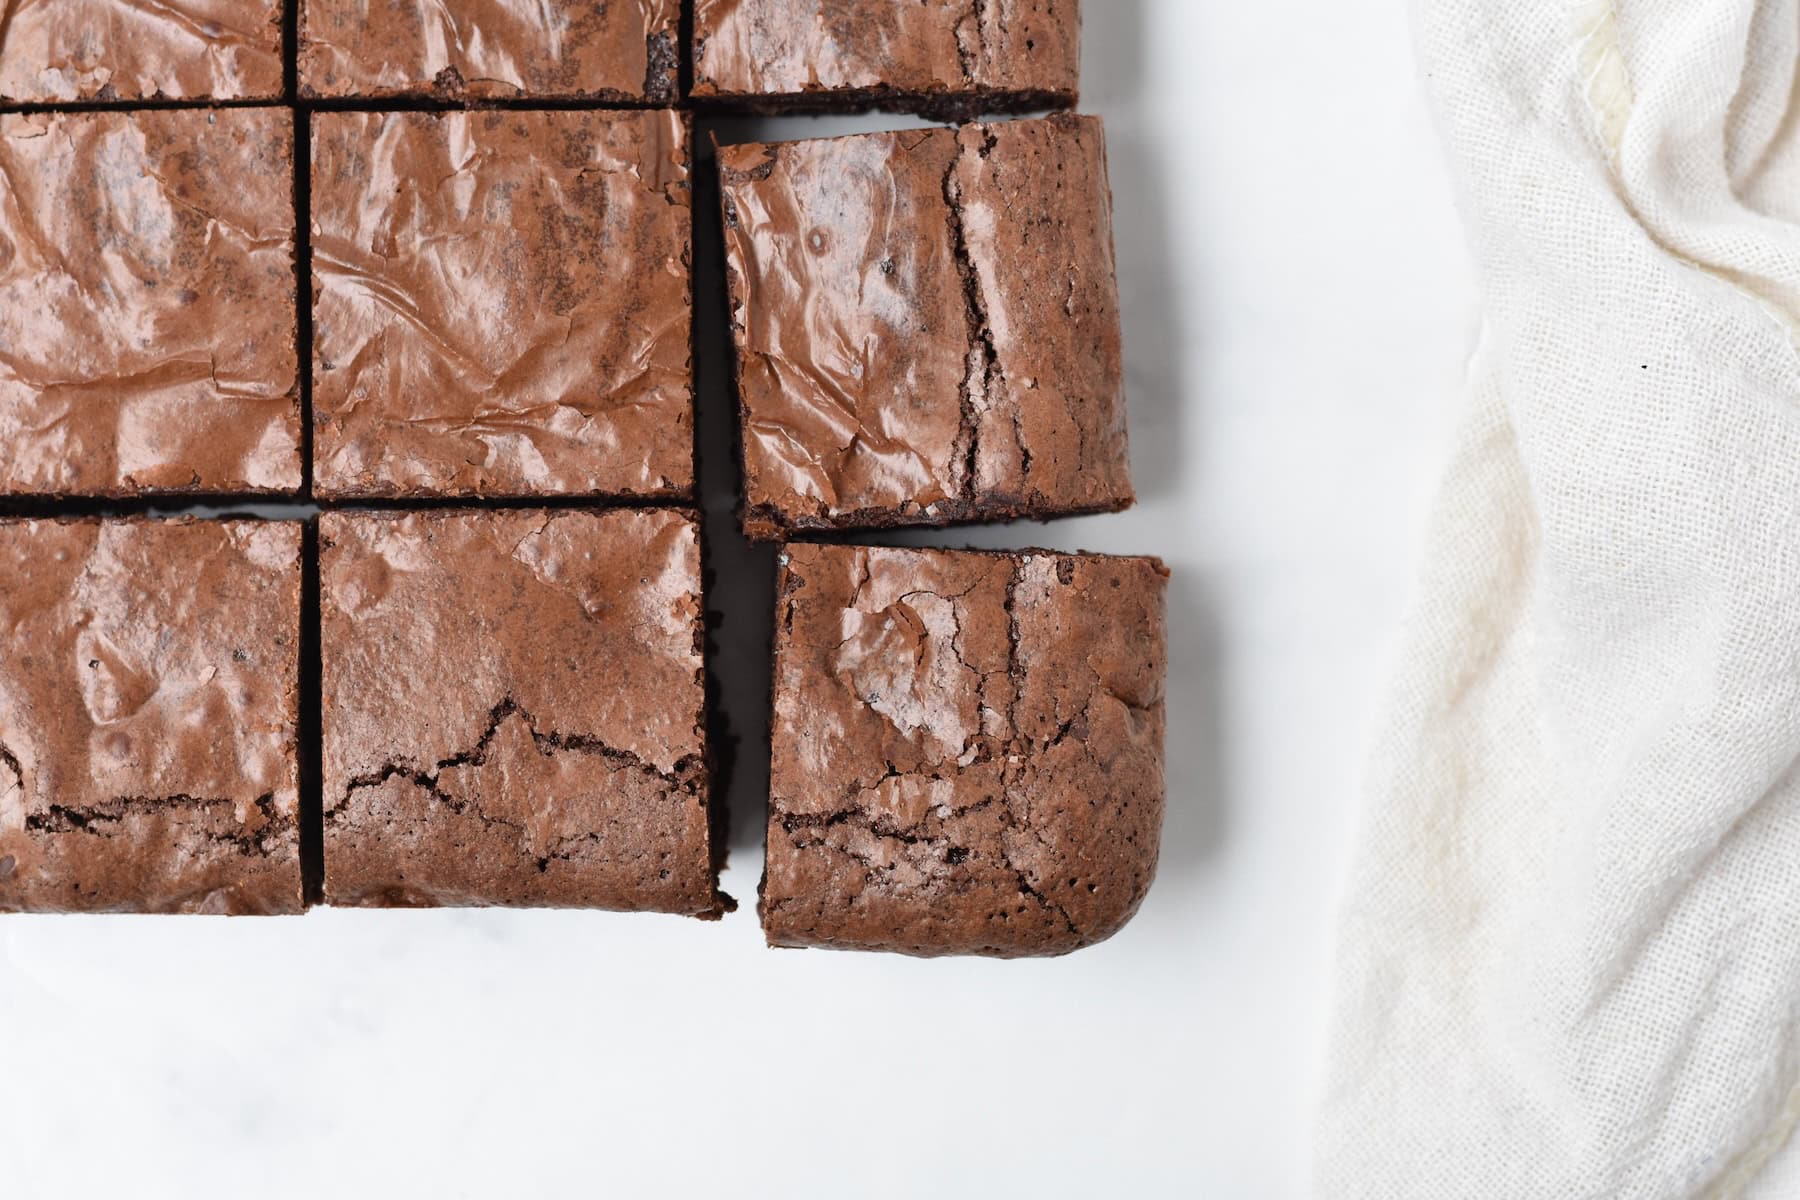
- Scrape the mixture into your prepared tin and bake for 25-30 minutes or until set and brownie no longer wobbles when gently moved. Allow to cool for 30 minutes before transferring to a wire rack to cool completely. Slice into 16 squares and enjoy.
Notes
Substitutions
- Dark or semi-sweet chocolate: use chocolate chips, chocolate melts or chopped chocolate blocks. Nothing darker than 50% cocoa or it starts to taste too bitter.
- Unsalted butter: can sub with salted butter and omit added salt.
- Caster sugar: sub with regular white sugar.
- Cocoa powder: use any unsweetened cocoa powder for baking. I like Hershey's or Nestle.
- Gluten-free plain flour: sub with oat flour, coconut flour or almond flour. May affect taste and texture compared to your standard GF baking blend of flour.
Storage
Keep these brownies in an airtight container at room temperature for up to 1 week. I think these actually taste better on day 2 or 3.
Nutrition Information:
Serving Size: 1 squareAmount Per Serving: Calories: 252Total Fat: 13gSaturated Fat: 8gTrans Fat: 0.1gUnsaturated Fat: 0.5gCholesterol: 38.5mgSodium: 89.3mgCarbohydrates: 29.3gFiber: 0.4gSugar: 18.4gProtein: 3.2g

Leave a Reply