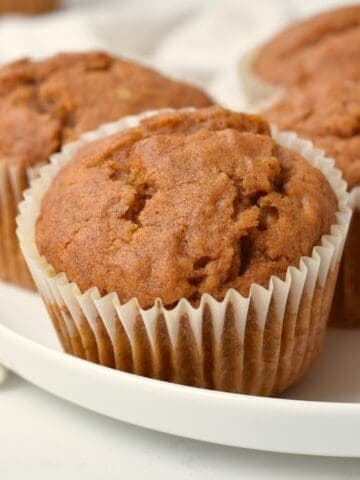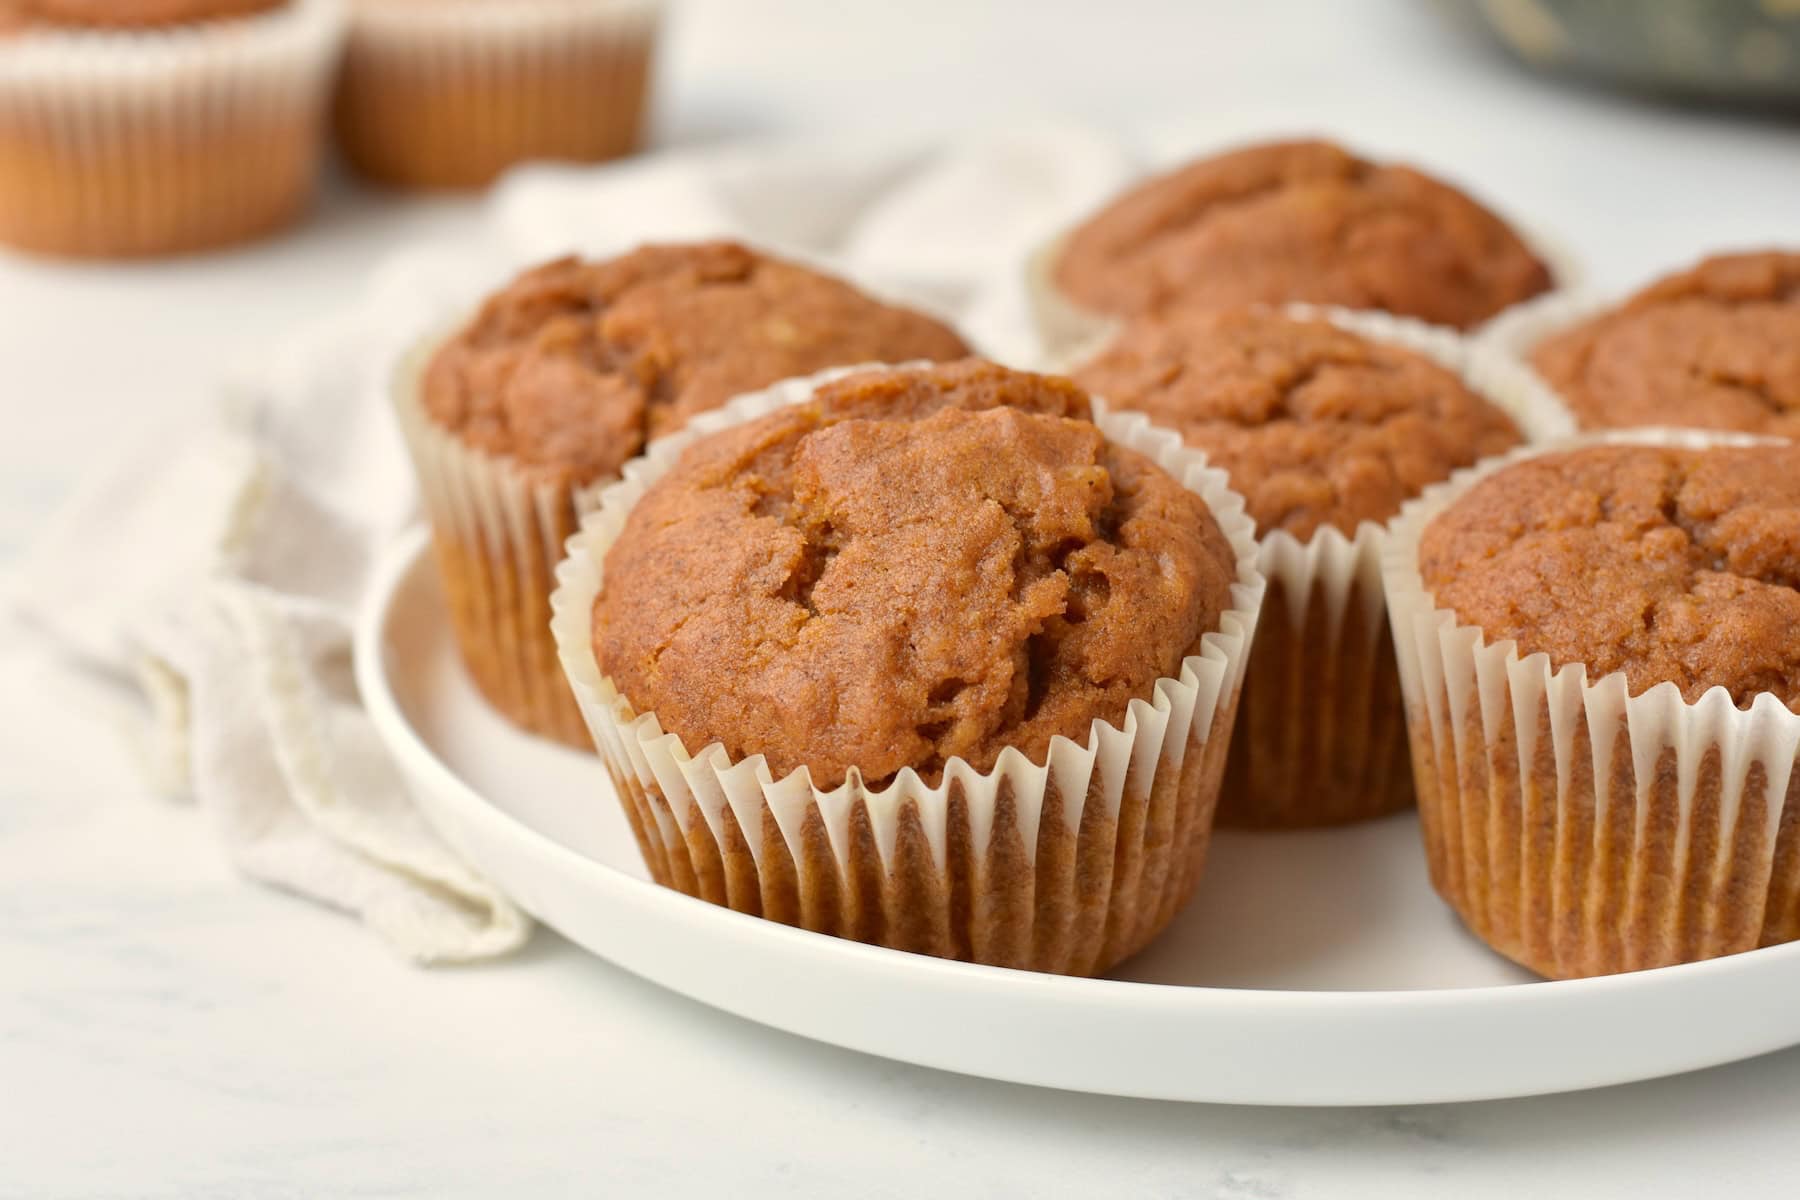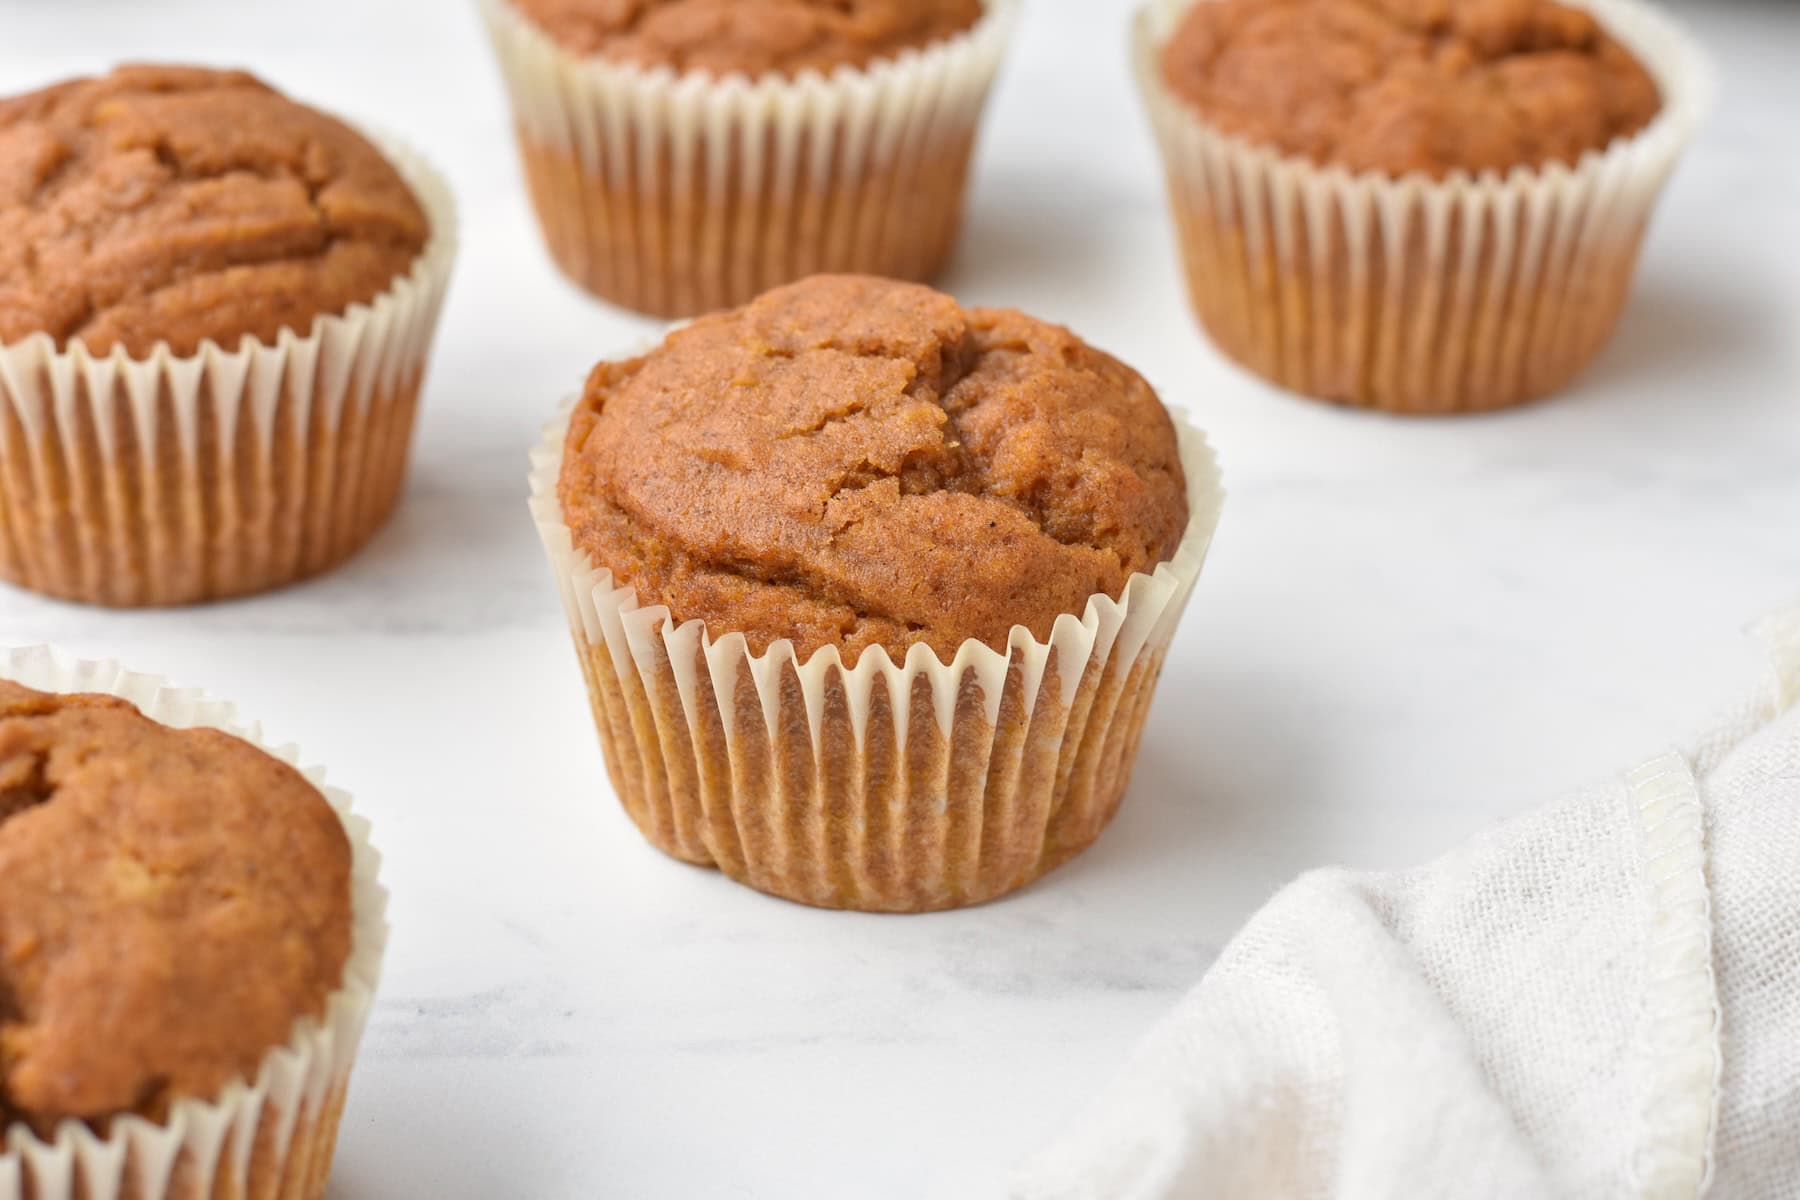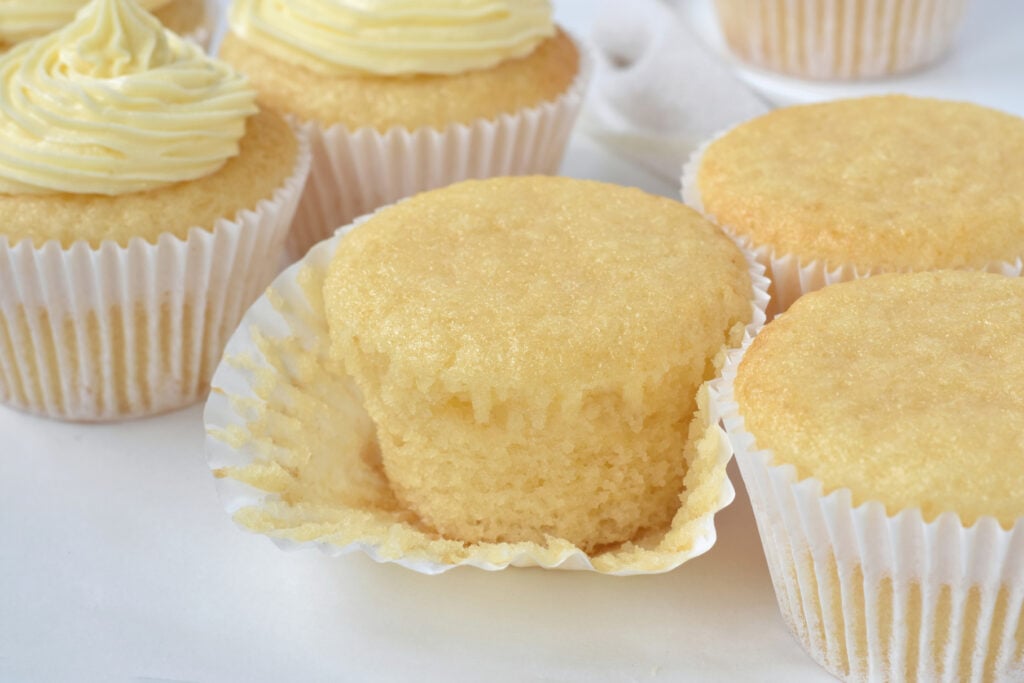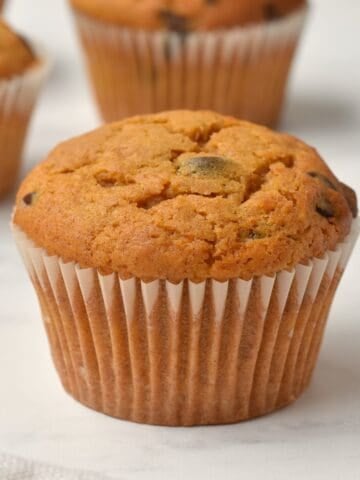
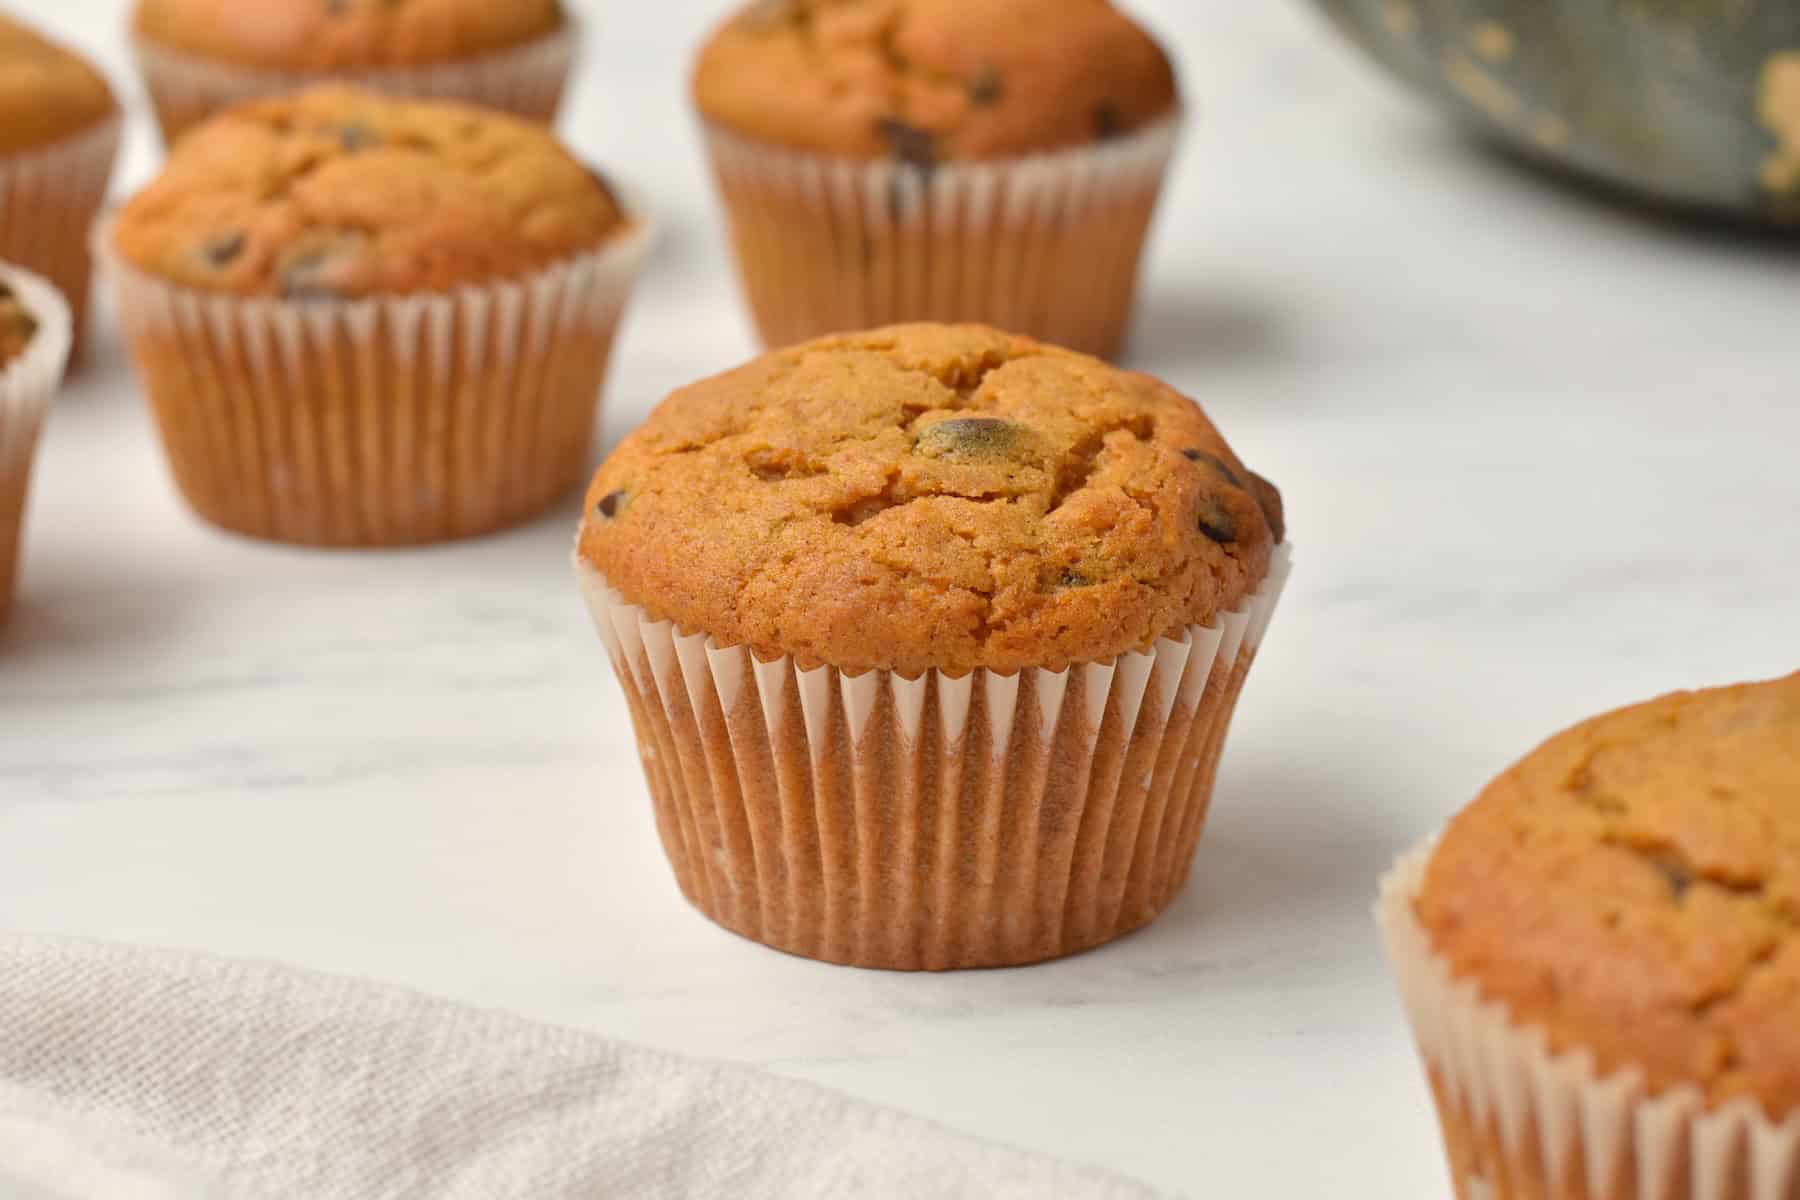
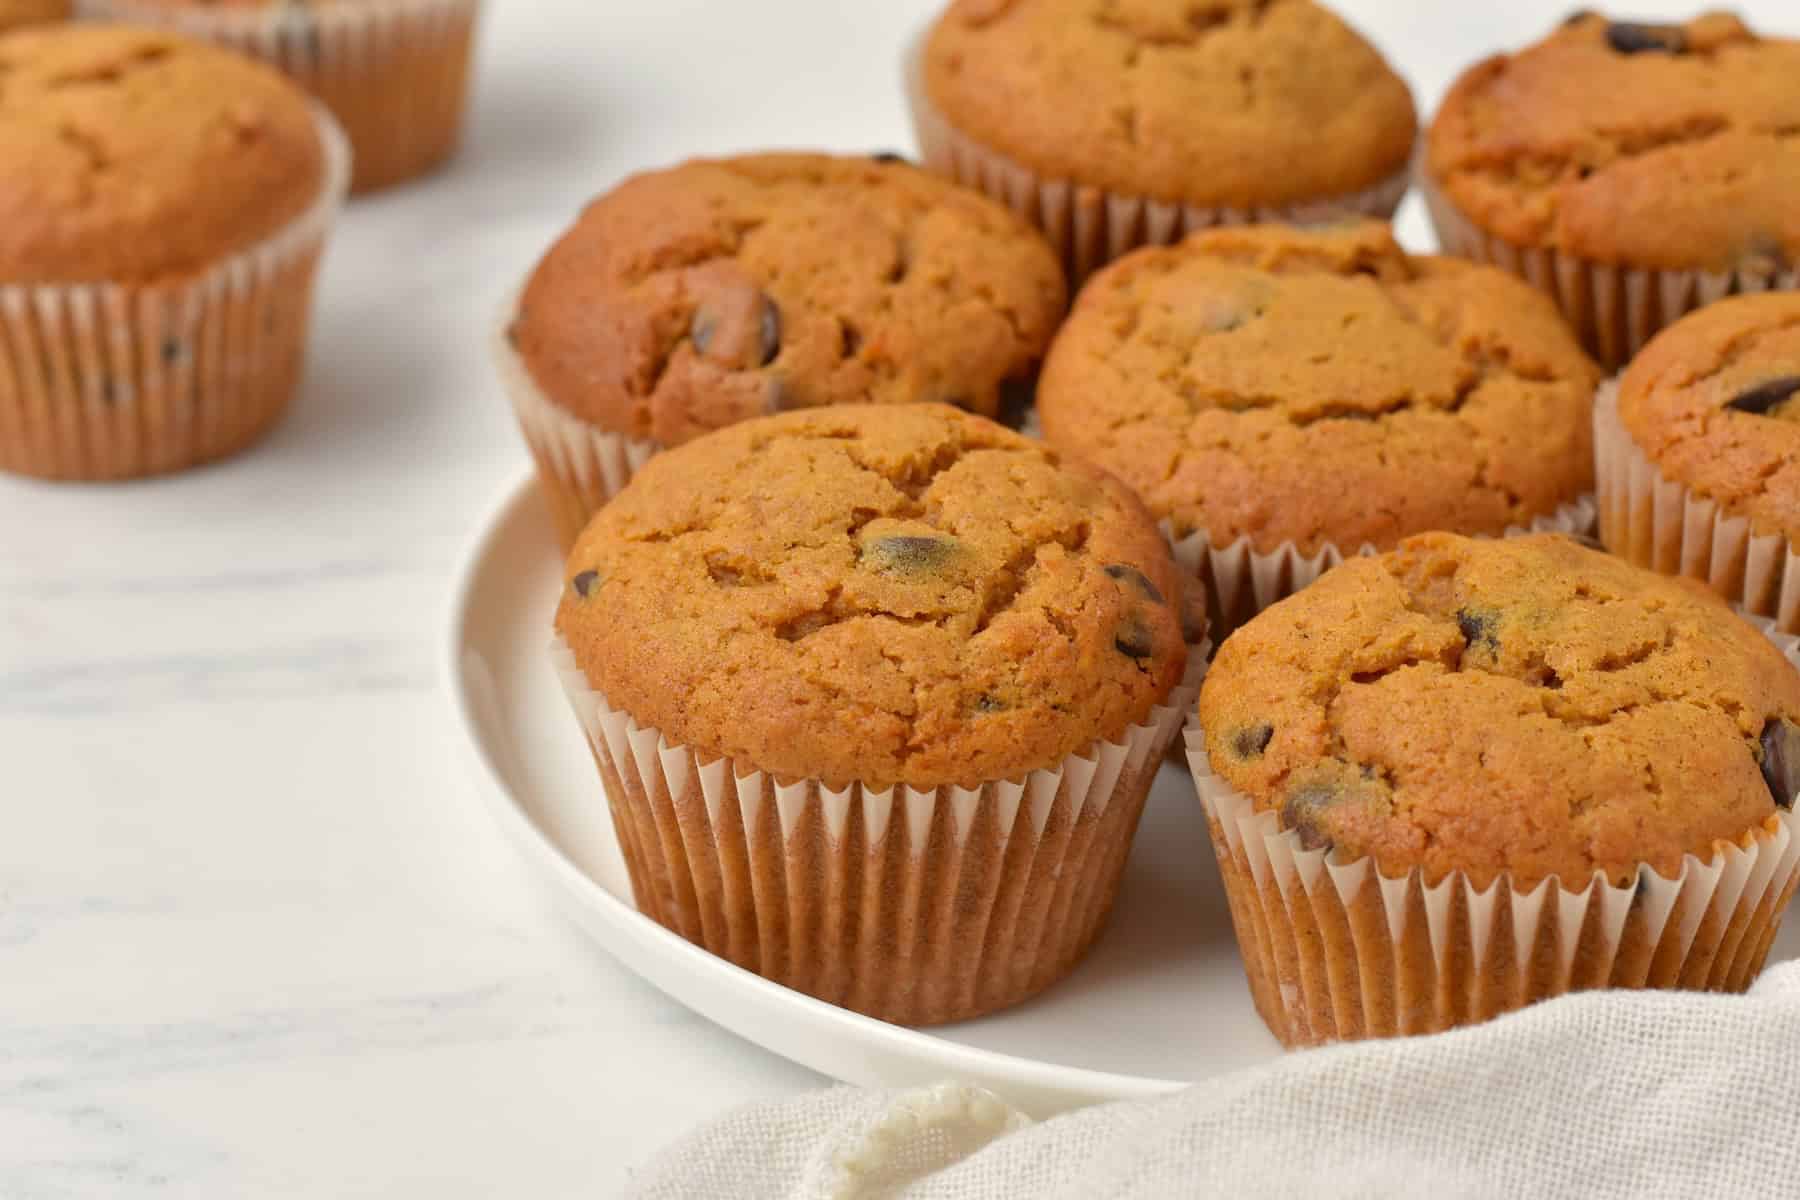
Need a way to use up your leftover pumpkin puree? These chocolate chip pumpkin muffins are my favourite easy recipe and always a crowd pleaser.
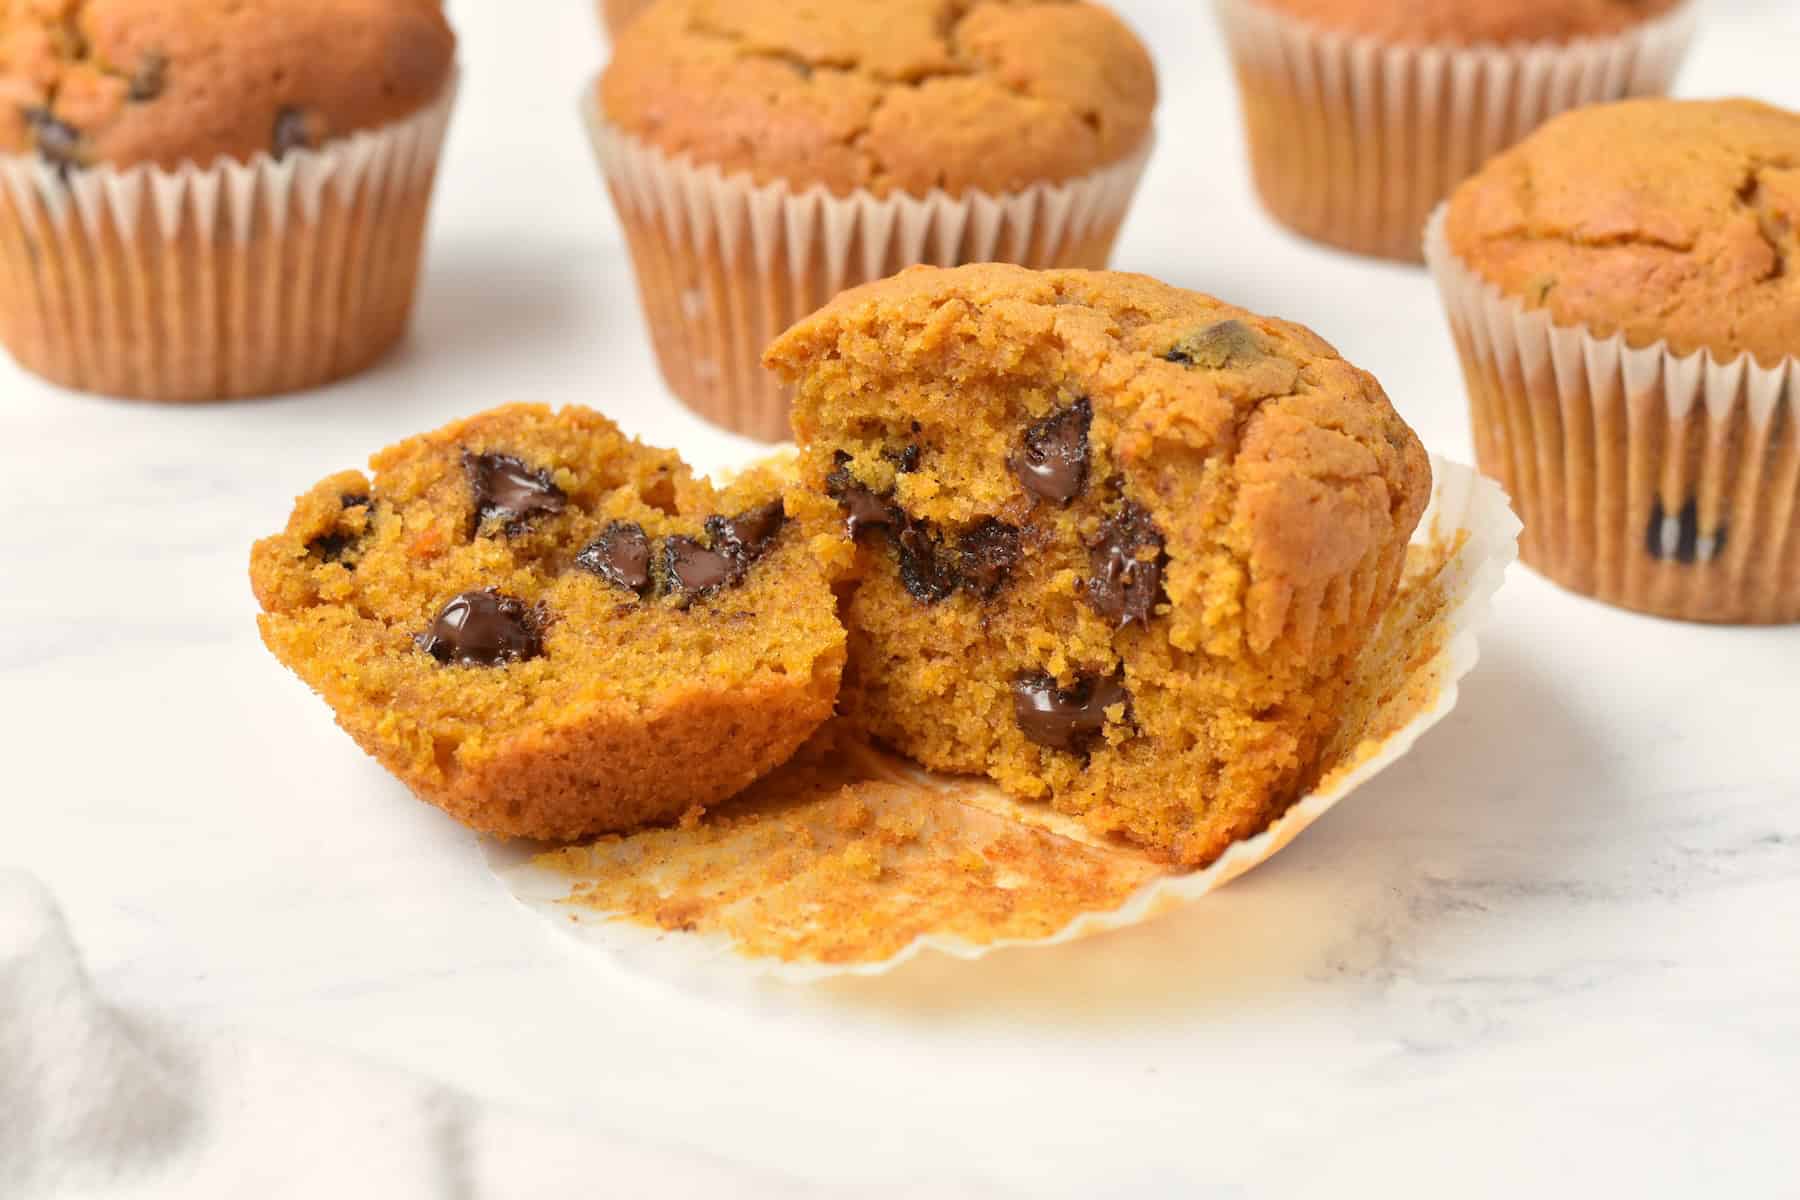
This muffin recipe doesn’t need an electric mixer, so it’s perfect to make with kids. It’s moist, studded with gooey chocolate chips and full of fall flavours.
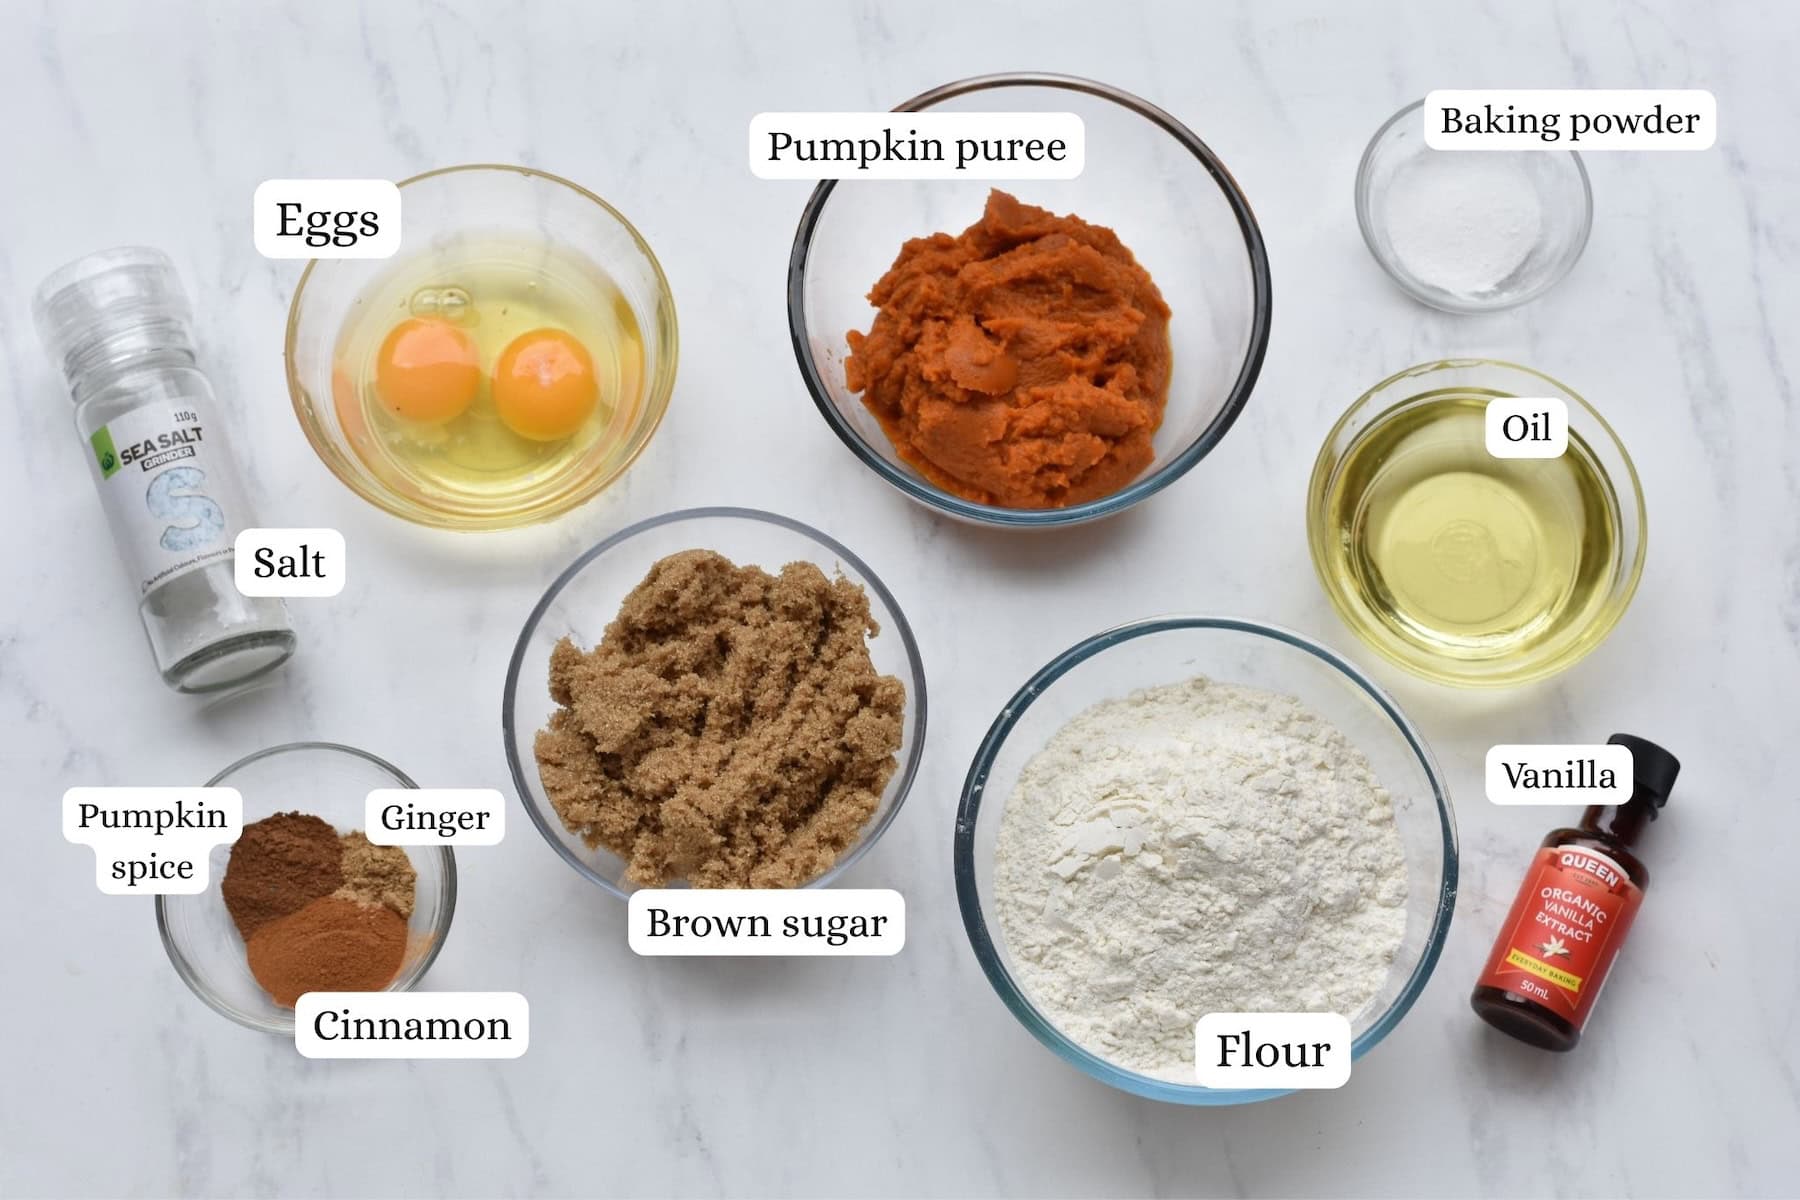
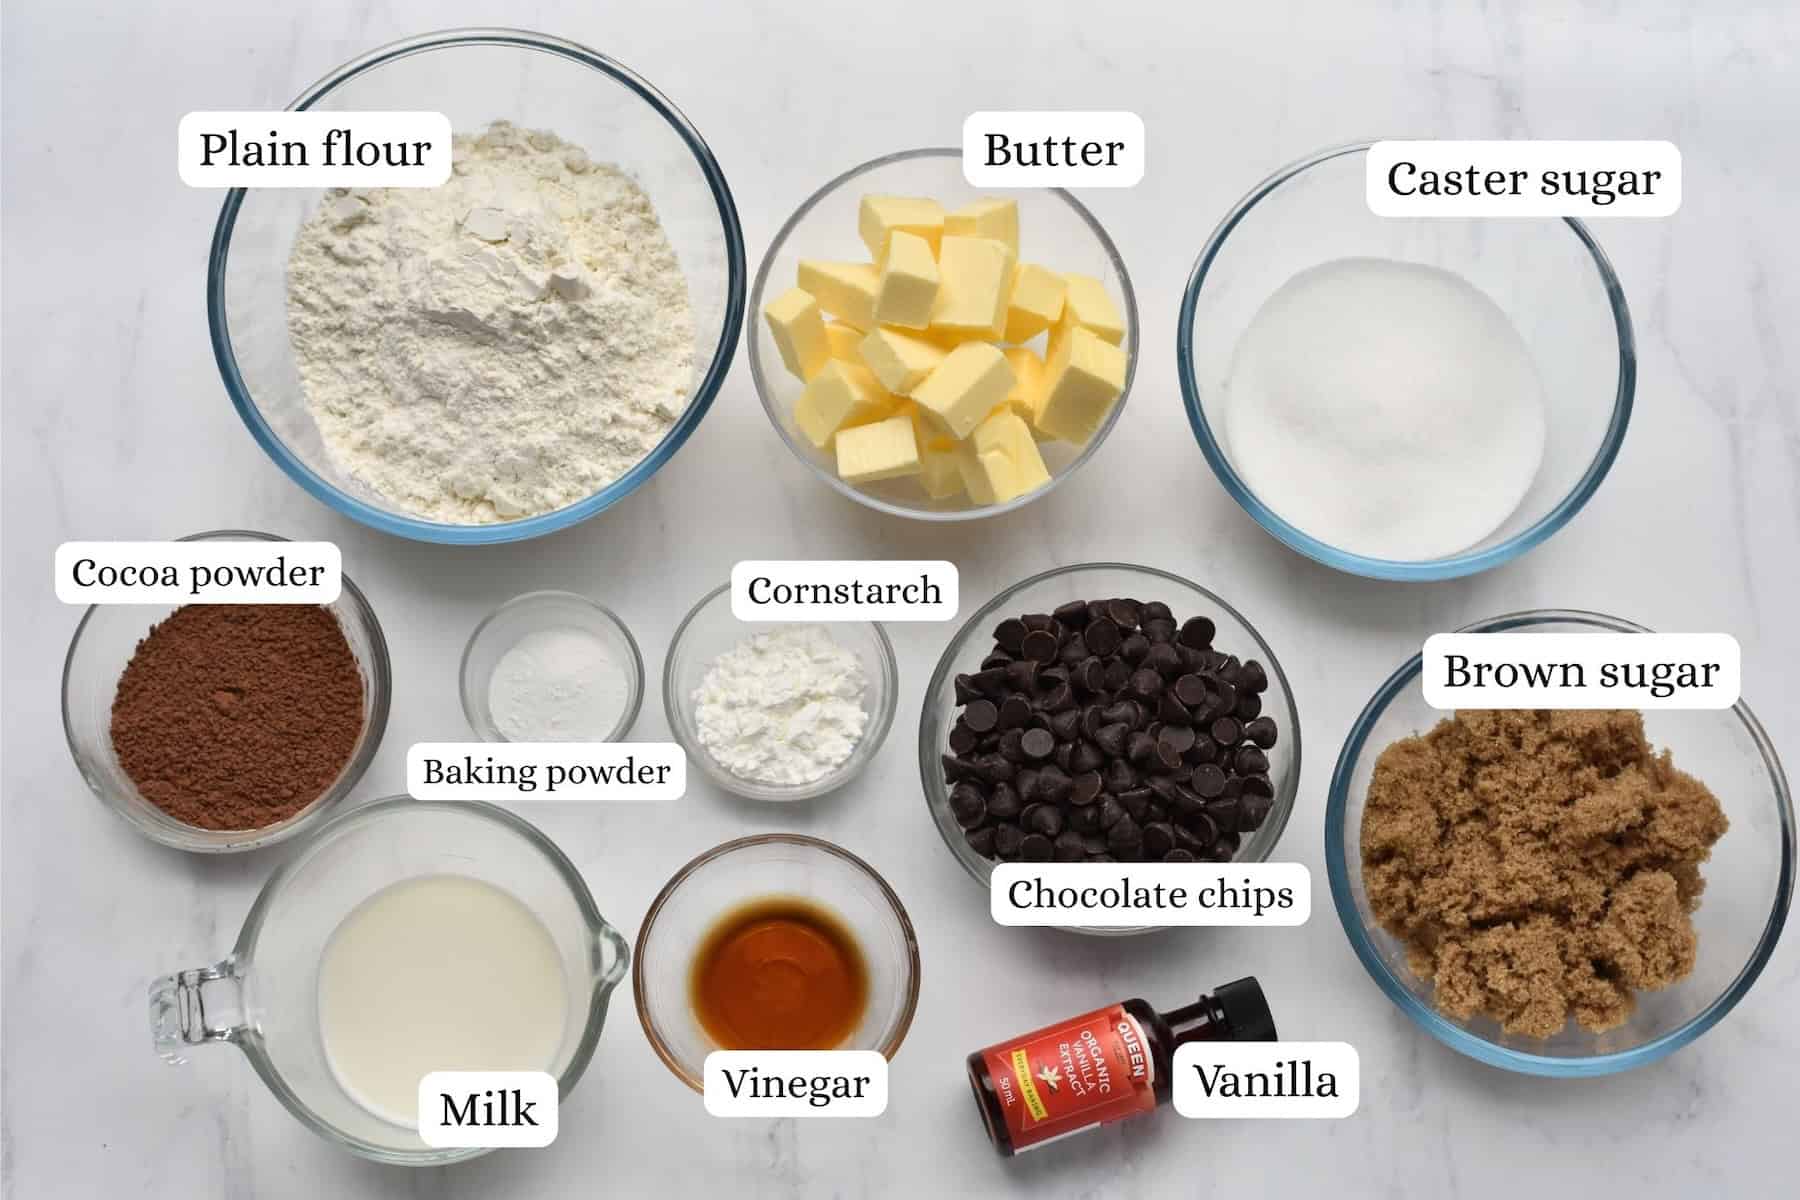
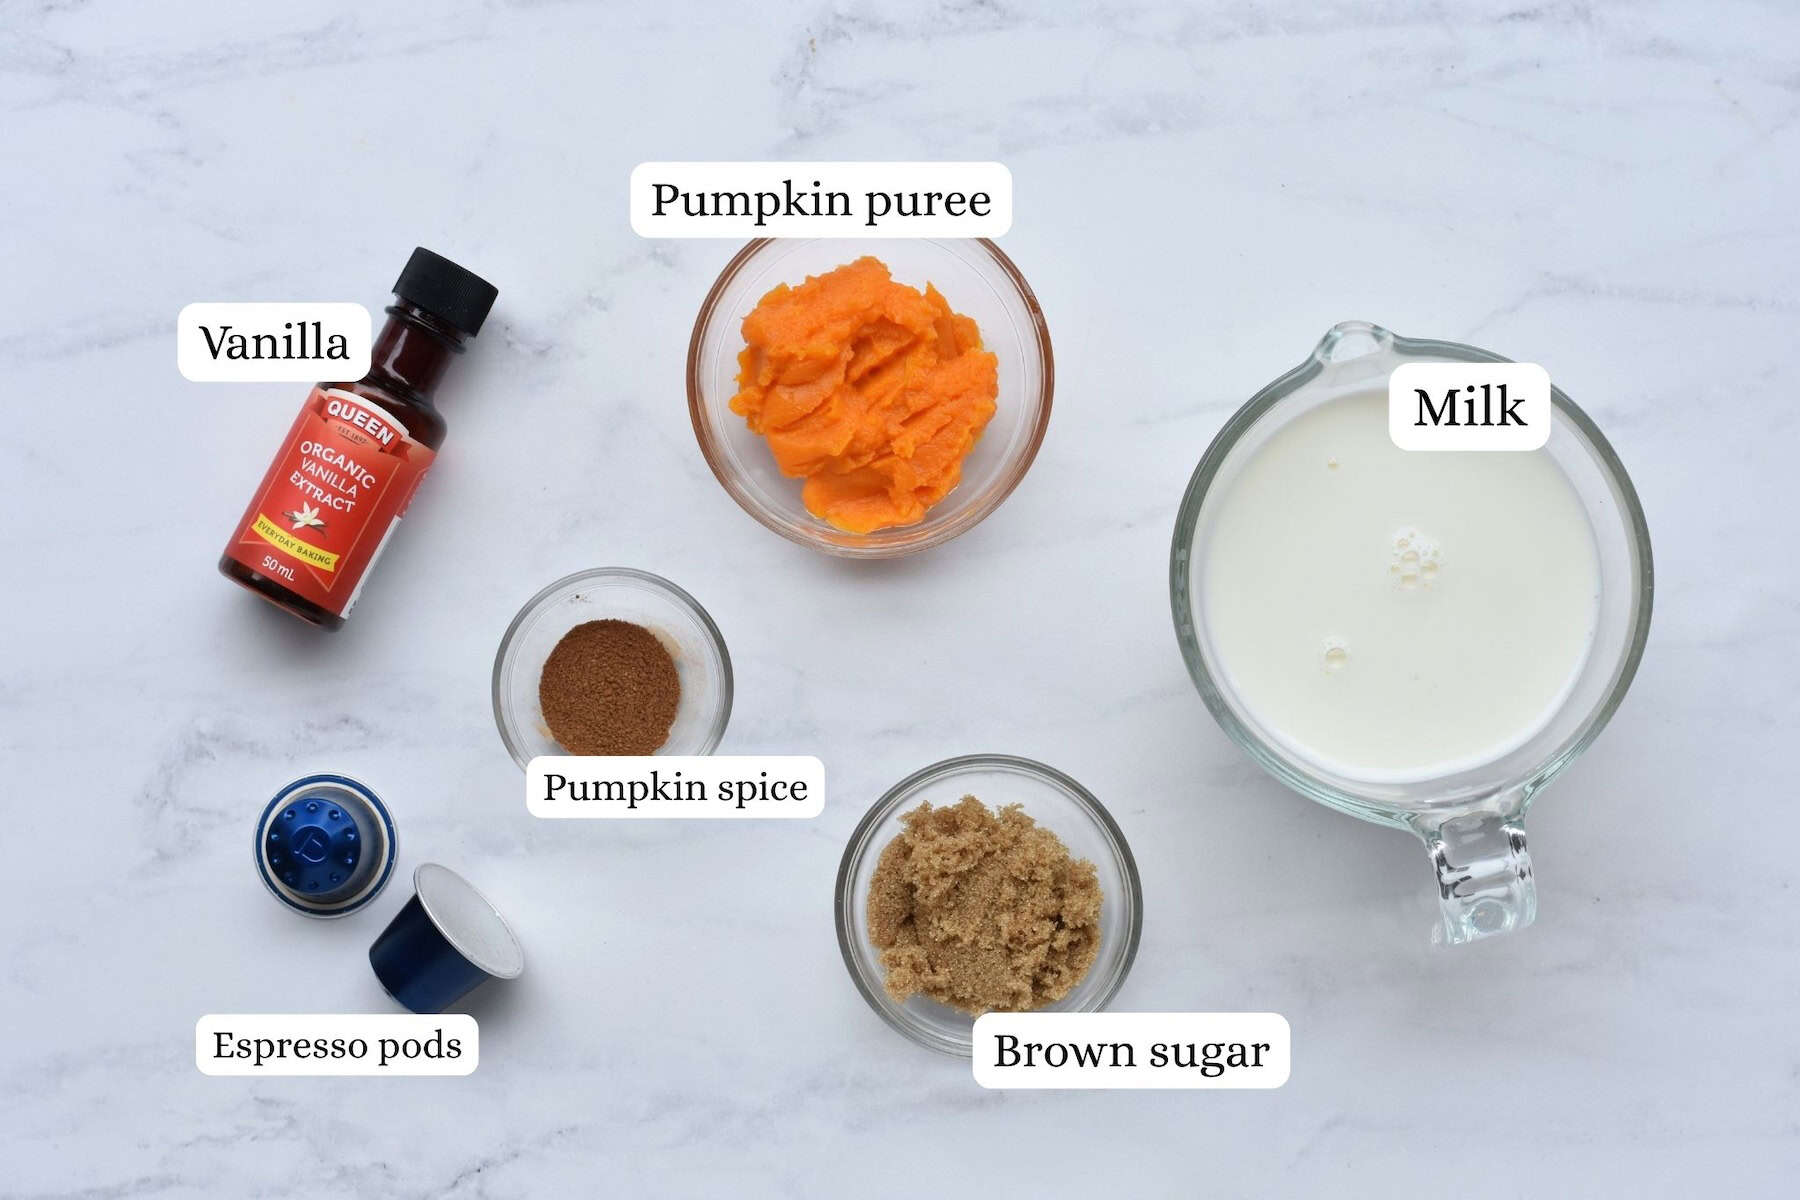
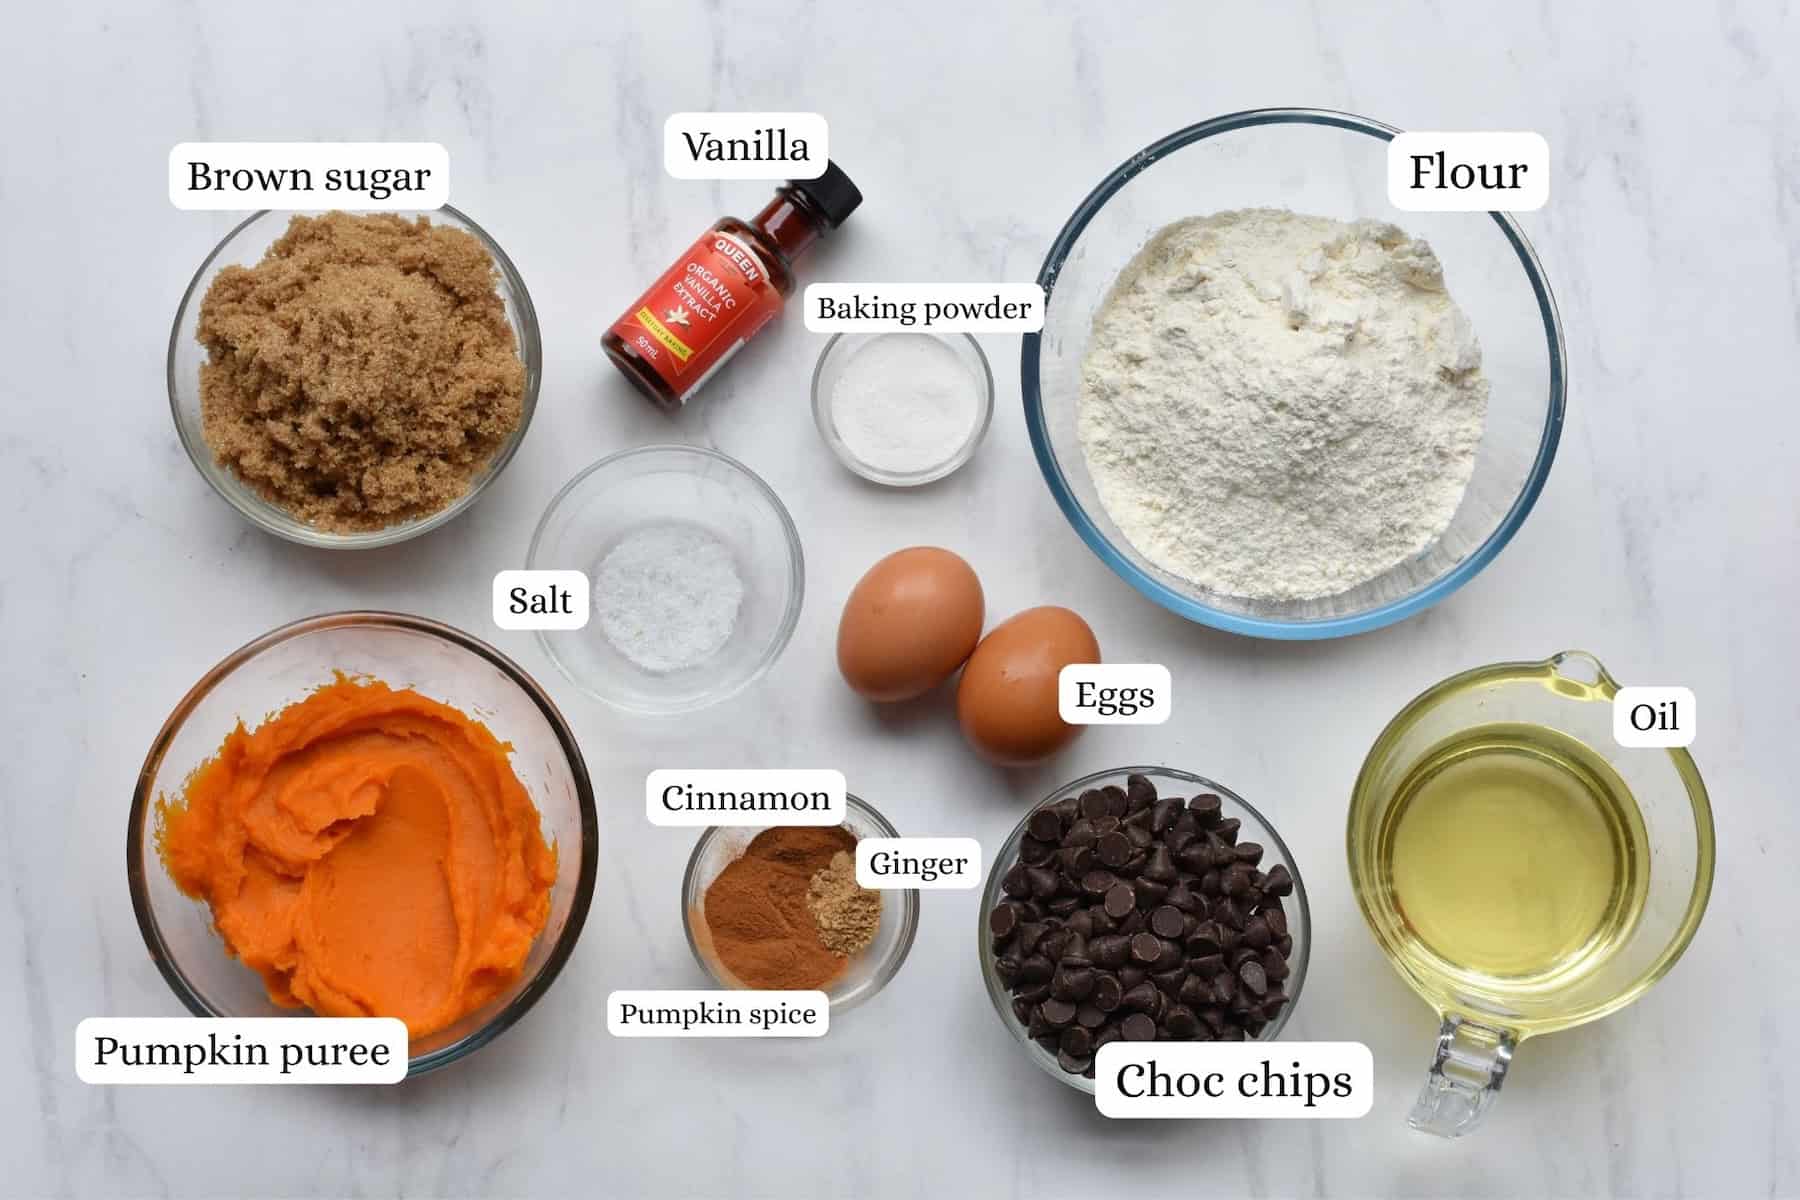
Ingredients in Chocolate Chip Pumpkin Muffins
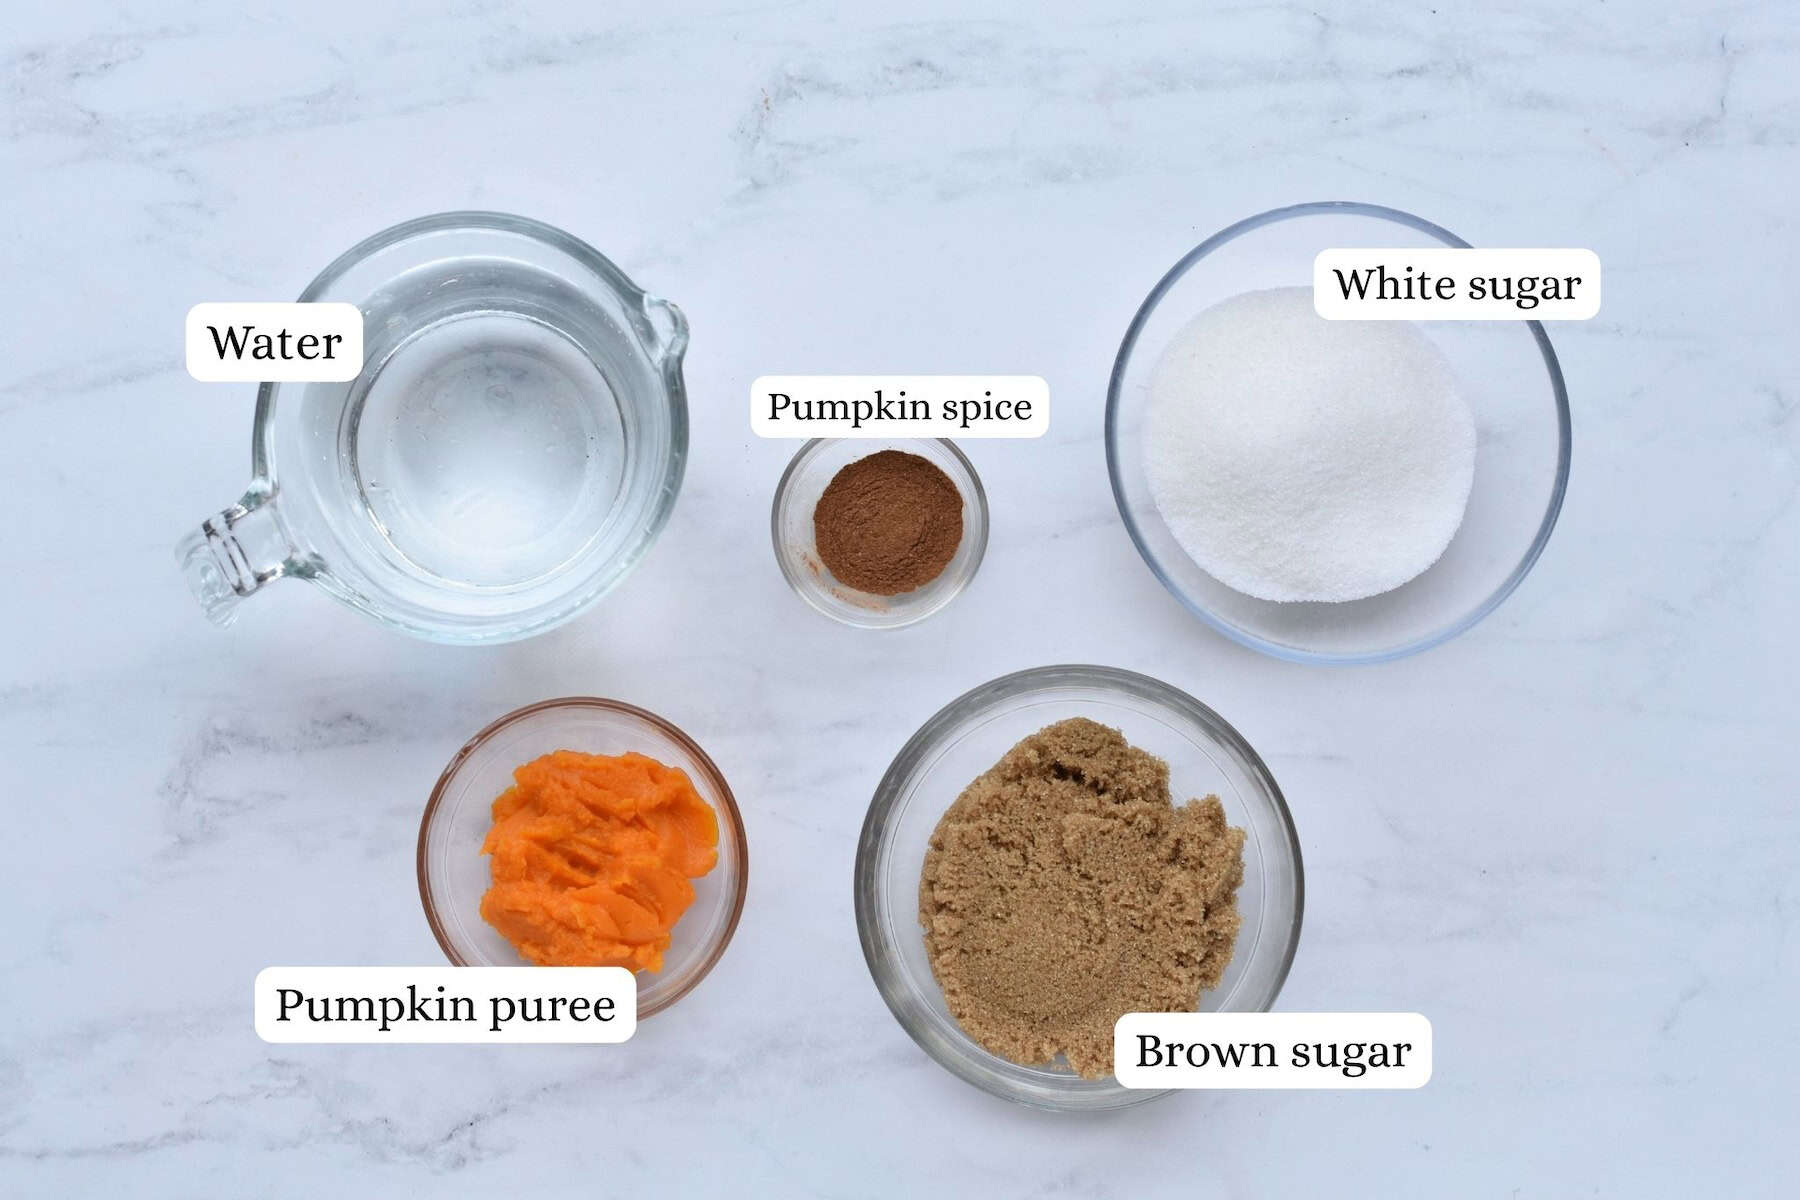
You only need a few pantry staples to make these easy pumpkin muffins.
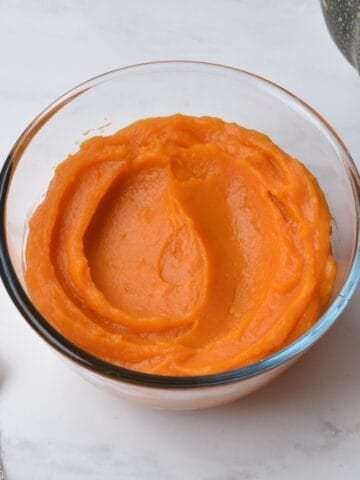
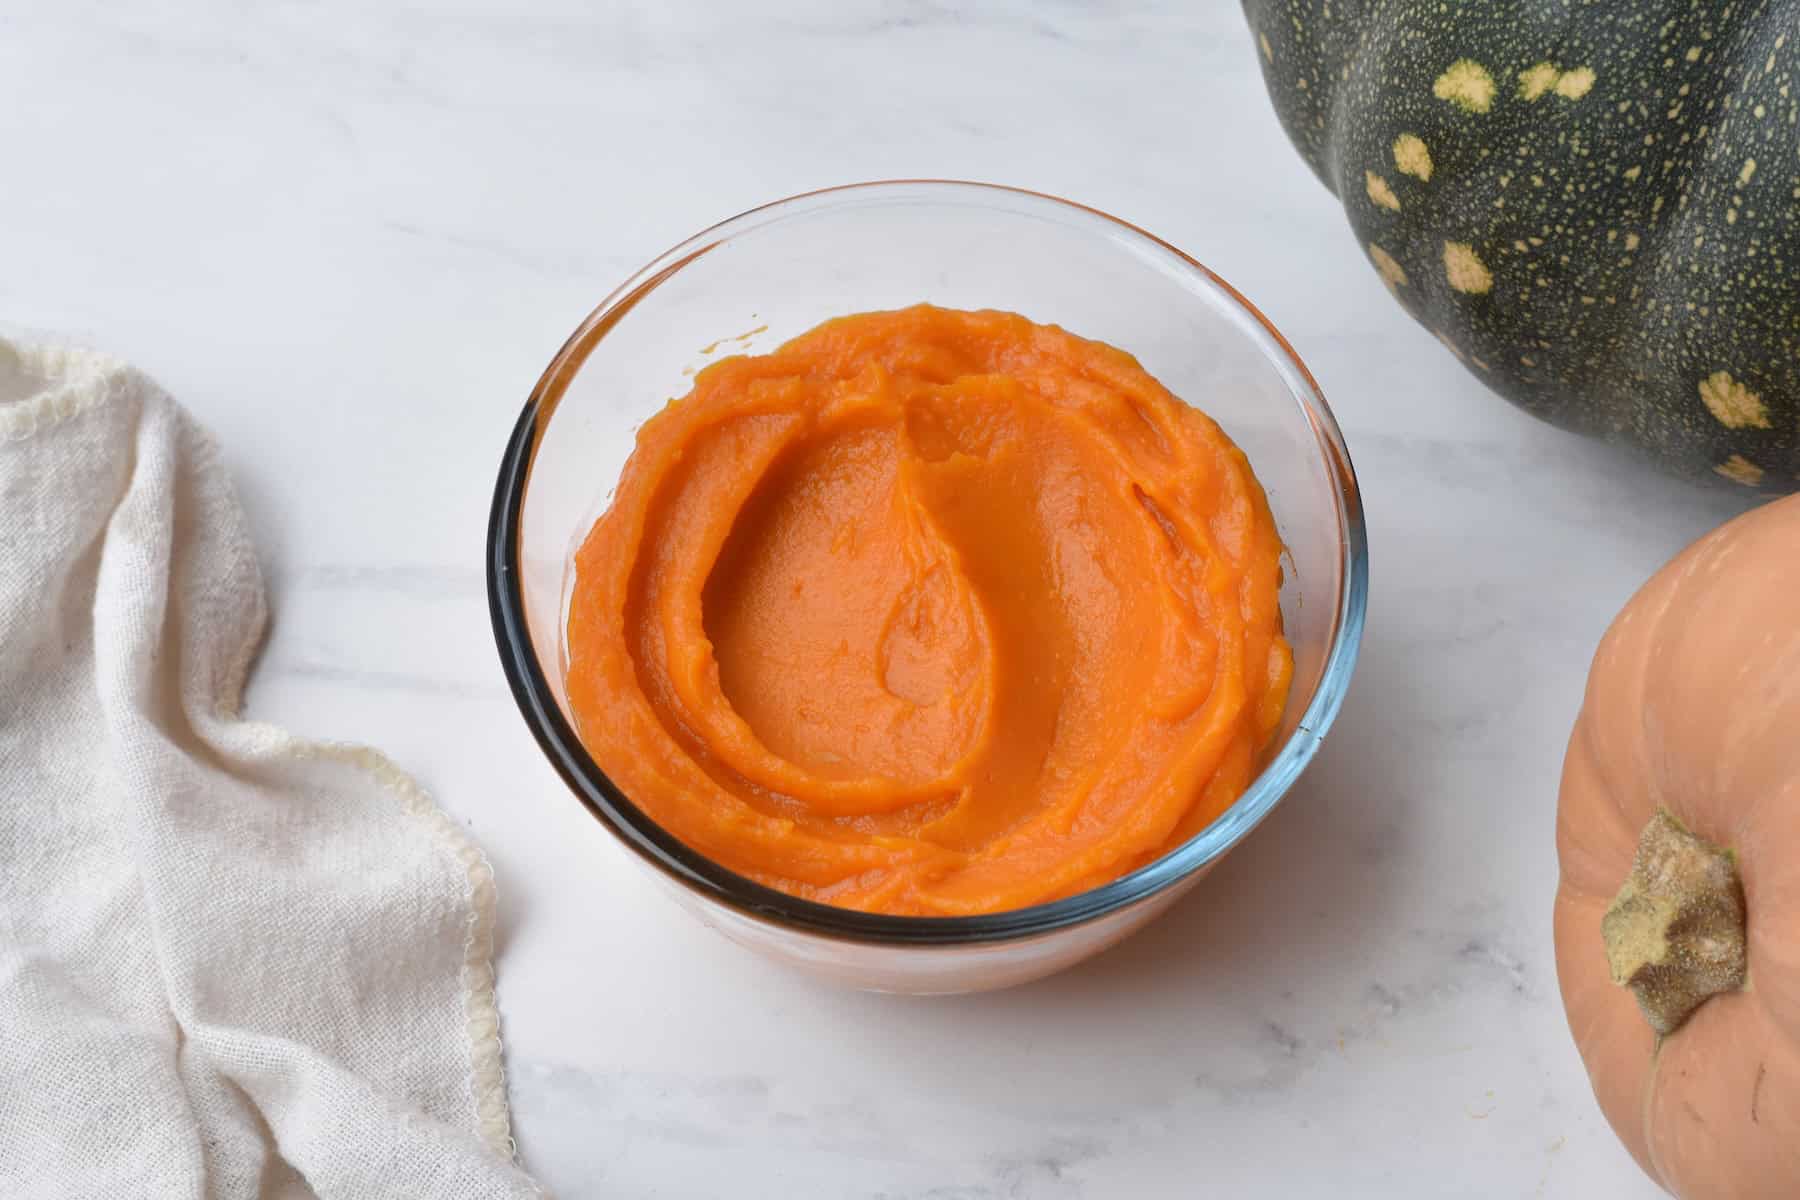
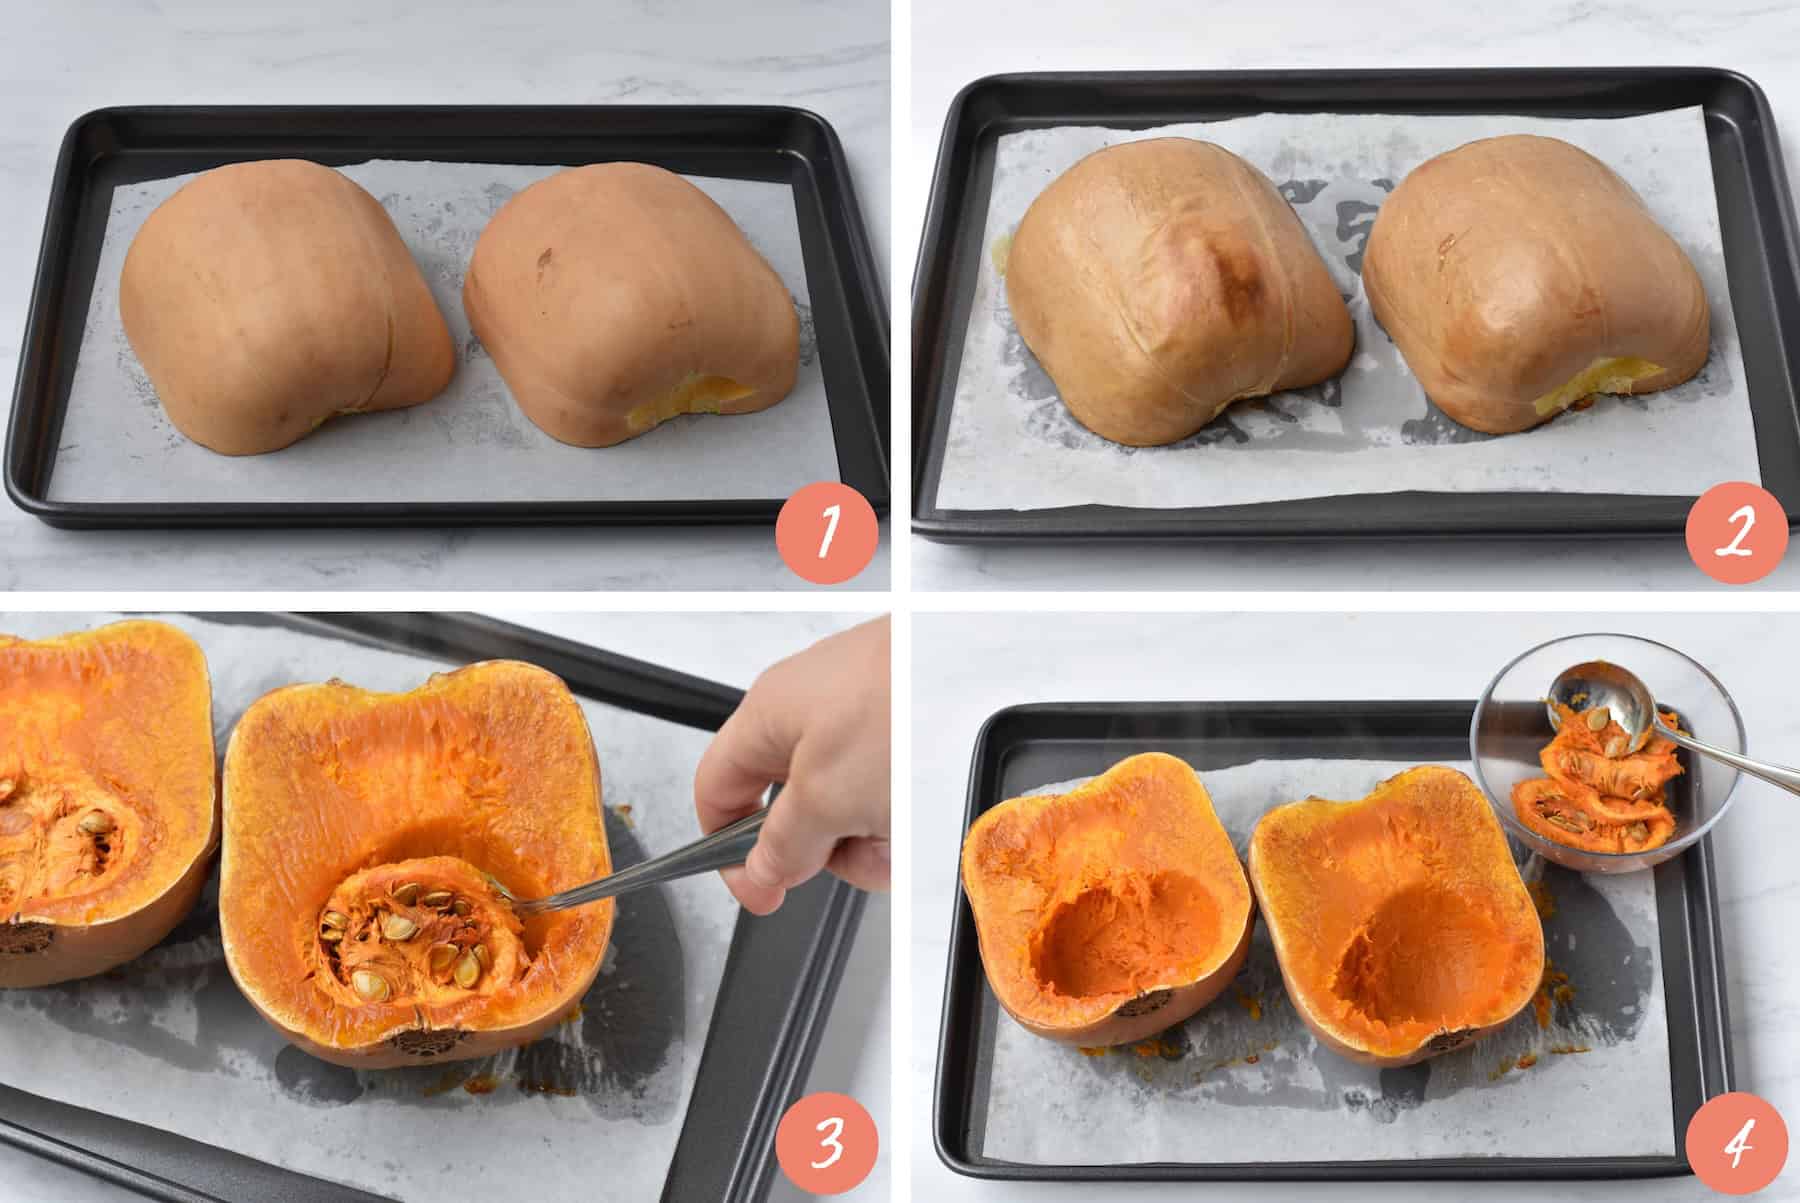
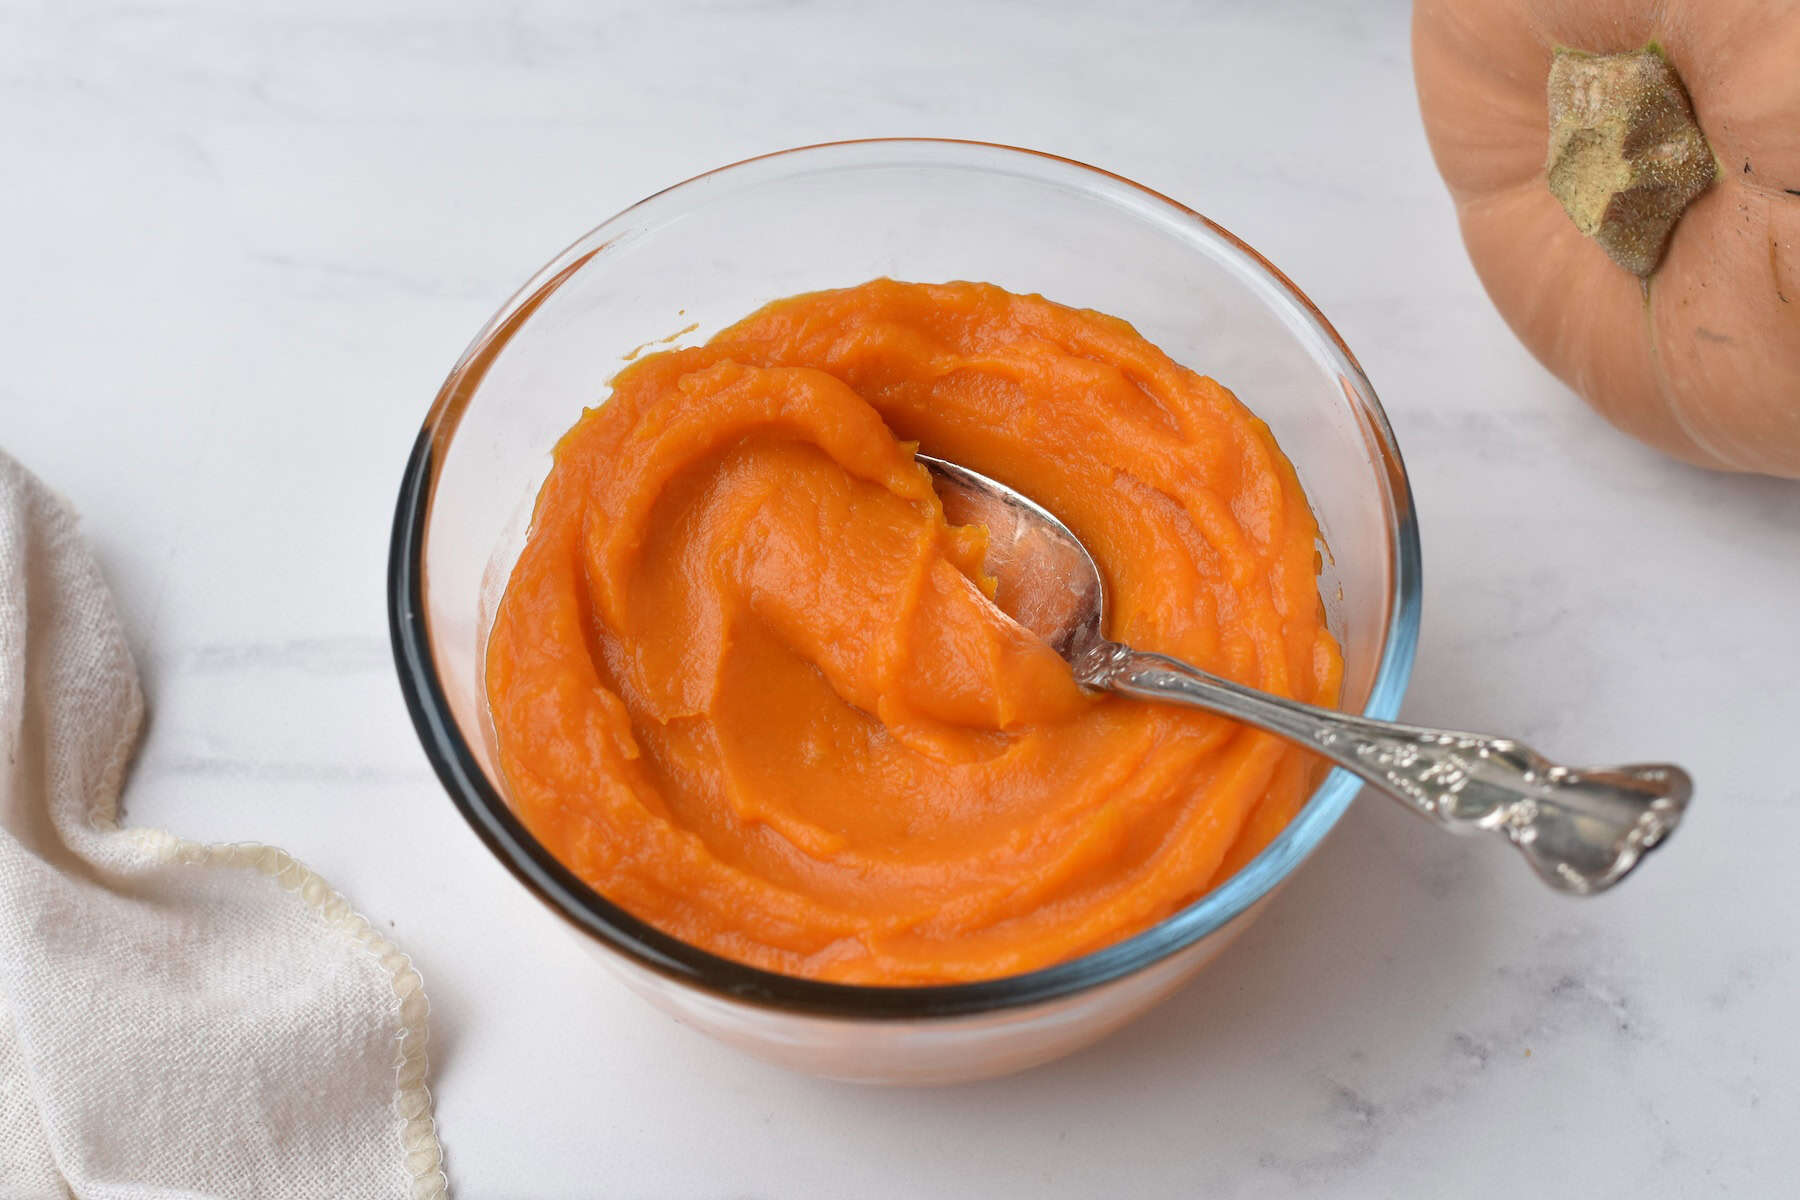
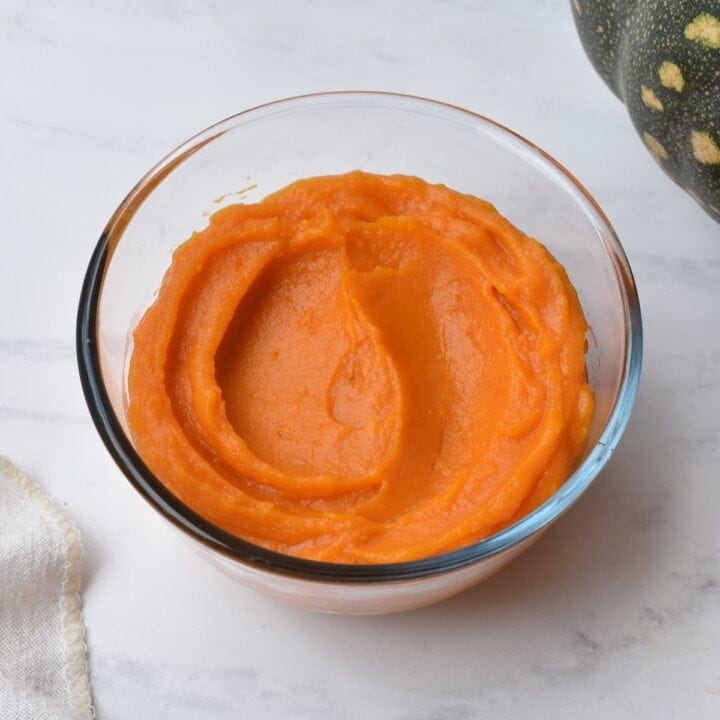
- Pumpkin puree: or pure canned pumpkin. NOT pumpkin pie filling. You can also use my recipe for homemade pumpkin puree!
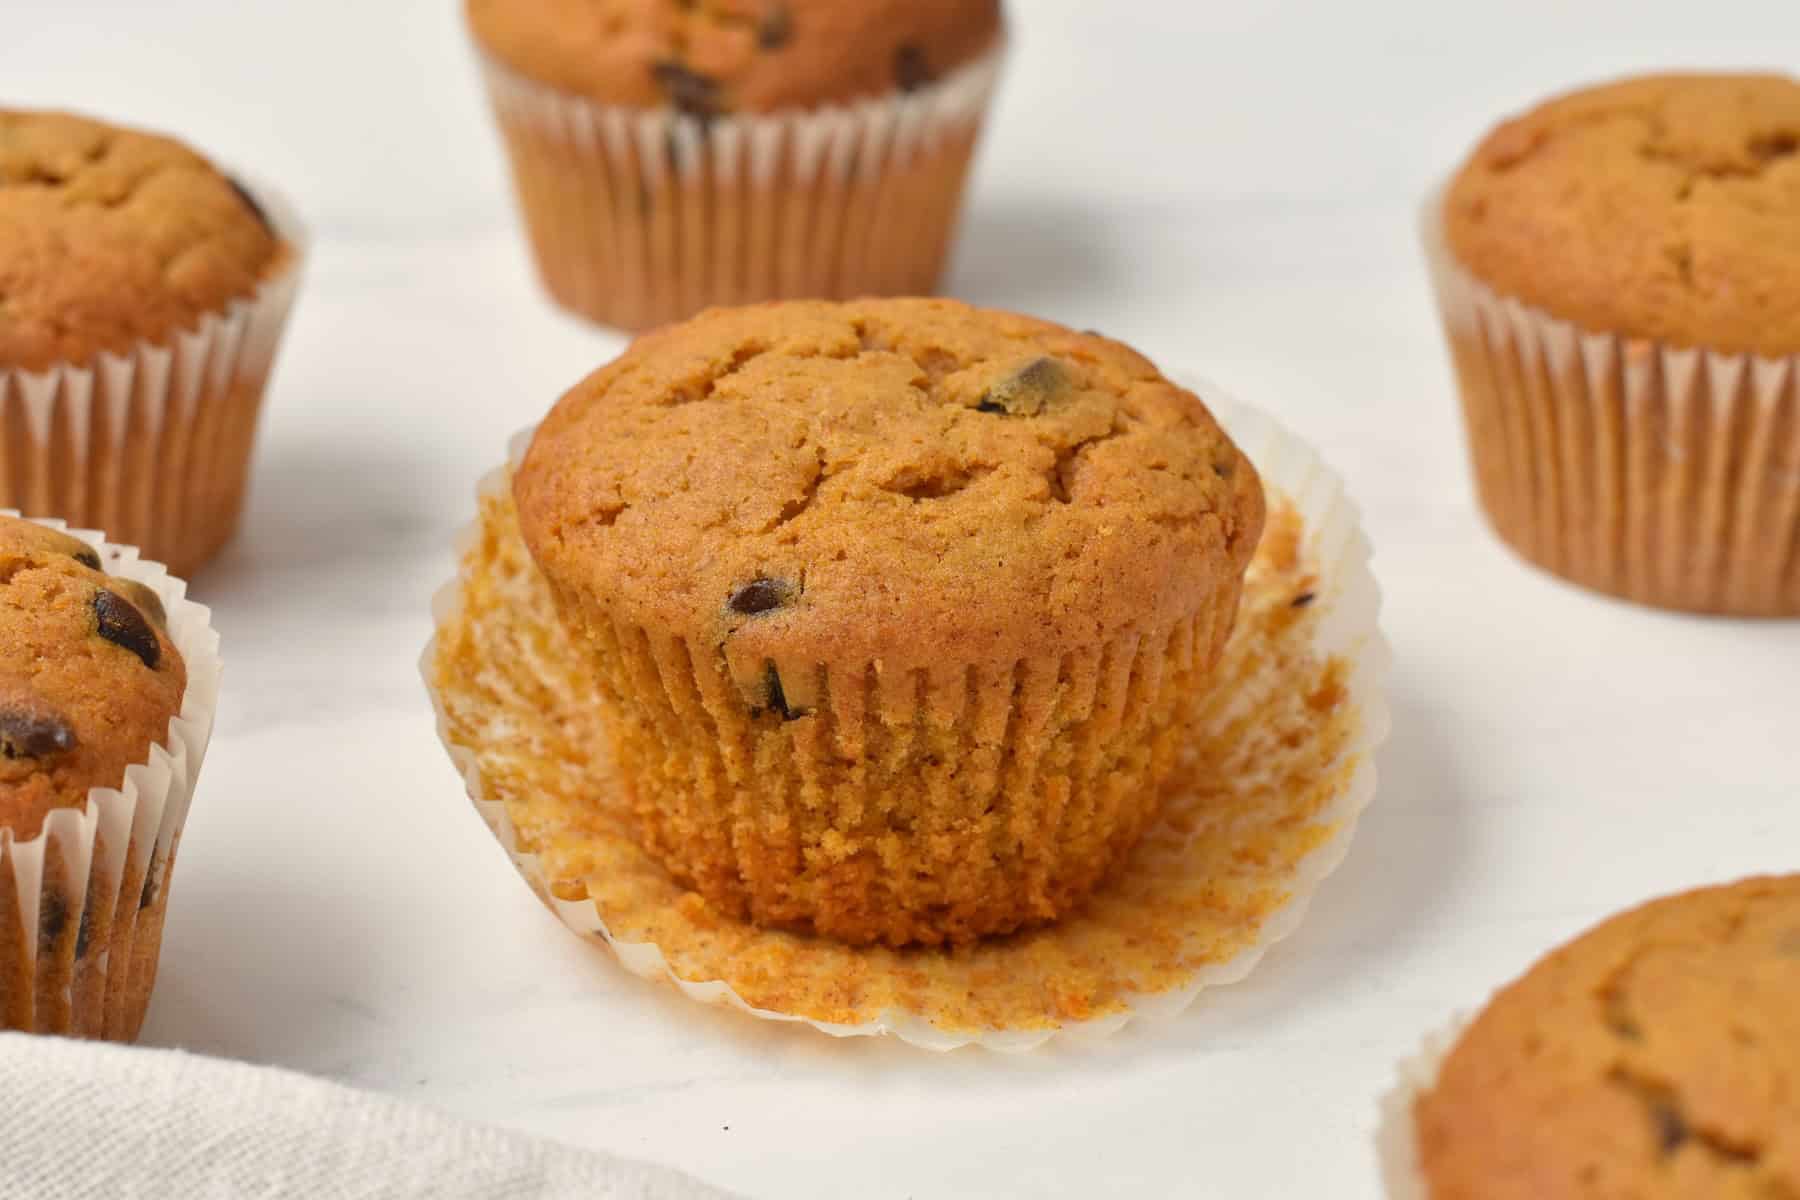
- Canola oil: or any flavourless vegetable oil, or melted butter. Oil keeps the muffins extra moist for 4 days!
- Eggs
- Brown sugar: keeps the muffins ultra moist. You can replace with white sugar but note that the muffins will be fluffier and cakier.
- Vanilla: use liquid extract or essence.
- Plain / all-purpose flour
- Baking powder
- Ground cinnamon
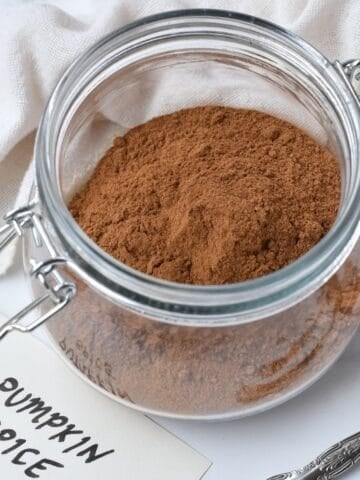
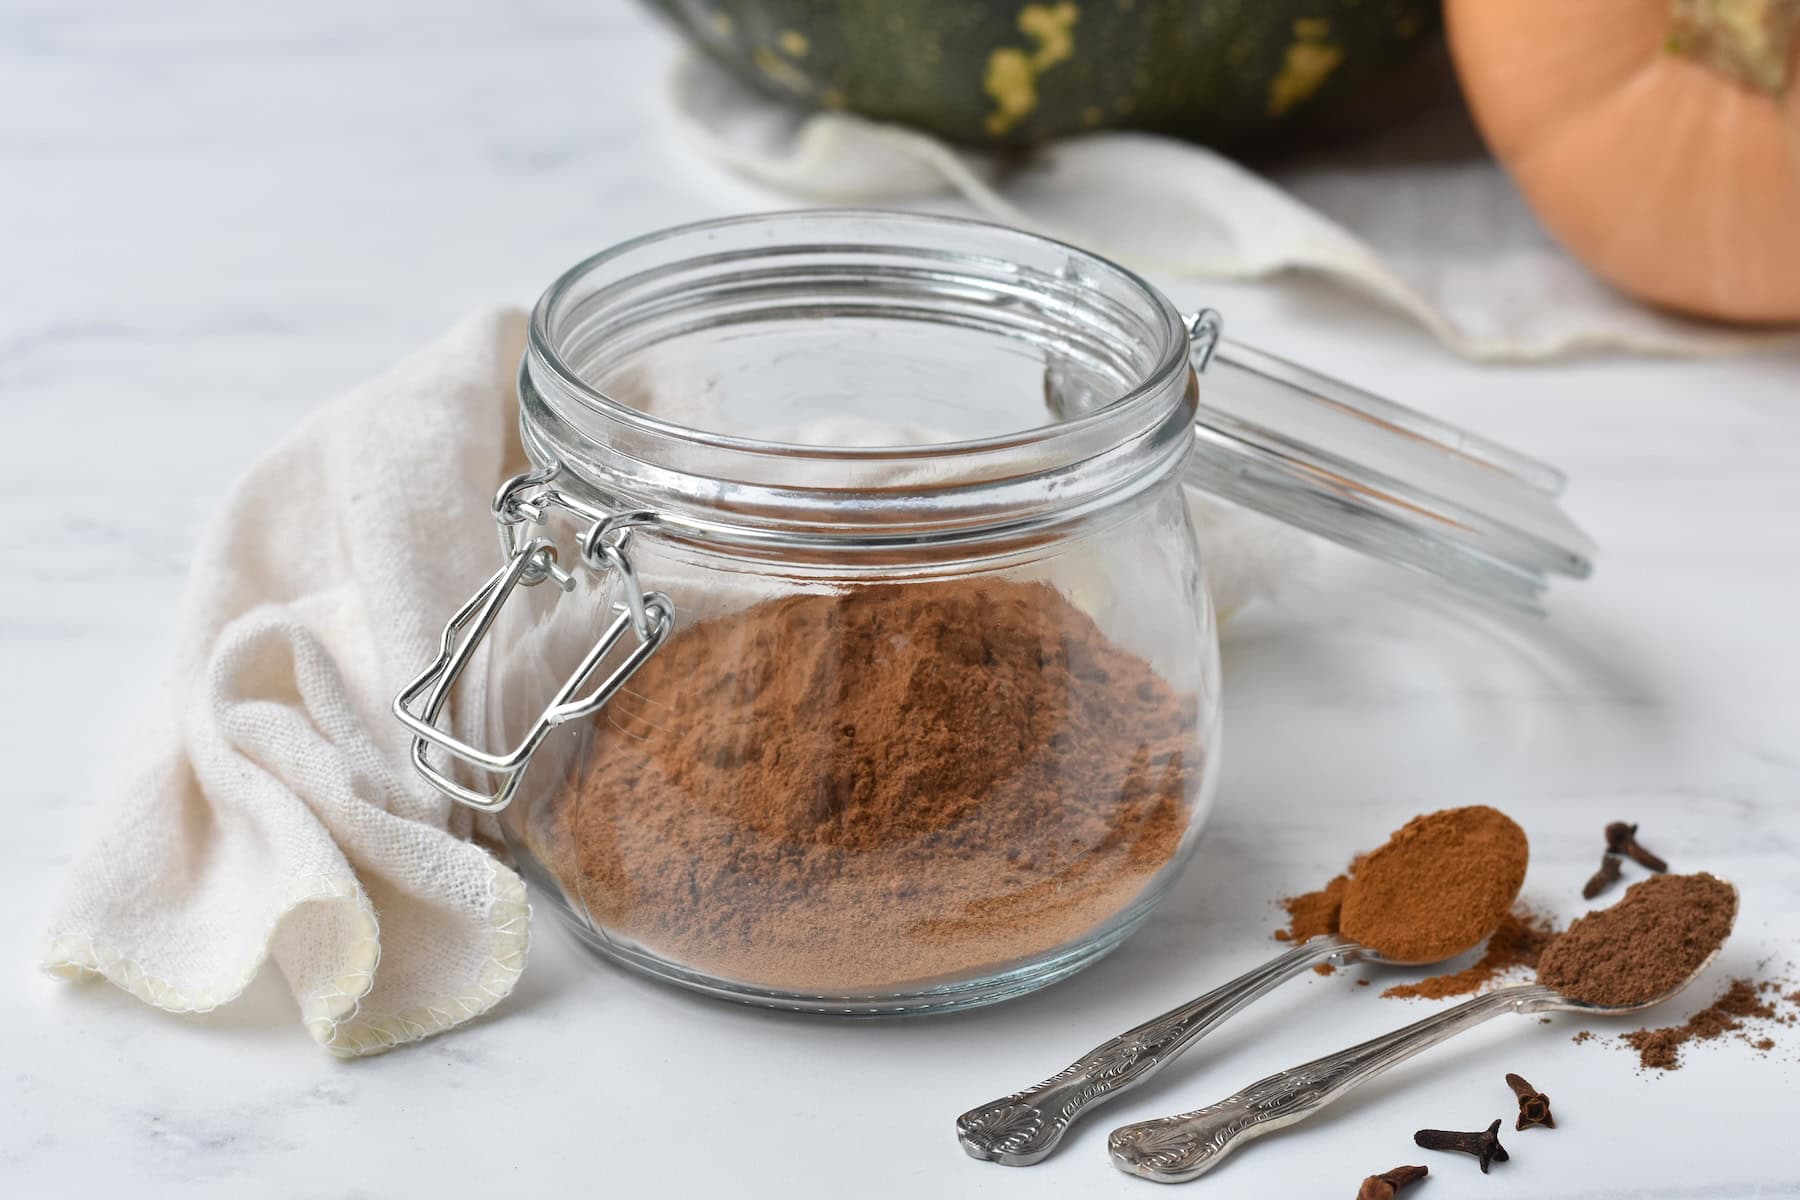
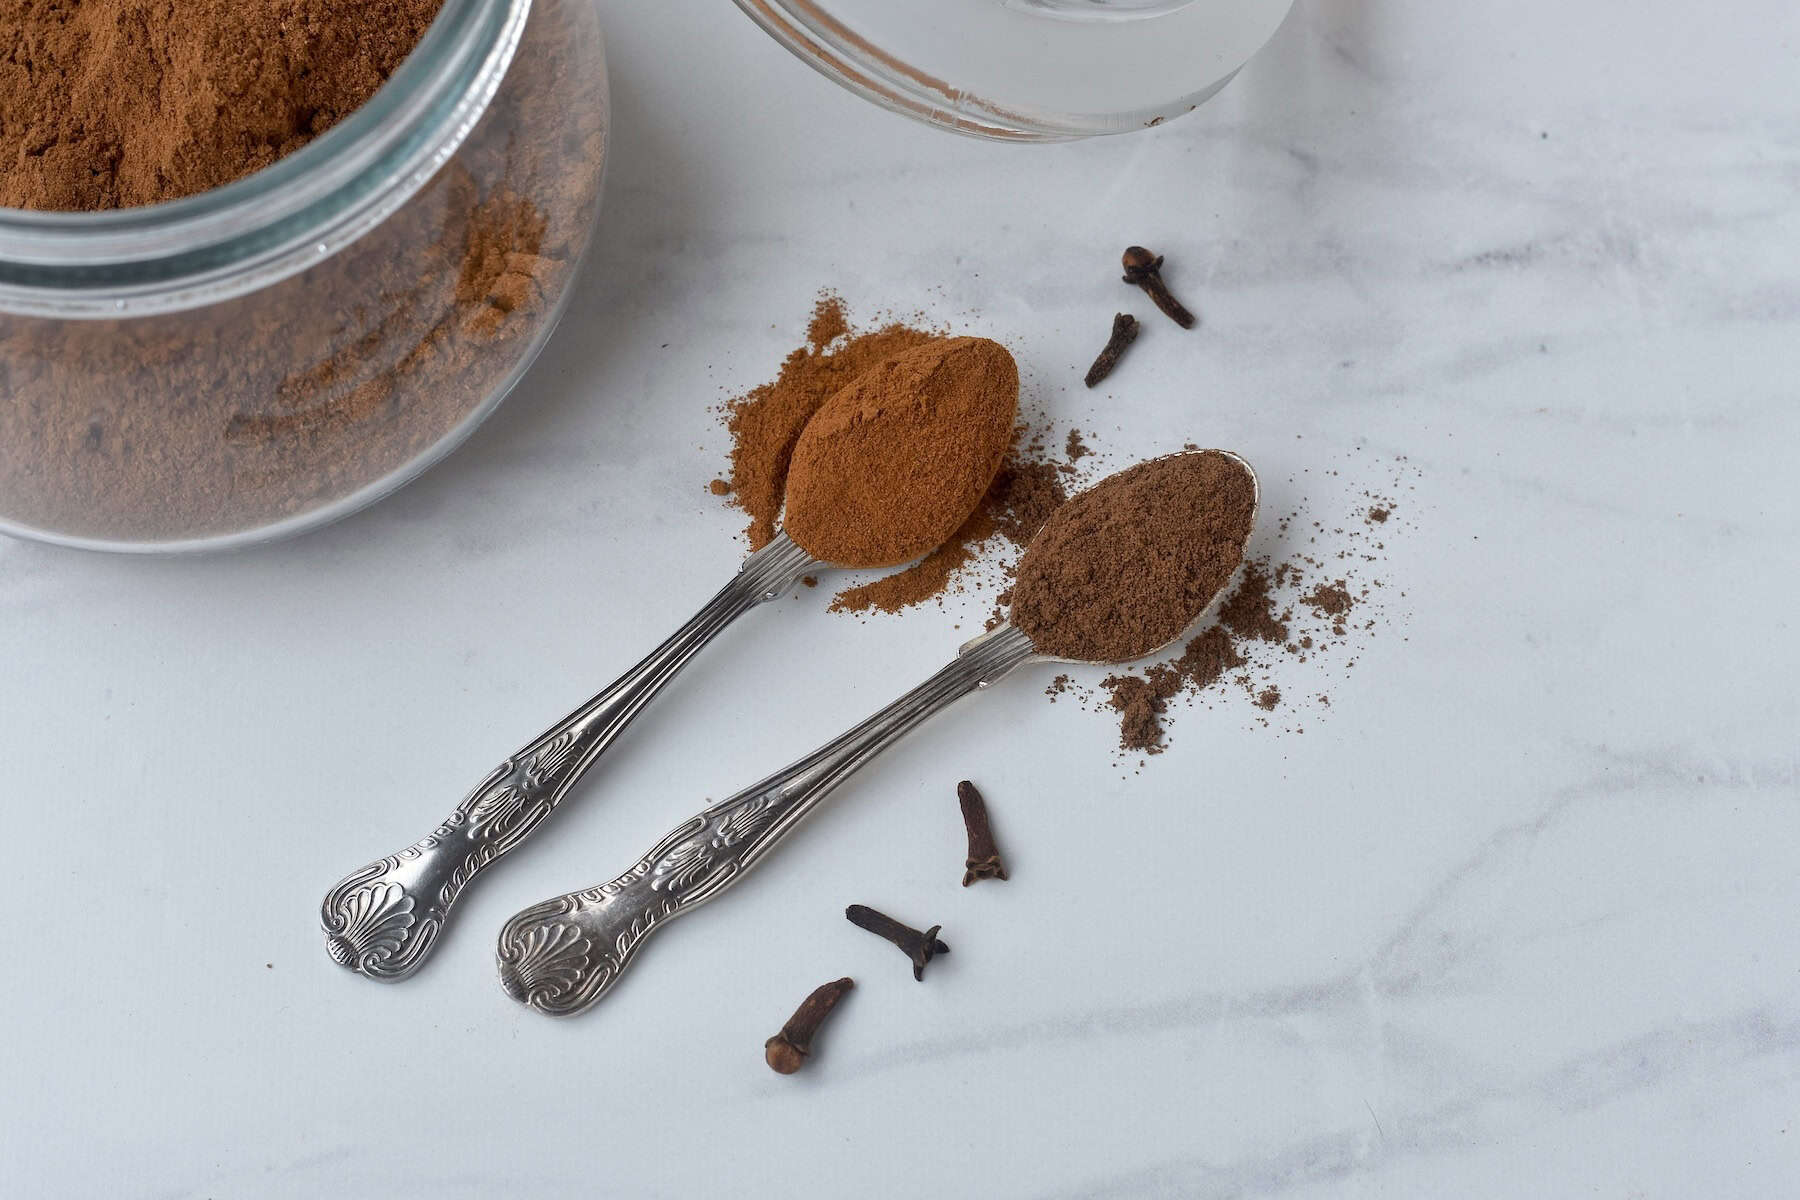
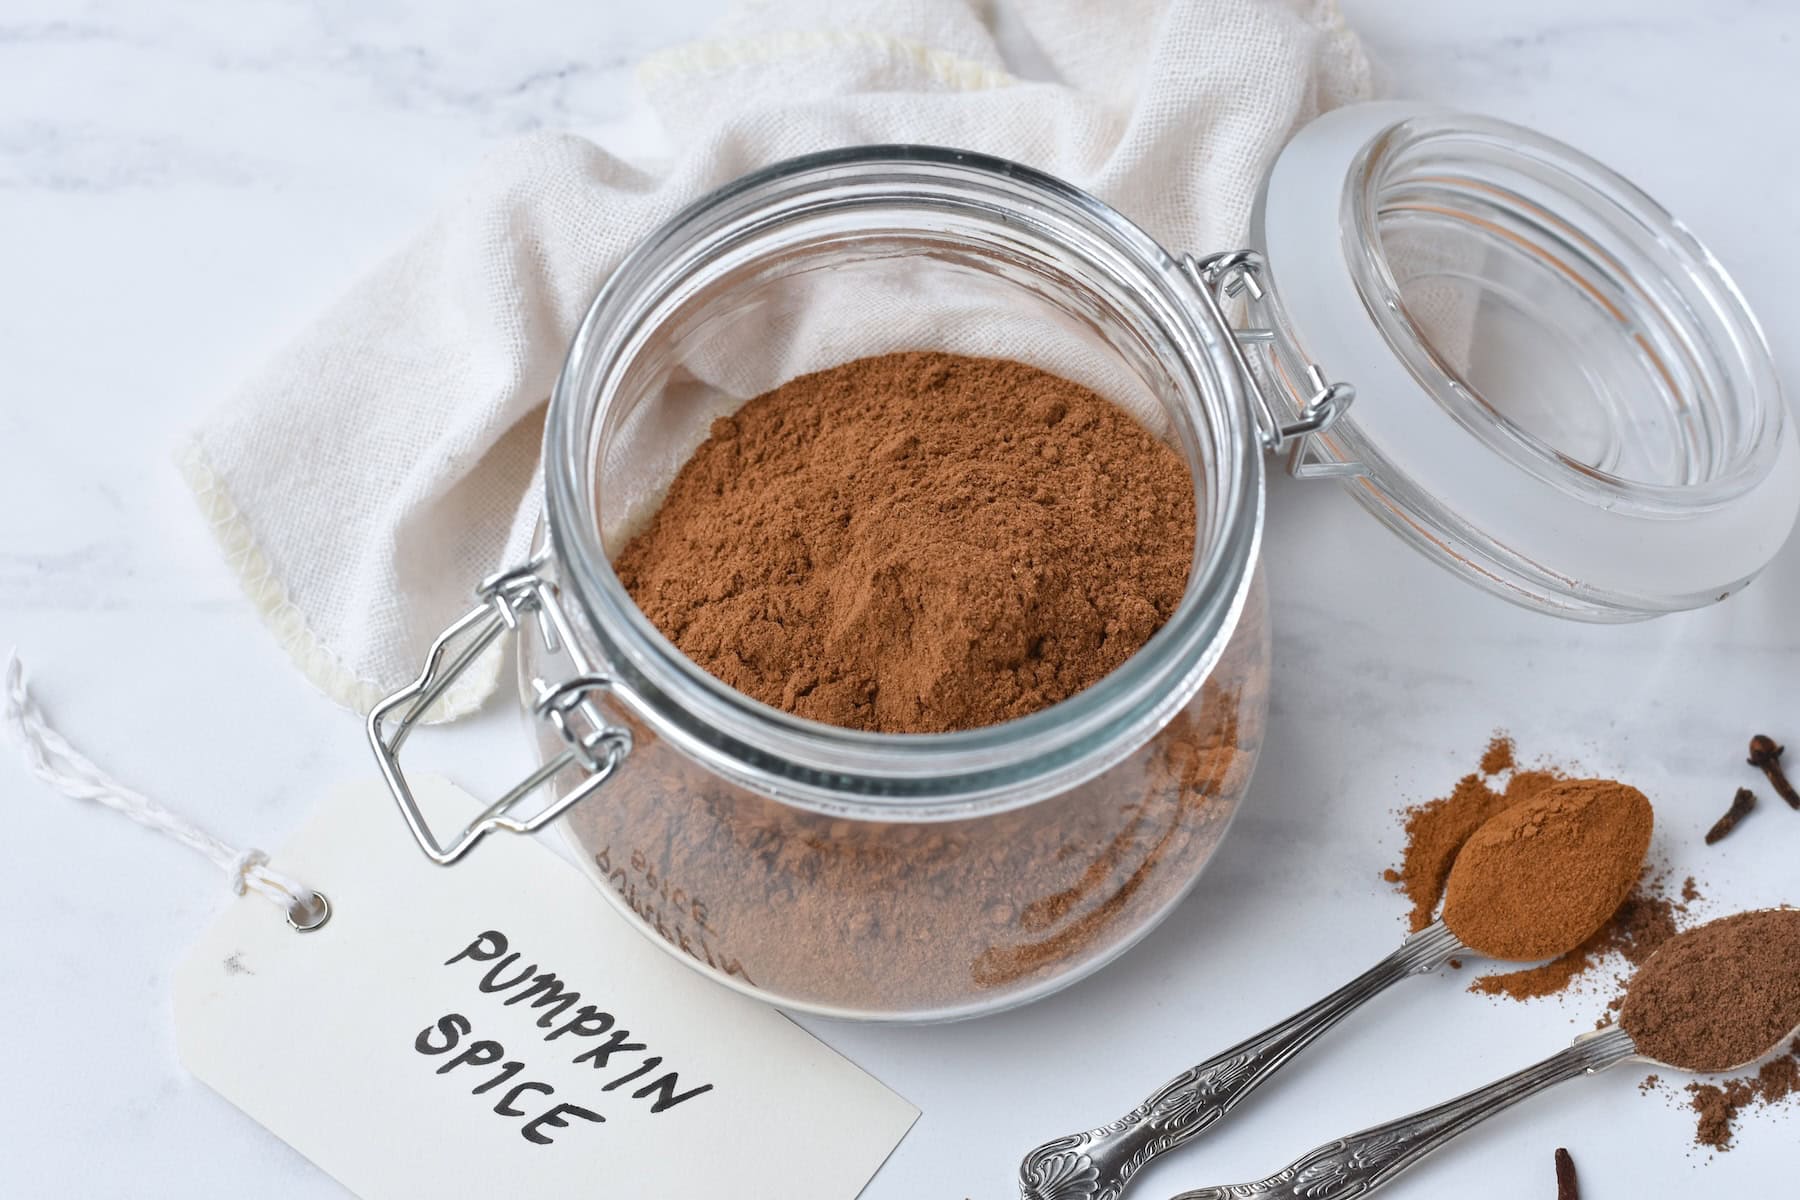
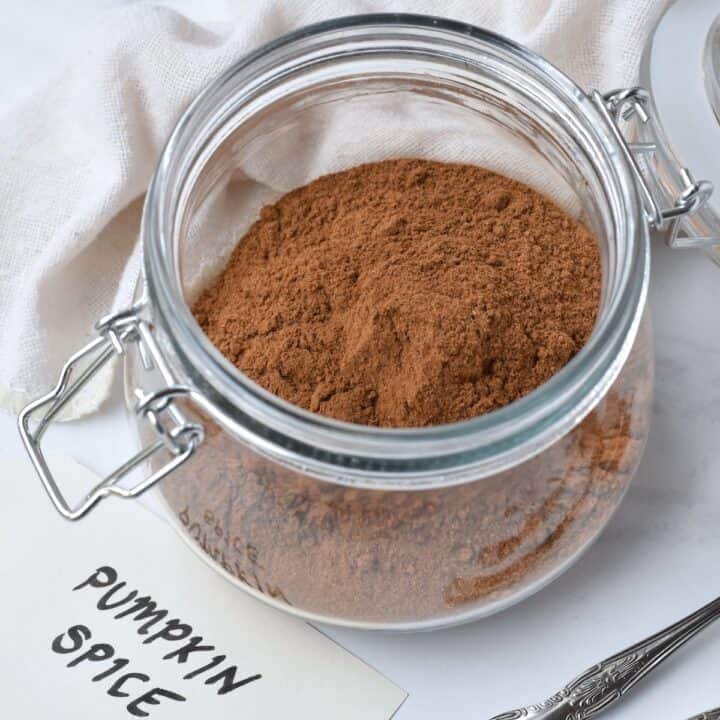
- Pumpkin pie spice / mixed spice: gives you that essential fall flavour! Can replace with an extra ½ teaspoon of cinnamon + ½ teaspoon of ginger.
- Ground ginger
- Salt
- Chocolate chips: I like dark or semi-sweet choc chips but you can also use milk, white or chopped chocolate blocks.
Can I make muffins with greek yoghurt instead of oil?
Yes! Replace up to half of the oil with greek yoghurt for a healthy option that is still moist and delicious.
Can I make these muffins gluten free?
You can replace the all-purpose flour with gluten-free flour to make gluten-free muffins.
Are these chocolate chip pumpkin muffins healthy?
The added pumpkin puree gives these muffins a good boost of veggies and fibre, making them perfect as an afternoon snack or lunchbox treat. Like all sweets, these are best enjoyed in moderation.
How to Make Chocolate Chip Pumpkin Muffins
For this easy recipe, you’ll need
- A large bowl
- A medium bowl
- A spoon or spatula
- A whisk
- A muffin tin

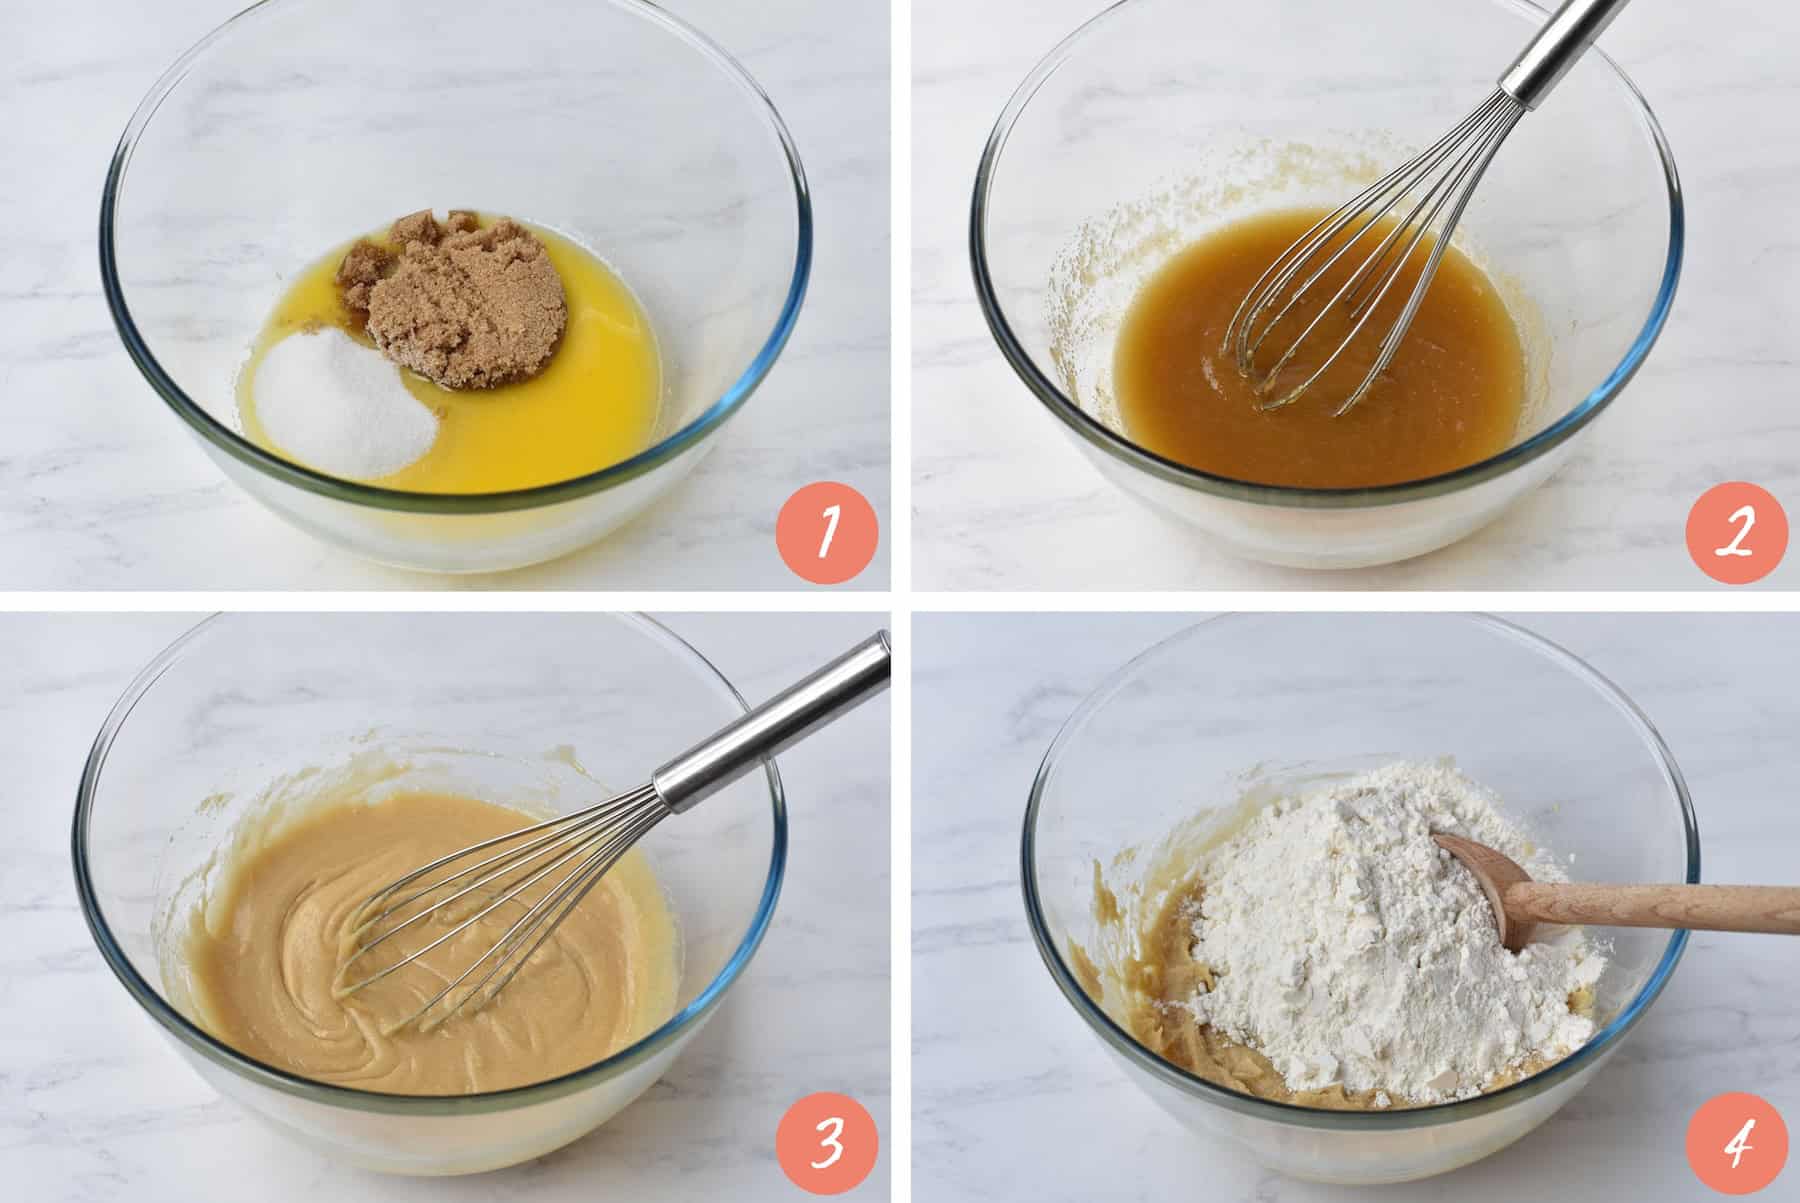
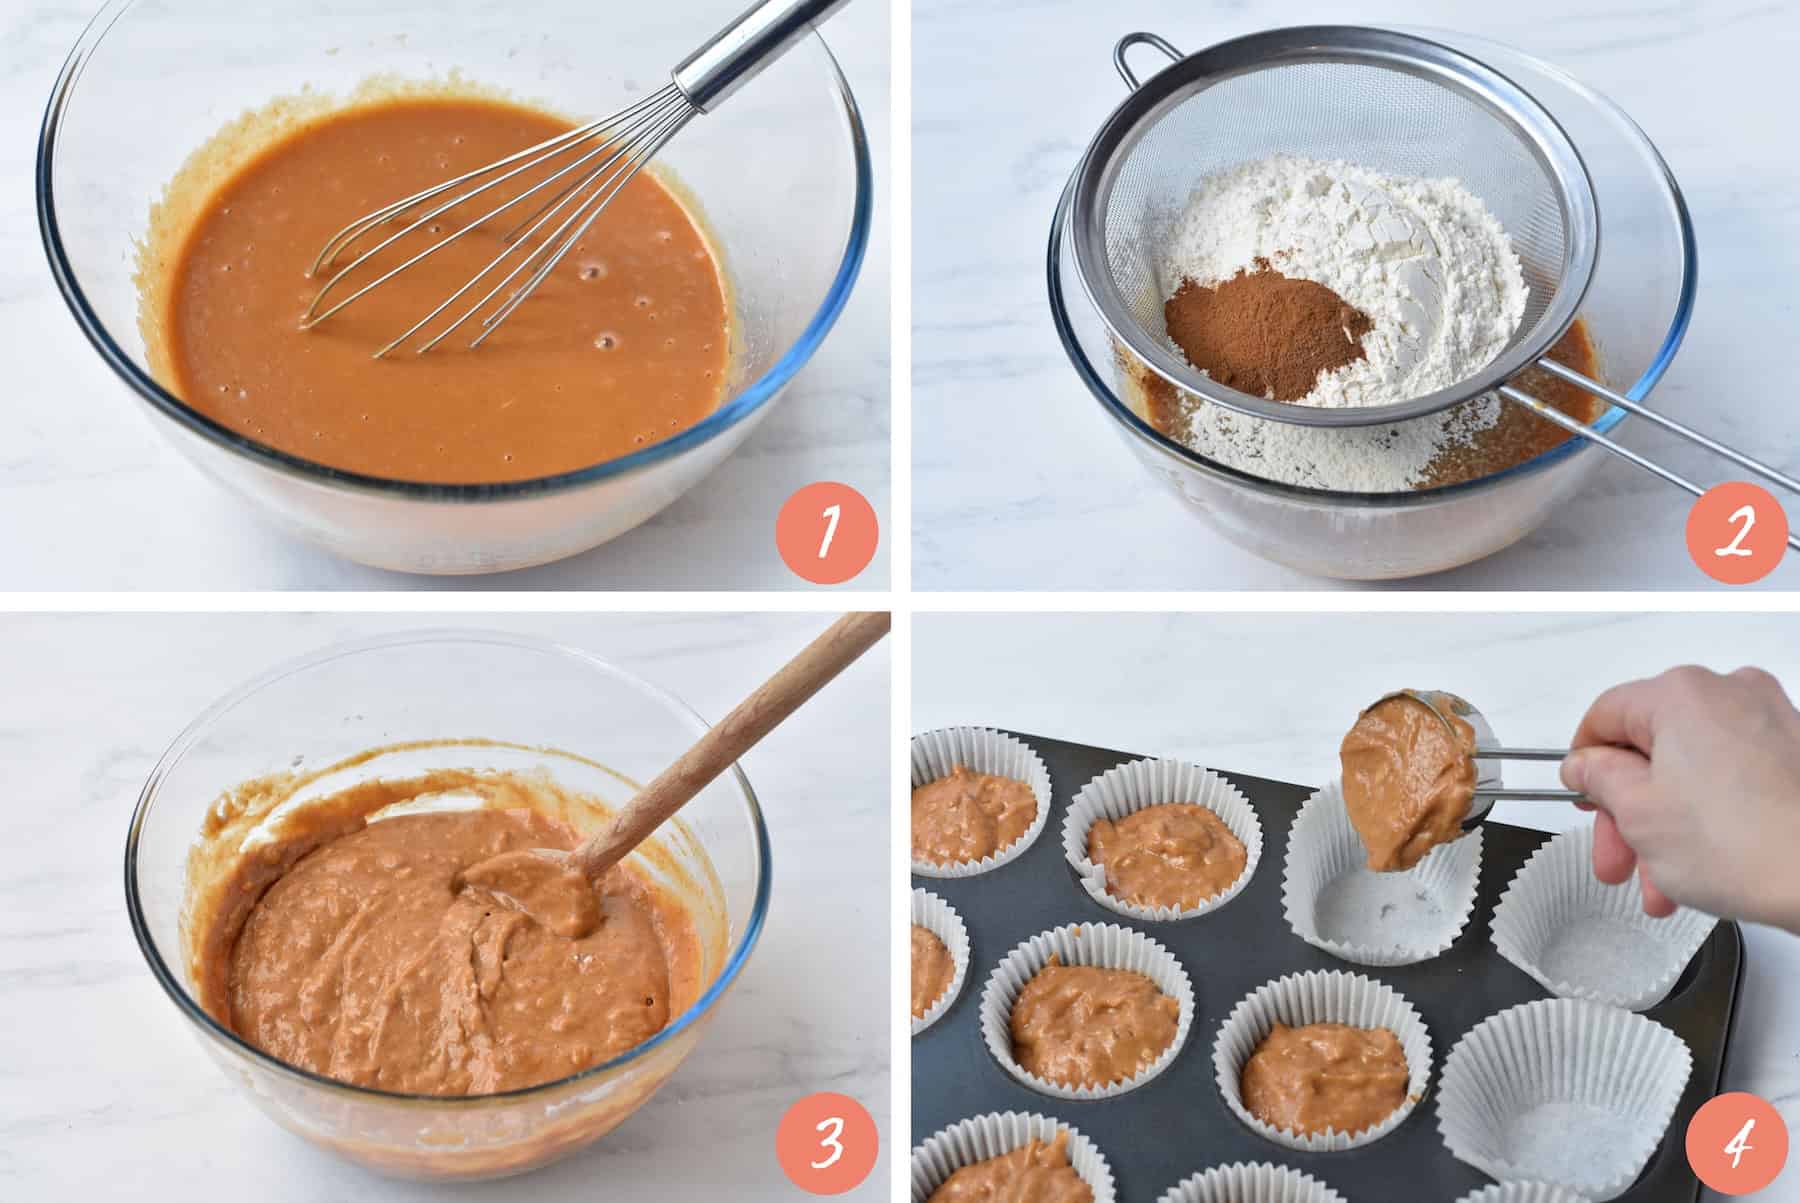
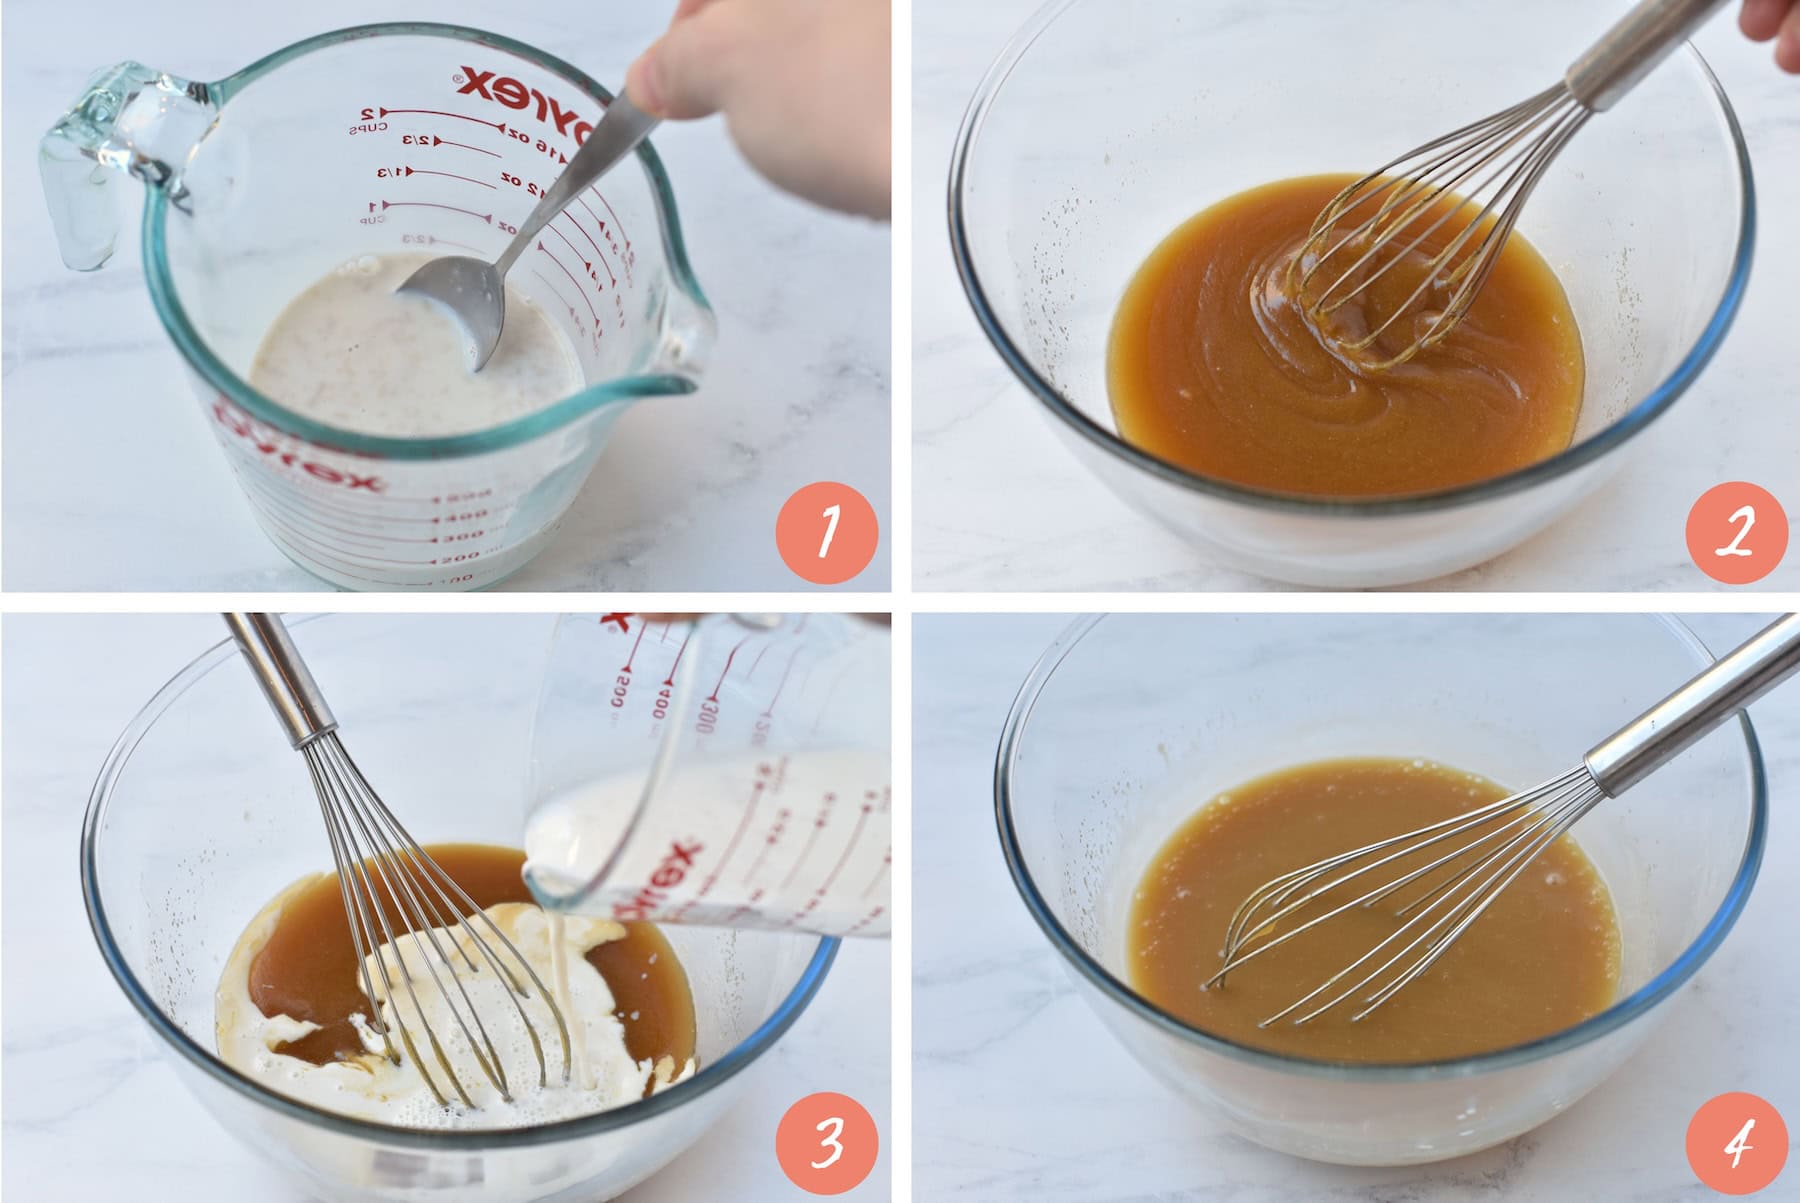
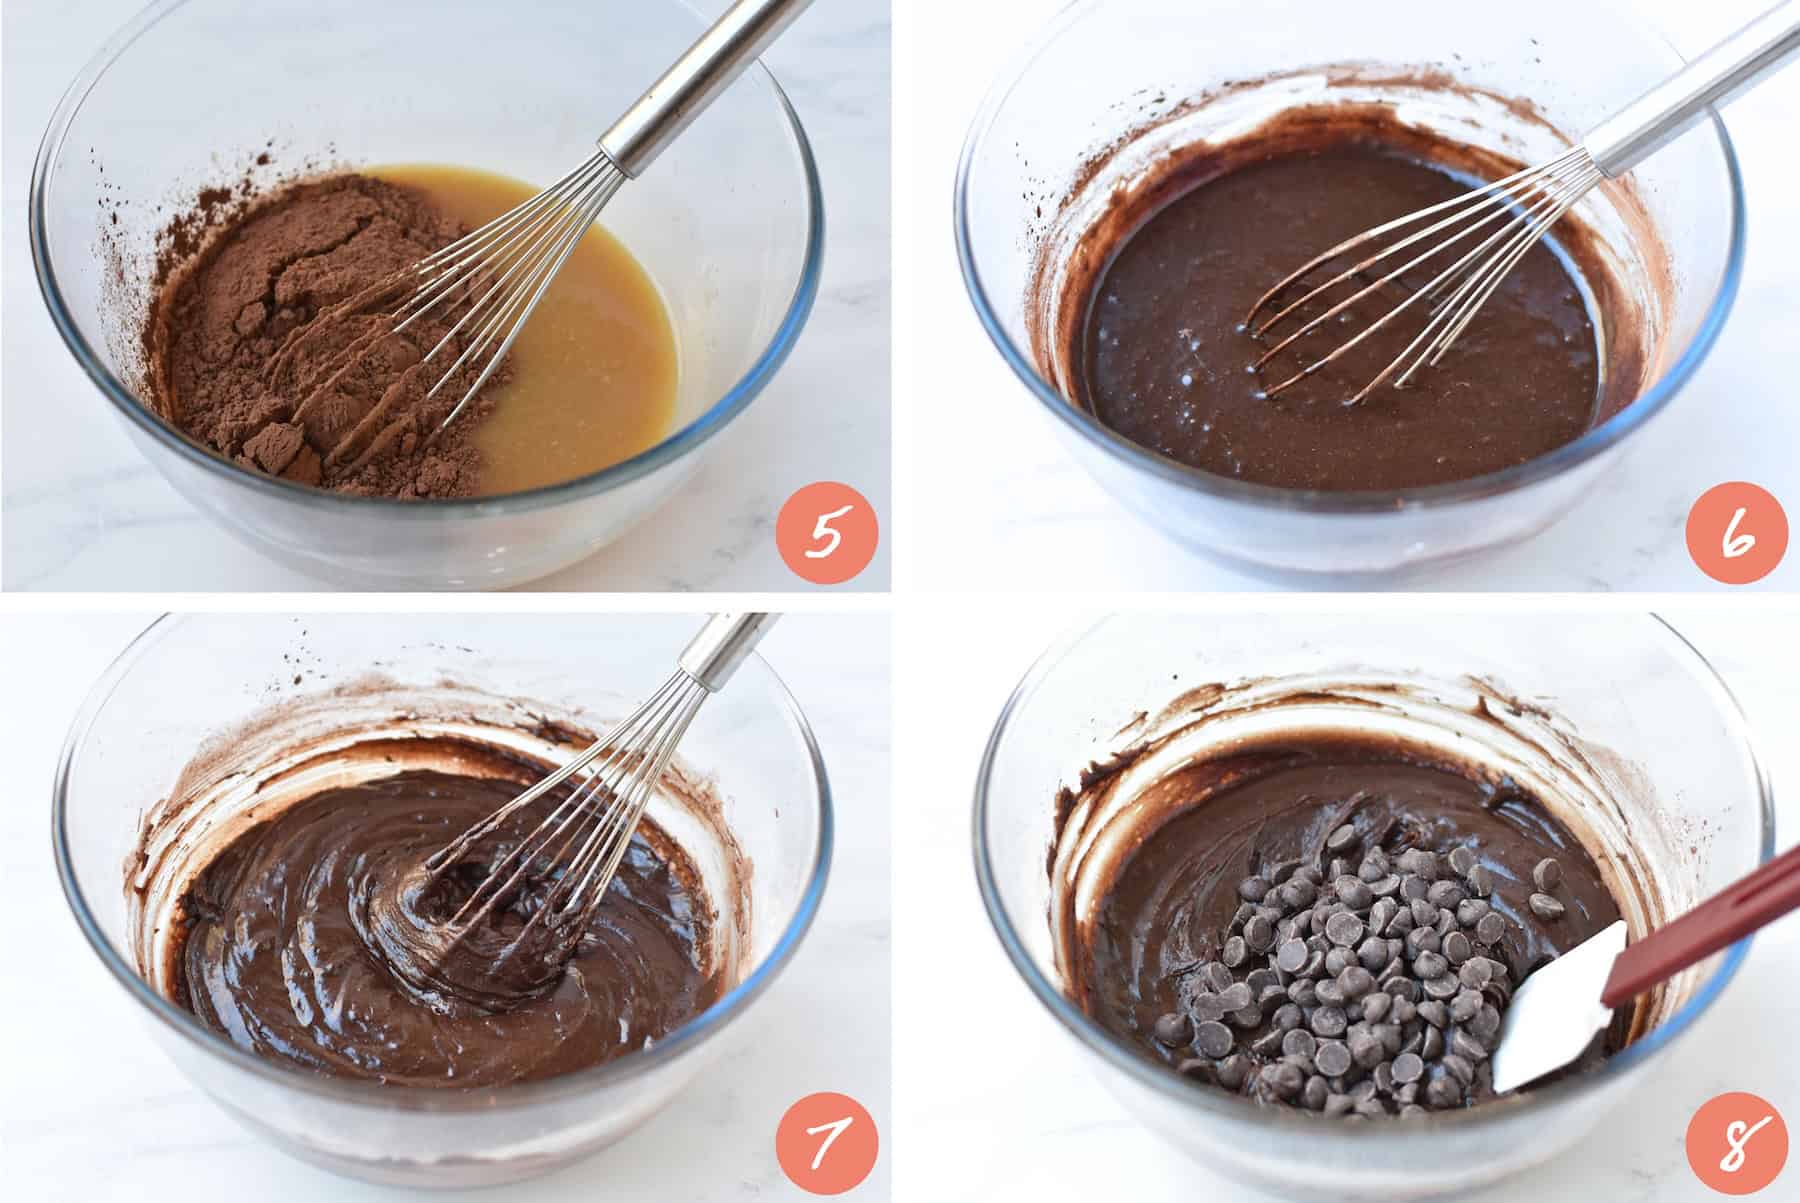
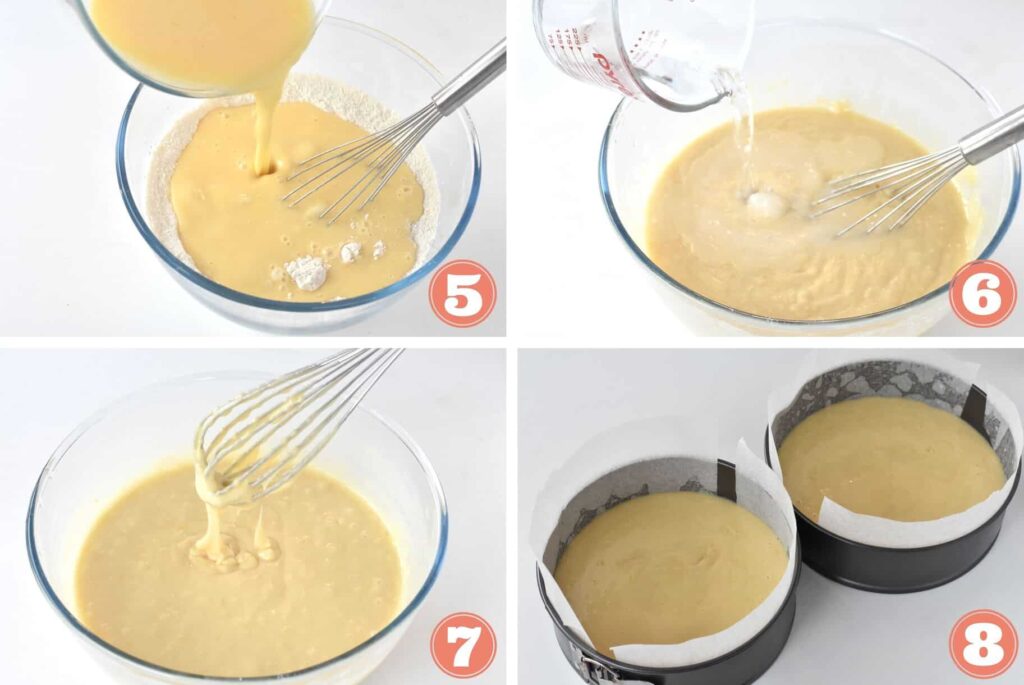
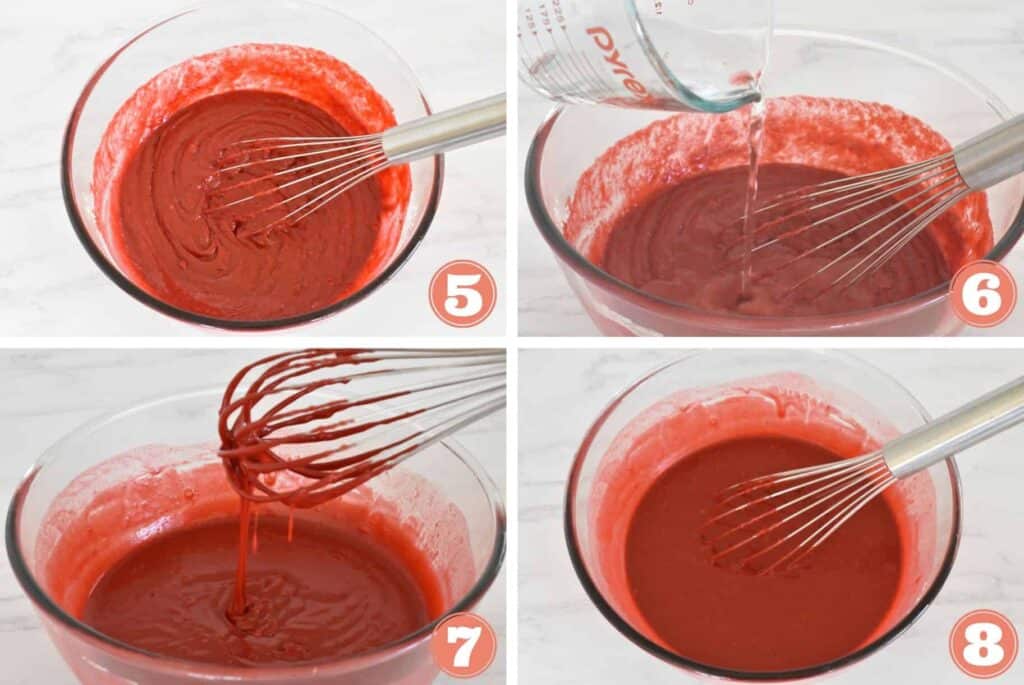
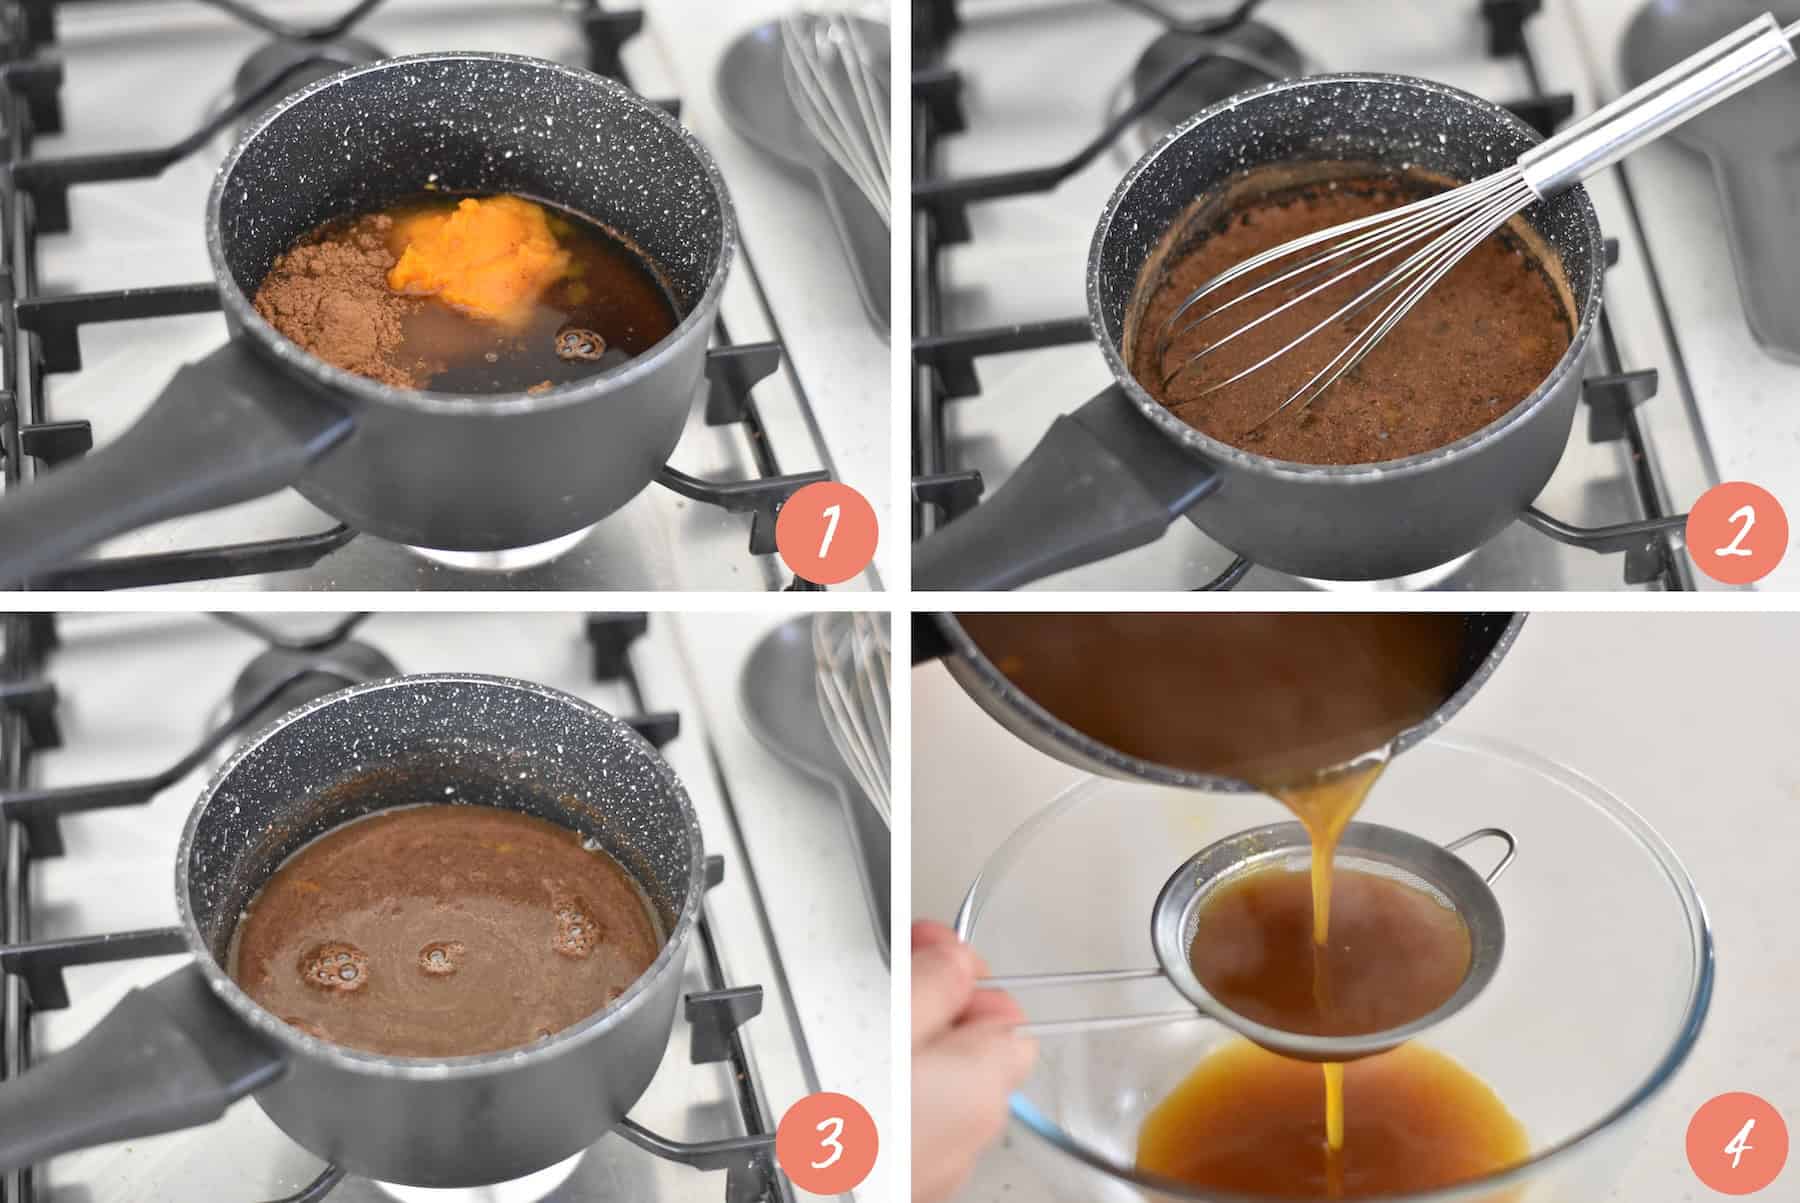
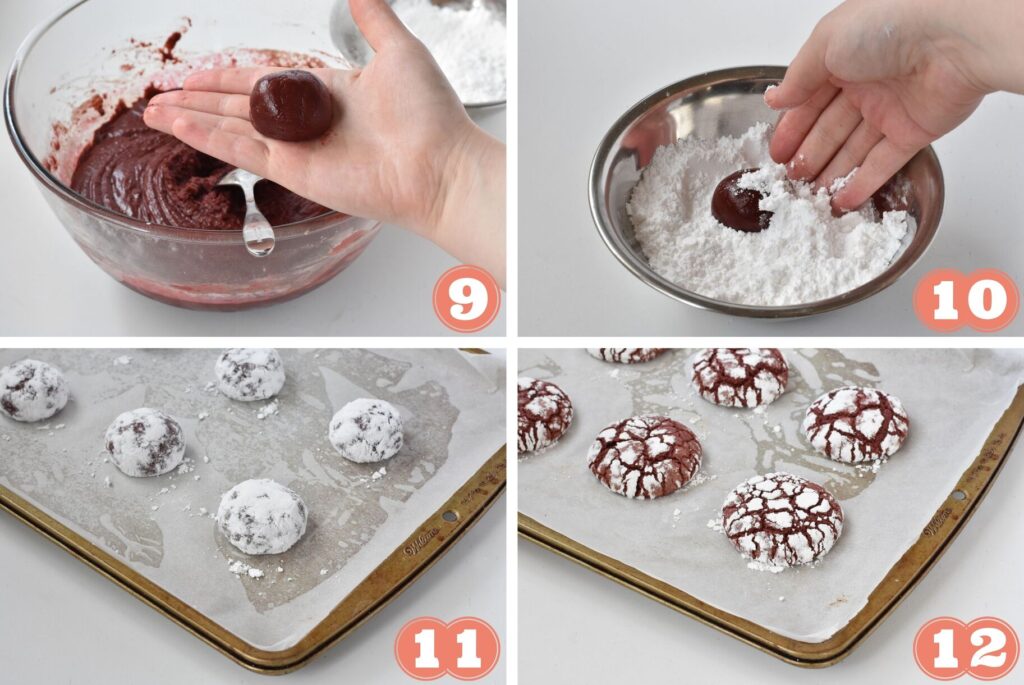
1. Whisk together the wet ingredients: pumpkin, oil, eggs, brown sugar and vanilla.
2. Sift over the dry ingredients: flour, baking powder, cinnamon, pumpkin pie spice. Add your salt.
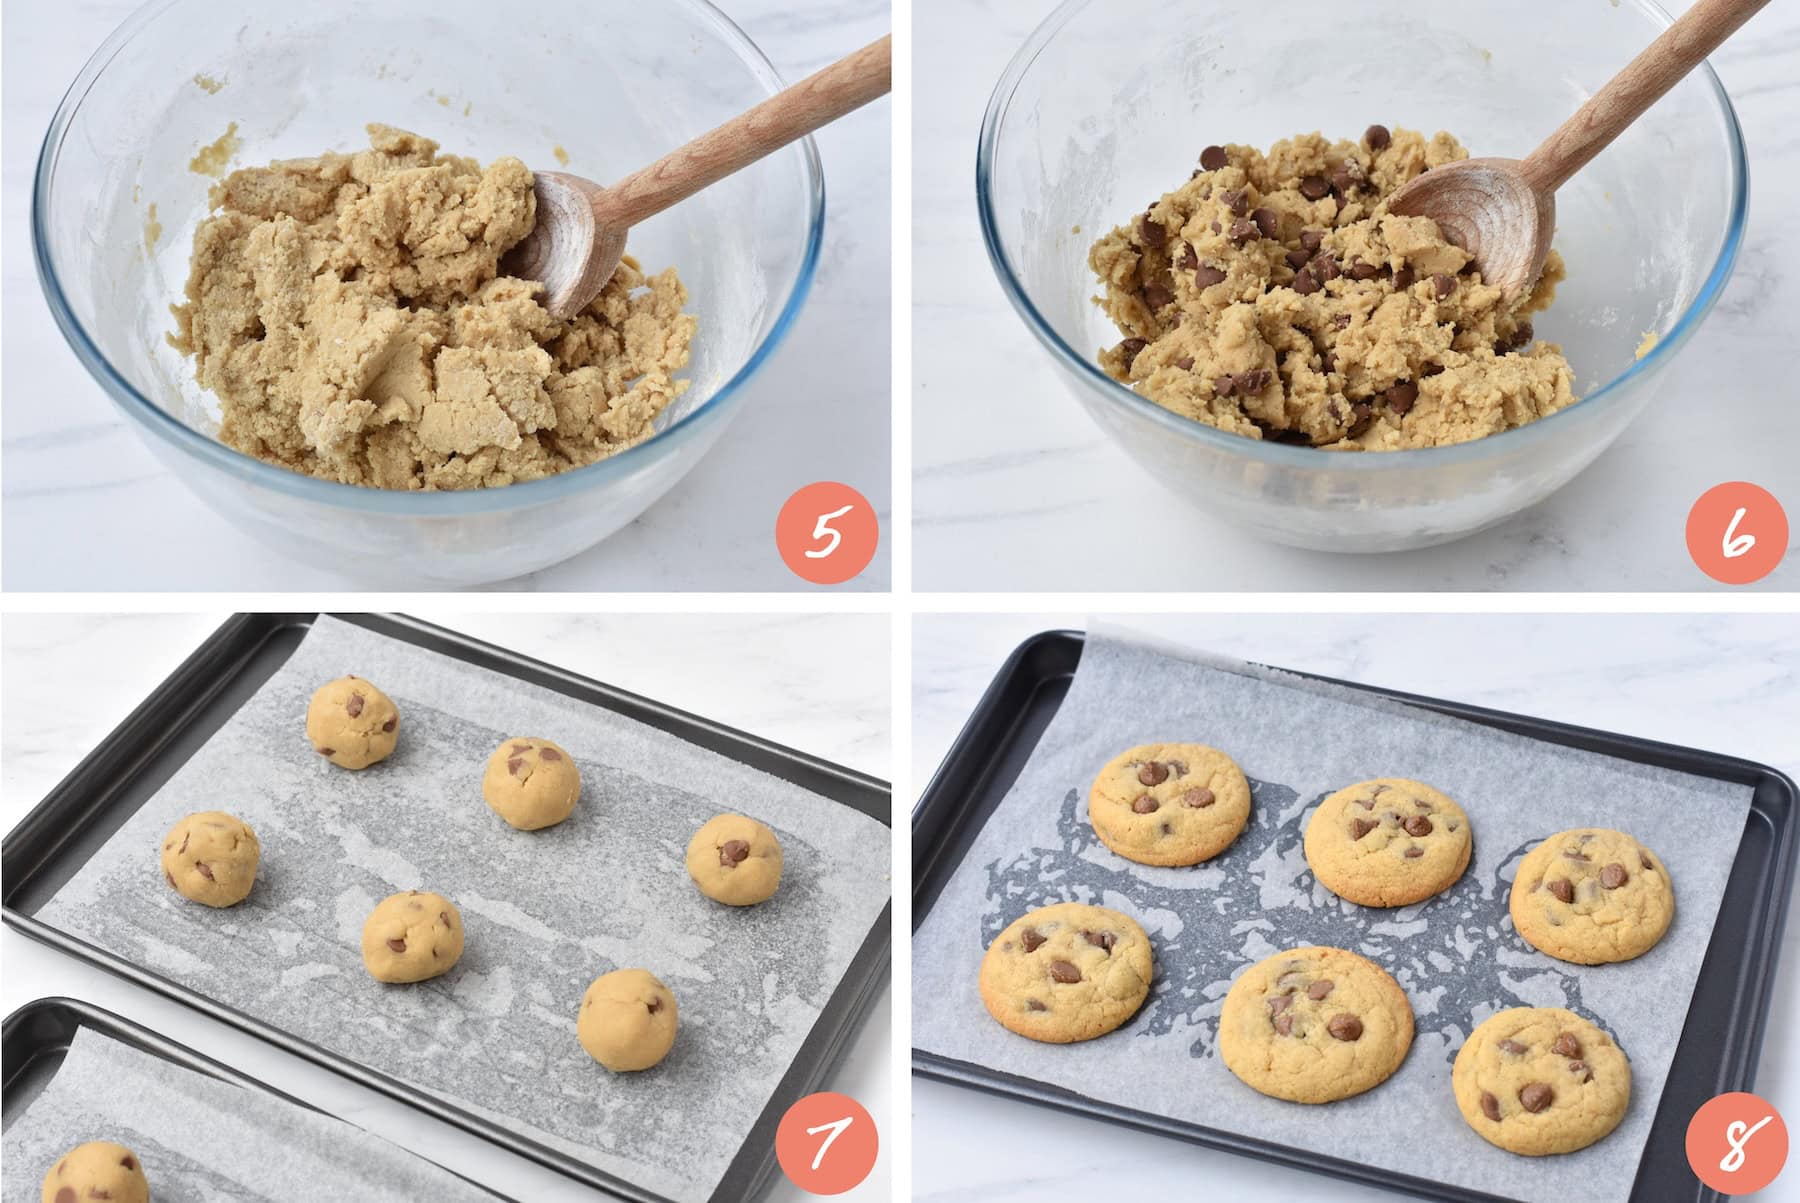
3. Mix until nearly combined. You should still see some flour (as in the photo!).
4. Add your chocolate chips and fold in until the batter is just combined. Don't over mix! A few lumps are okay.
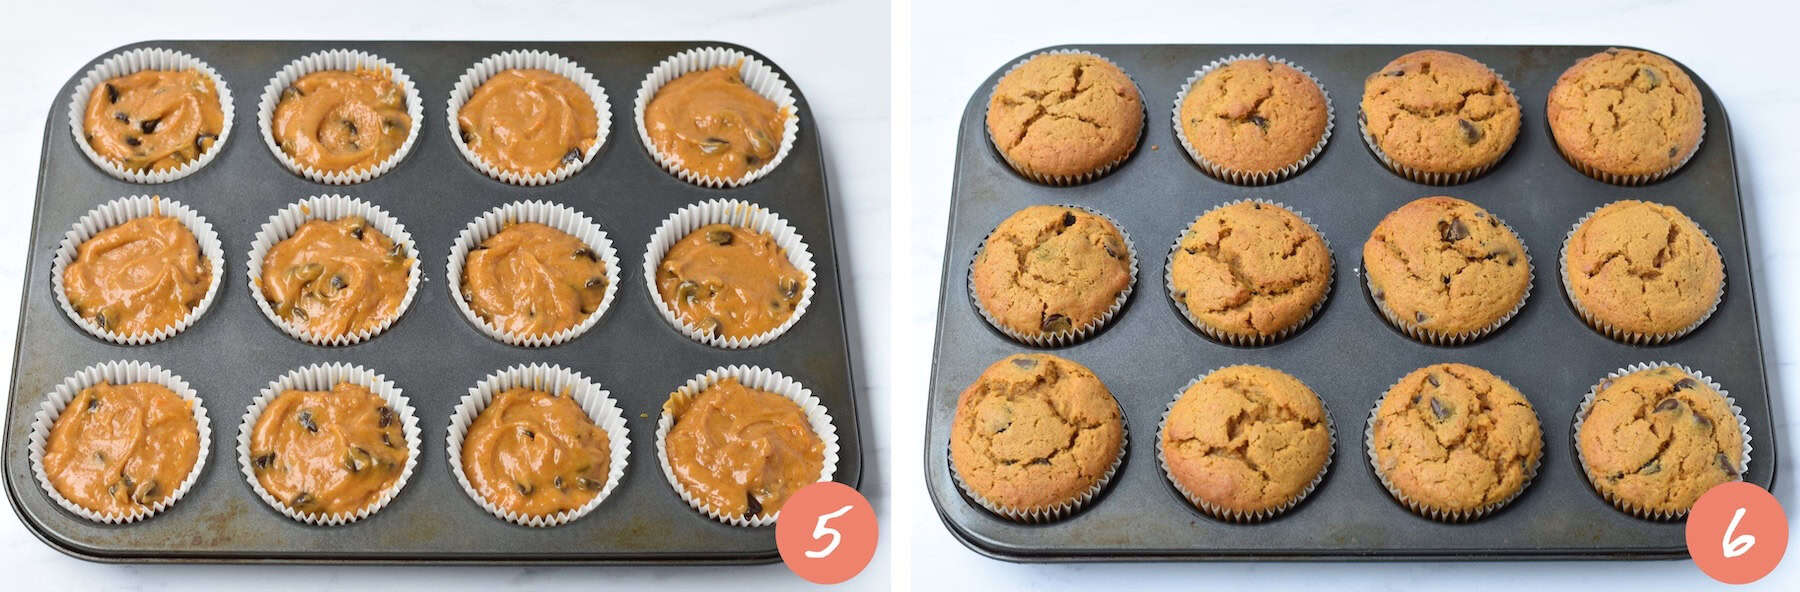
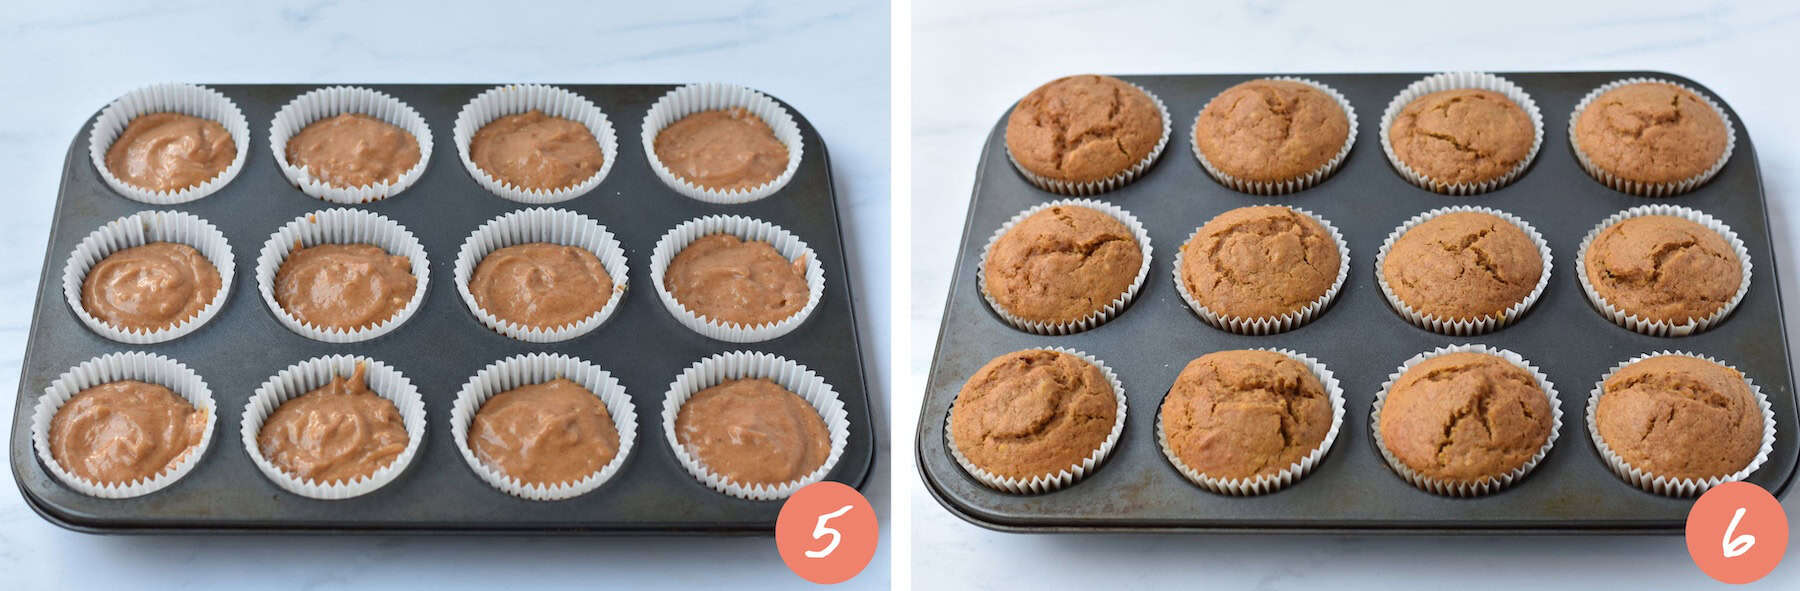
5. Fill your muffin cases ⅔ full. You can use a measuring cup or cookie scoop to make it easier, or just use a dessert spoon.
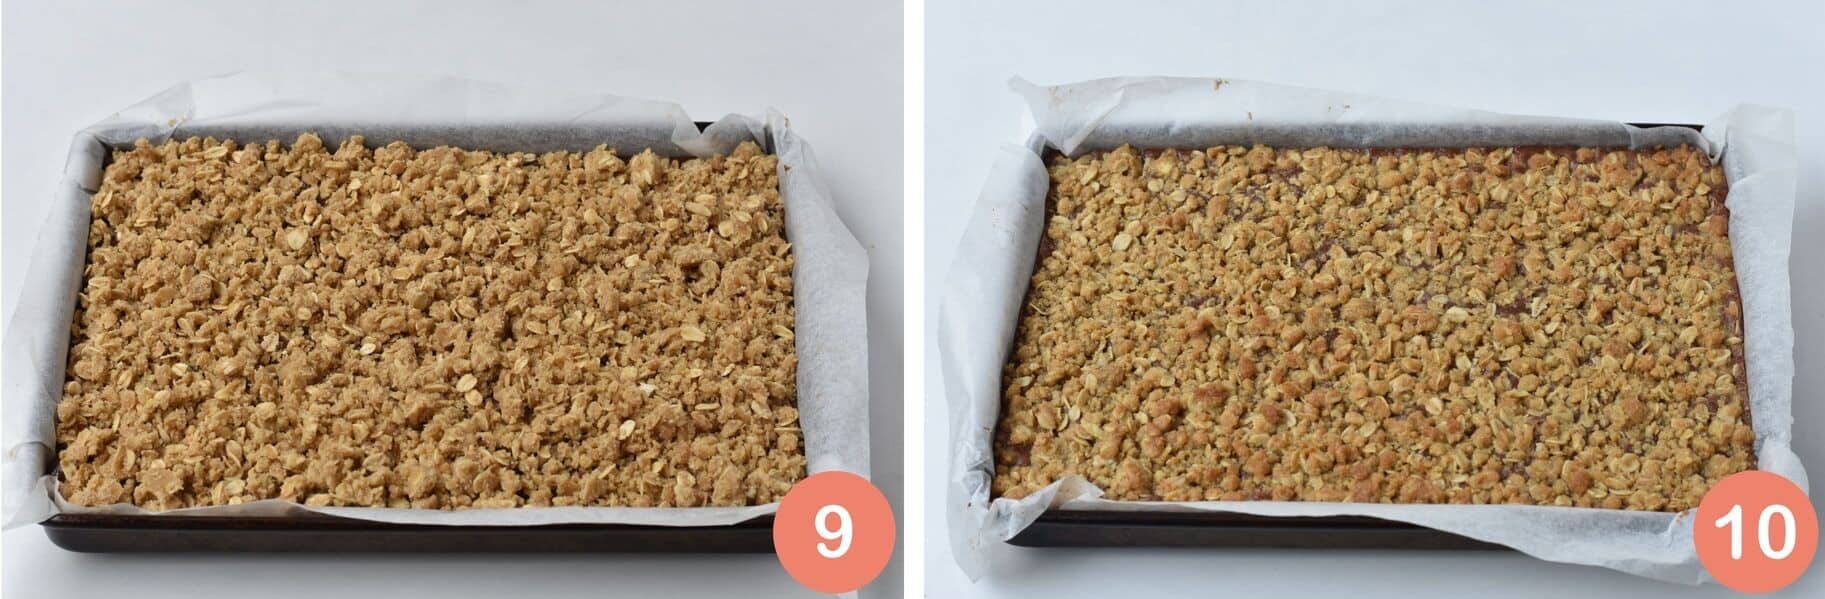
6. Bake until lightly golden. When you insert a skewer into the muffin, it should come out clean or with just a few moist crumbs clinging.
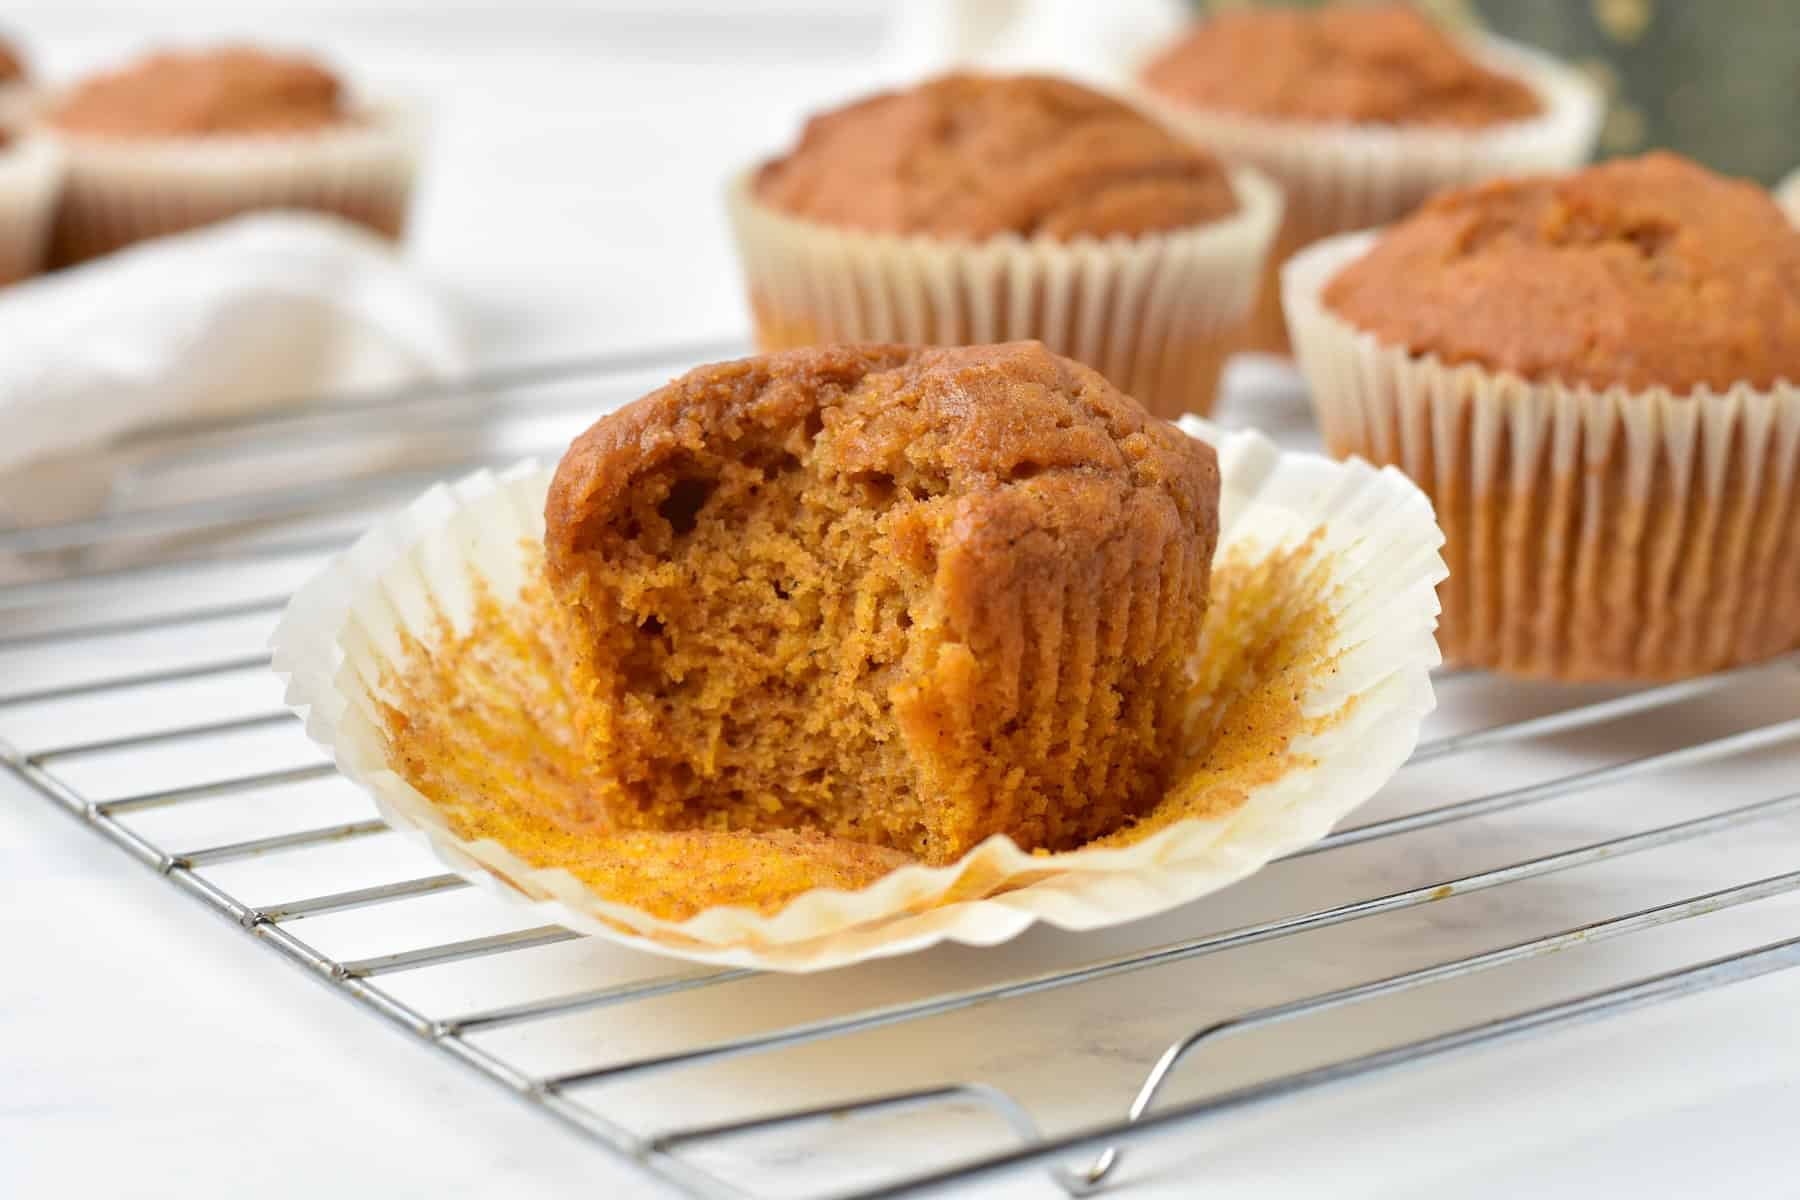
The Secret to Moist and Fluffy Muffins
Don’t overmix your muffin batter
What can overmixing do to a muffin? The more you mix the batter, the more that the gluten strands in the flour develop. This causes the muffin to become tough and dry with a dense crumb.
To avoid this, add the chocolate chips when the batter still has some visible flour, then mix altogether until just combined. Try using a folding motion instead of a stirring motion!
Measure your flour properly!
If your muffins are dry or don’t rise well, it might be because you haven’t measured your flour correctly. If you’re using measuring cups, don’t scoop the flour out with the cup. Instead, spoon the flour into the cup then level off with the flat edge of a butter knife.
You can also use gram measurements for an accurate result!
Storing Chocolate Chip and Pumpkin Muffins
Store these muffins for up to 4 days in an airtight container at room temperature.
Will muffins last longer in the fridge?
You may get an extra day or two out of the muffins, but they are more likely to go dry in the fridge. I only recommend refrigerating if you live in a very moist or humid environment, which can make the muffins go off quicker.
How do I know if muffins have gone bad?
You can tell if the muffins have gone bad if you see visible mold, or if they have a sour smell or taste.
Can I freeze the muffins?
Yes! Wrap cooled muffins individually in cling film or place in airtight freezer bags. Keep frozen for up to 6 months. Defrost for 6 hours or overnight then enjoy. They're perfect to grab in the morning and will defrost by the afternoon for easy muffins on the go.
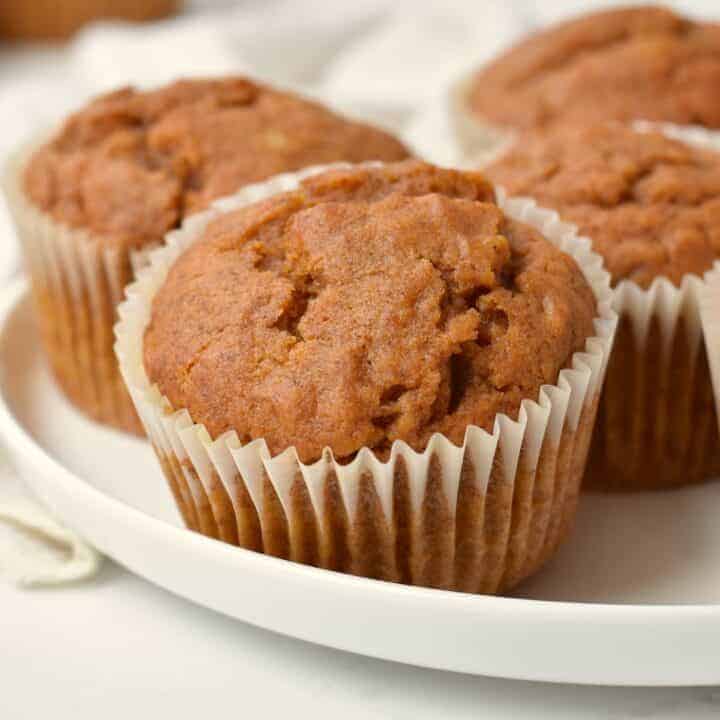
Chocolate Chip Pumpkin Muffins
These easy chocolate chip pumpkin muffins are the perfect recipe for using up leftover pumpkin puree.
Ingredients
- 1 cup (260 g) pumpkin puree
- ¾ cup (175 mL) canola oil
- 2 large eggs
- 1 cup (220 g) brown sugar, packed
- 1 teaspoon (5 mL) vanilla
- 1 ½ cups (225 g) plain / all-purpose flour
- 2 teaspoon (8 g) baking powder
- 2 teaspoon (8 g) ground cinnamon
- 1 teaspoon (4 g) pumpkin pie spice / mixed spice
- ½ teaspoon (2 g) ground ginger
- ½ teaspoon (2 g) salt
- 1 cup (200 g) chocolate chips (I use dark or semi-sweet)
Instructions
- Preheat the oven to to 160°C/320°F (fan-forced/convection) or 180°C/355°F (standard). Grease a 12-hole (⅓-cup-capacity) muffin pan or line with paper cases.
- In a large mixing bowl, whisk together the pumpkin puree, oil, eggs, brown sugar and vanilla until well combined.
- Sift over flour, baking powder, cinnamon, pumpkin pie spice. Add salt. Stir until nearly combined (there should still be some flour visible). Add chocolate chips and stir until just combined, taking care not to overmix the batter.
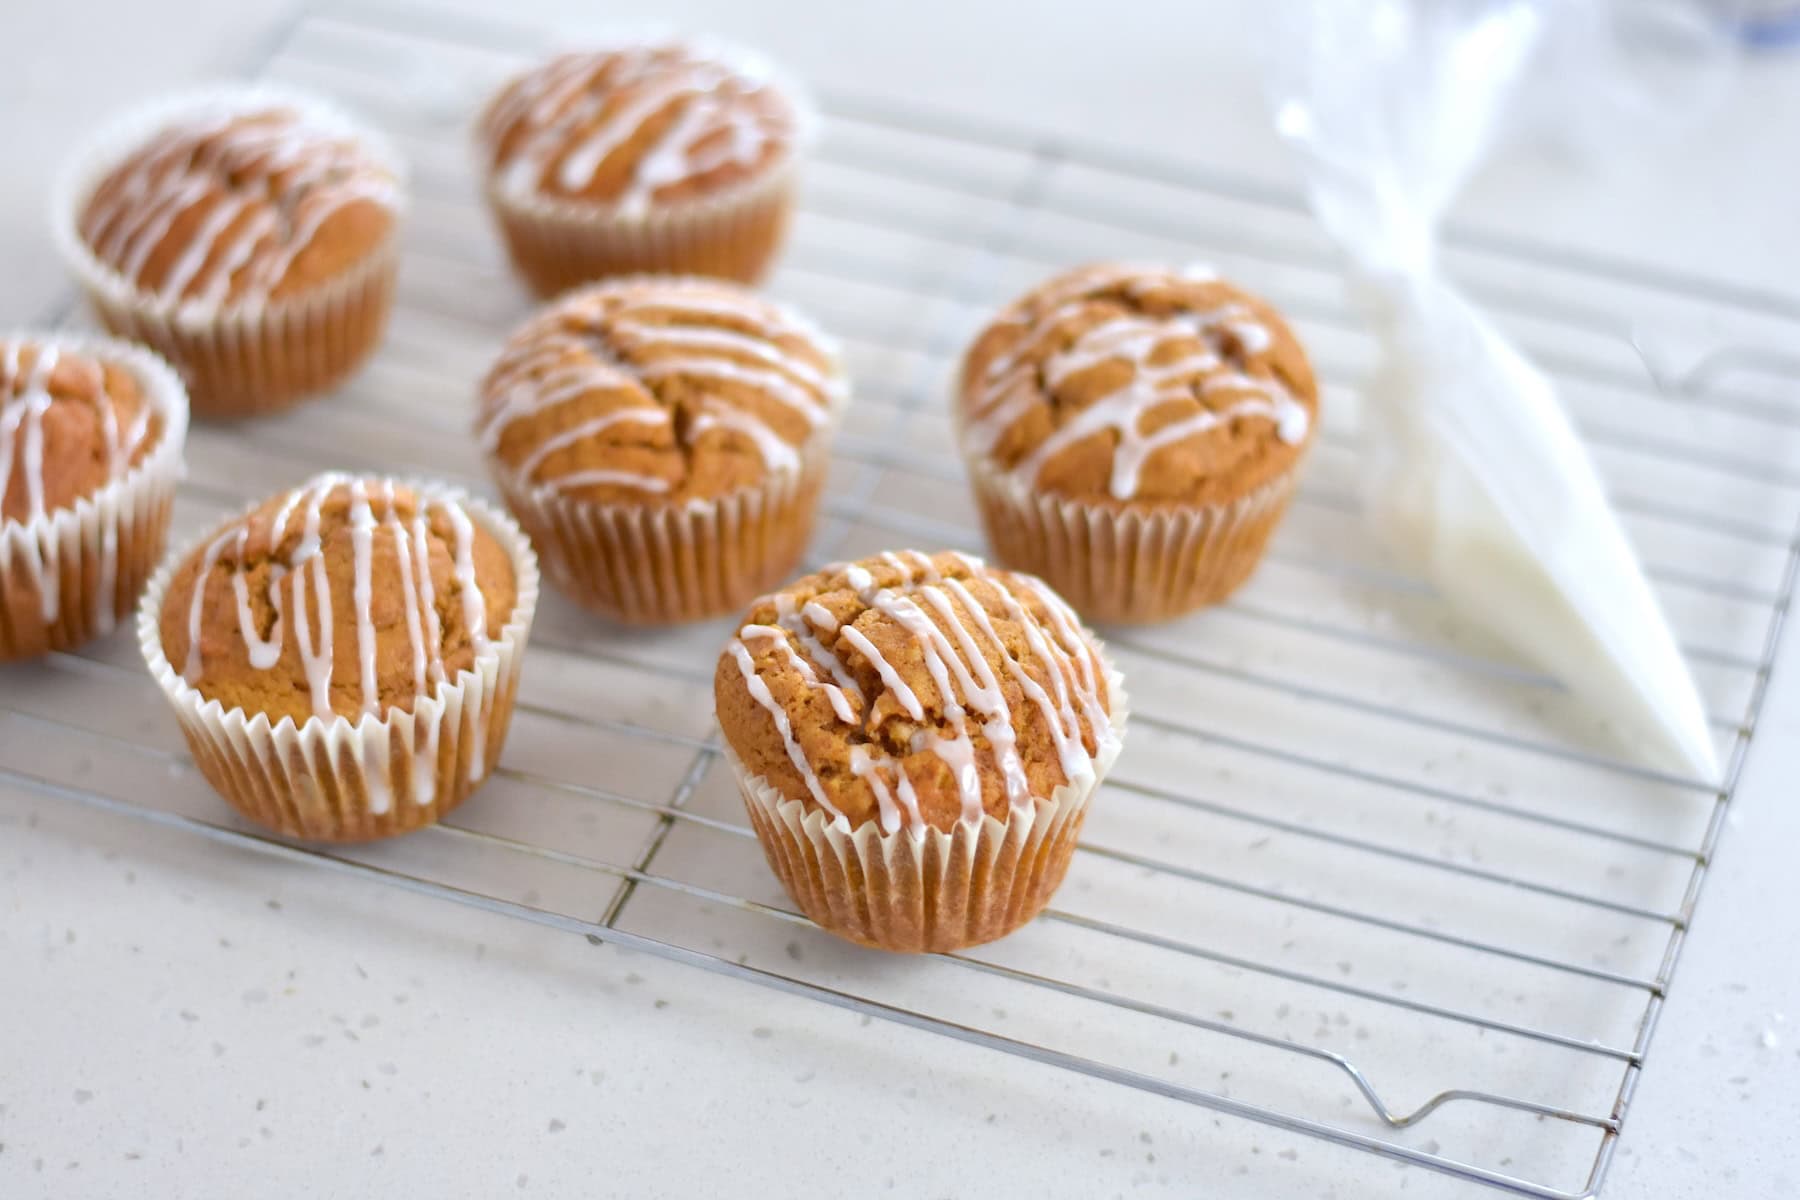
- Spoon the batter into the muffin tins, filling each about ⅔ full. Bake for 20 minutes or until lightly golden and a skewer inserted comes out clean. Allow to cool in the pan for 10 minutes before transferring to a wire rack to cool completely.
Notes
Measurement
- Please note that my recipes are measured in metric cups and spoons which are larger than US cups and spoons. Most recipes will be fine if measured in US cups and spoons, but please use the weight (grams) measurement for the most accurate result.
Storage
- Keep in an airtight container at room temperature for up to 4 days or freeze (read post for instructions).
Substitutions
- Pumpkin puree: or use pure canned pumpkin. Don't use pumpkin pie filling.
- Brown sugar: can replace with white sugar but will be less moist.
- Pumpkin pie spice: outside of the US you can find 'mixed spice.' Otherwise substitute for an extra ½ teaspoon cinnamon + ½ teaspoon ginger.
- Chocolate chips: I use dark or semi-sweet but you can use milk, white or even chopped chocolate blocks.
Nutrition Information:
Yield: 12 Serving Size: 1 muffinAmount Per Serving: Calories: 346Total Fat: 19.3gSaturated Fat: 3.6gUnsaturated Fat: 12.9gCholesterol: 34.3mgSodium: 195.3mgCarbohydrates: 40.7gFiber: 2.4gSugar: 28.2gProtein: 4.1g